Steampunk Nerf Maverick: Prototype 001
I decided to try my hand at turning a Nerf Maverick into a steampunk costume accessory. I made a lot of misteps with my first attempt, primarily by putting too many coats of paint on it. Here is how it went.
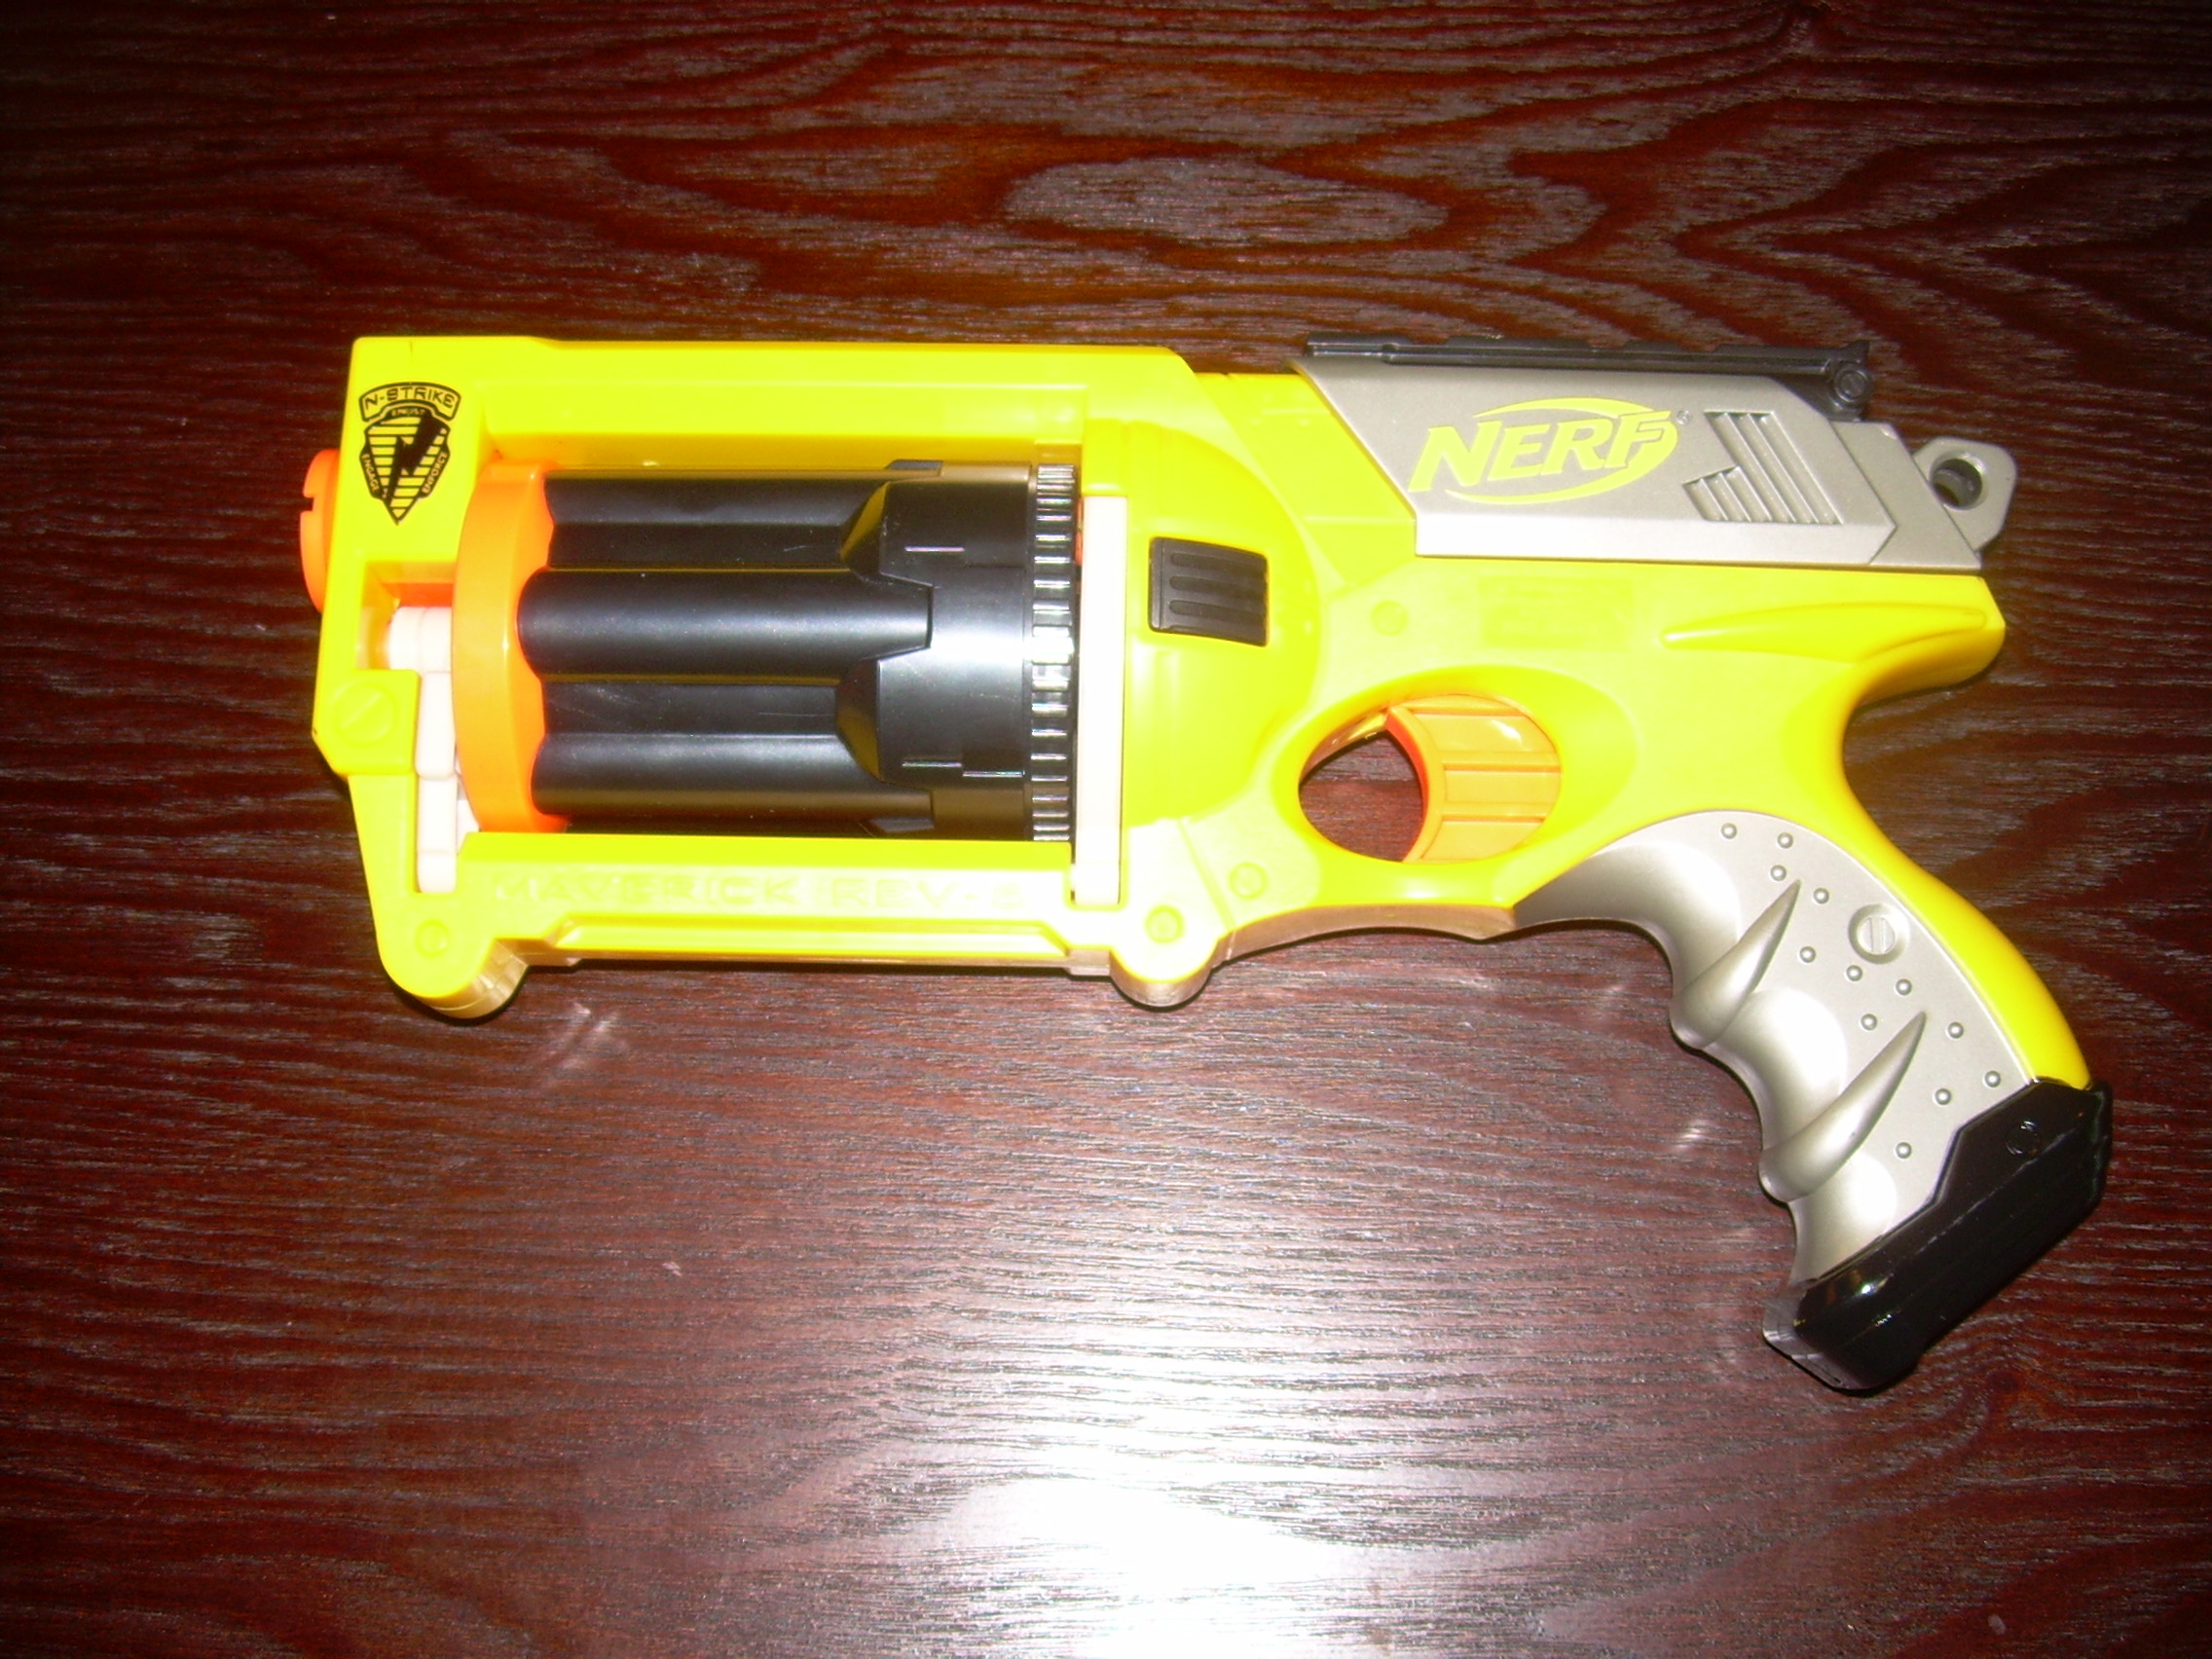
This is the Nerf Maverick as it comes out of the packaging. It doesn’t shoot more than about ten feet, but it’s a spiffy looking toy.

This is what it looks like on the inside of the frame. I have real pistols which are not this complicated.
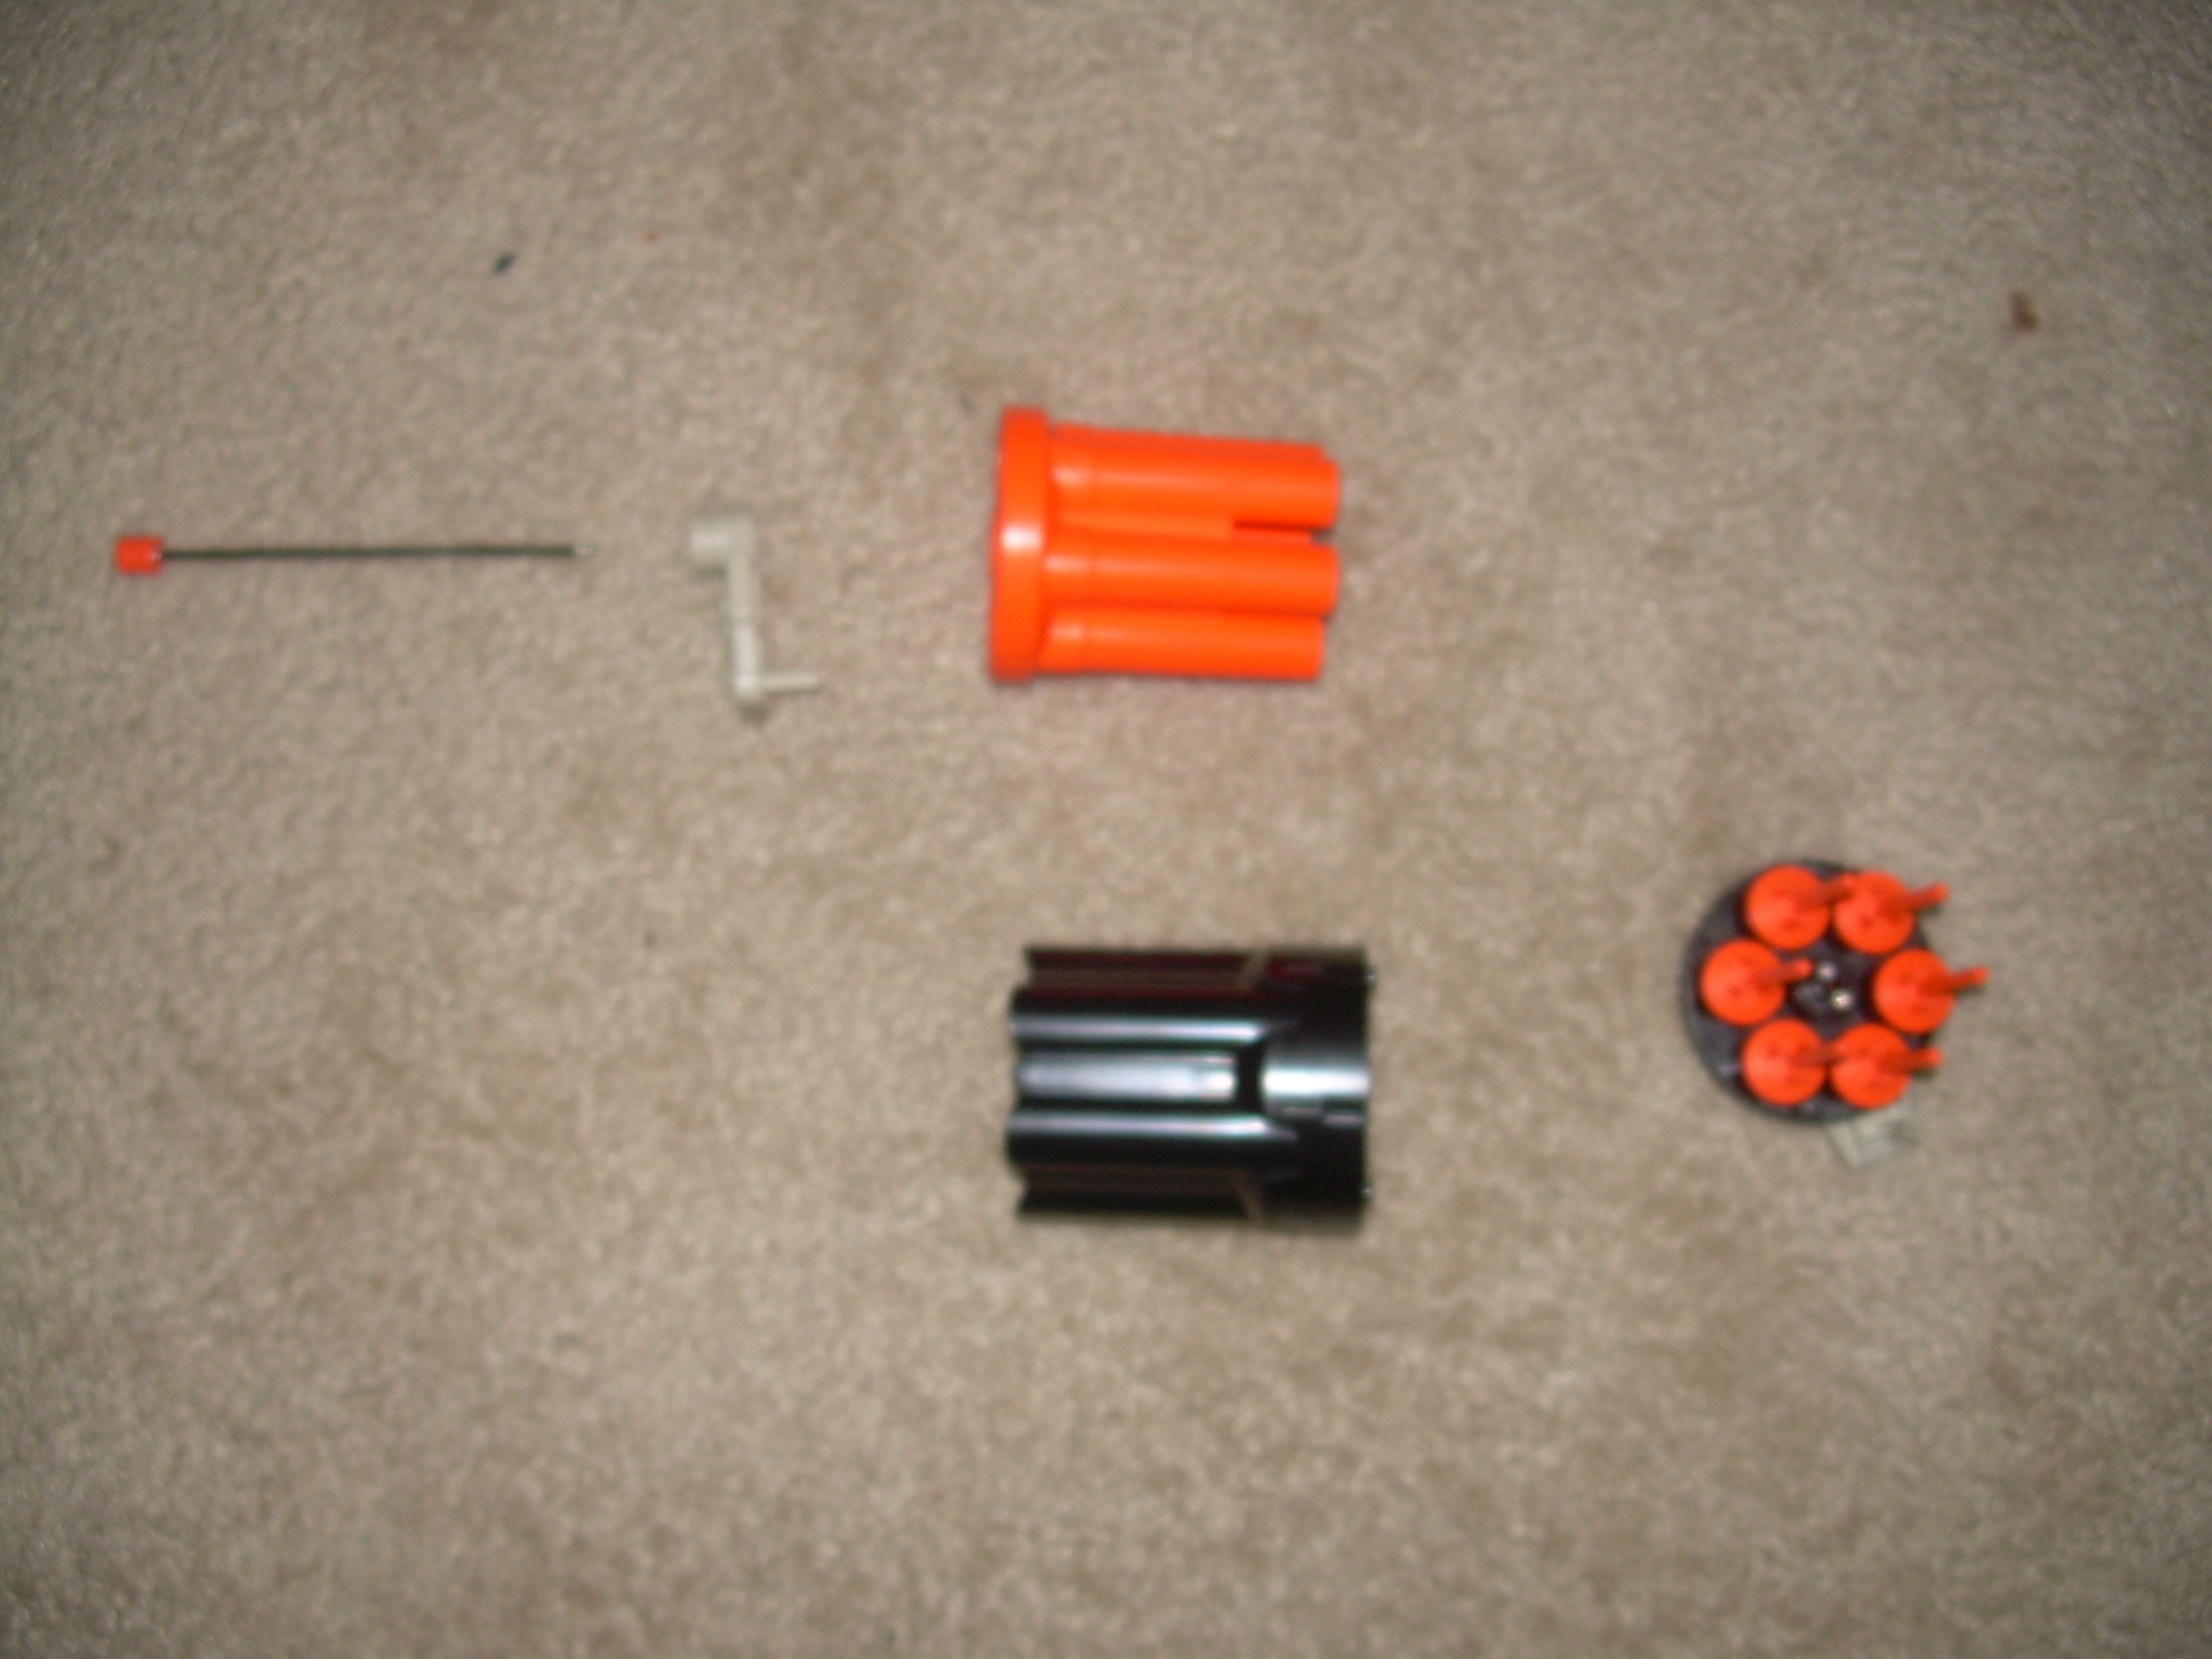
This is the cylinder assembly, disassembled. Some people call this the “barrel”. That’s not correct. It’s the cylinder.
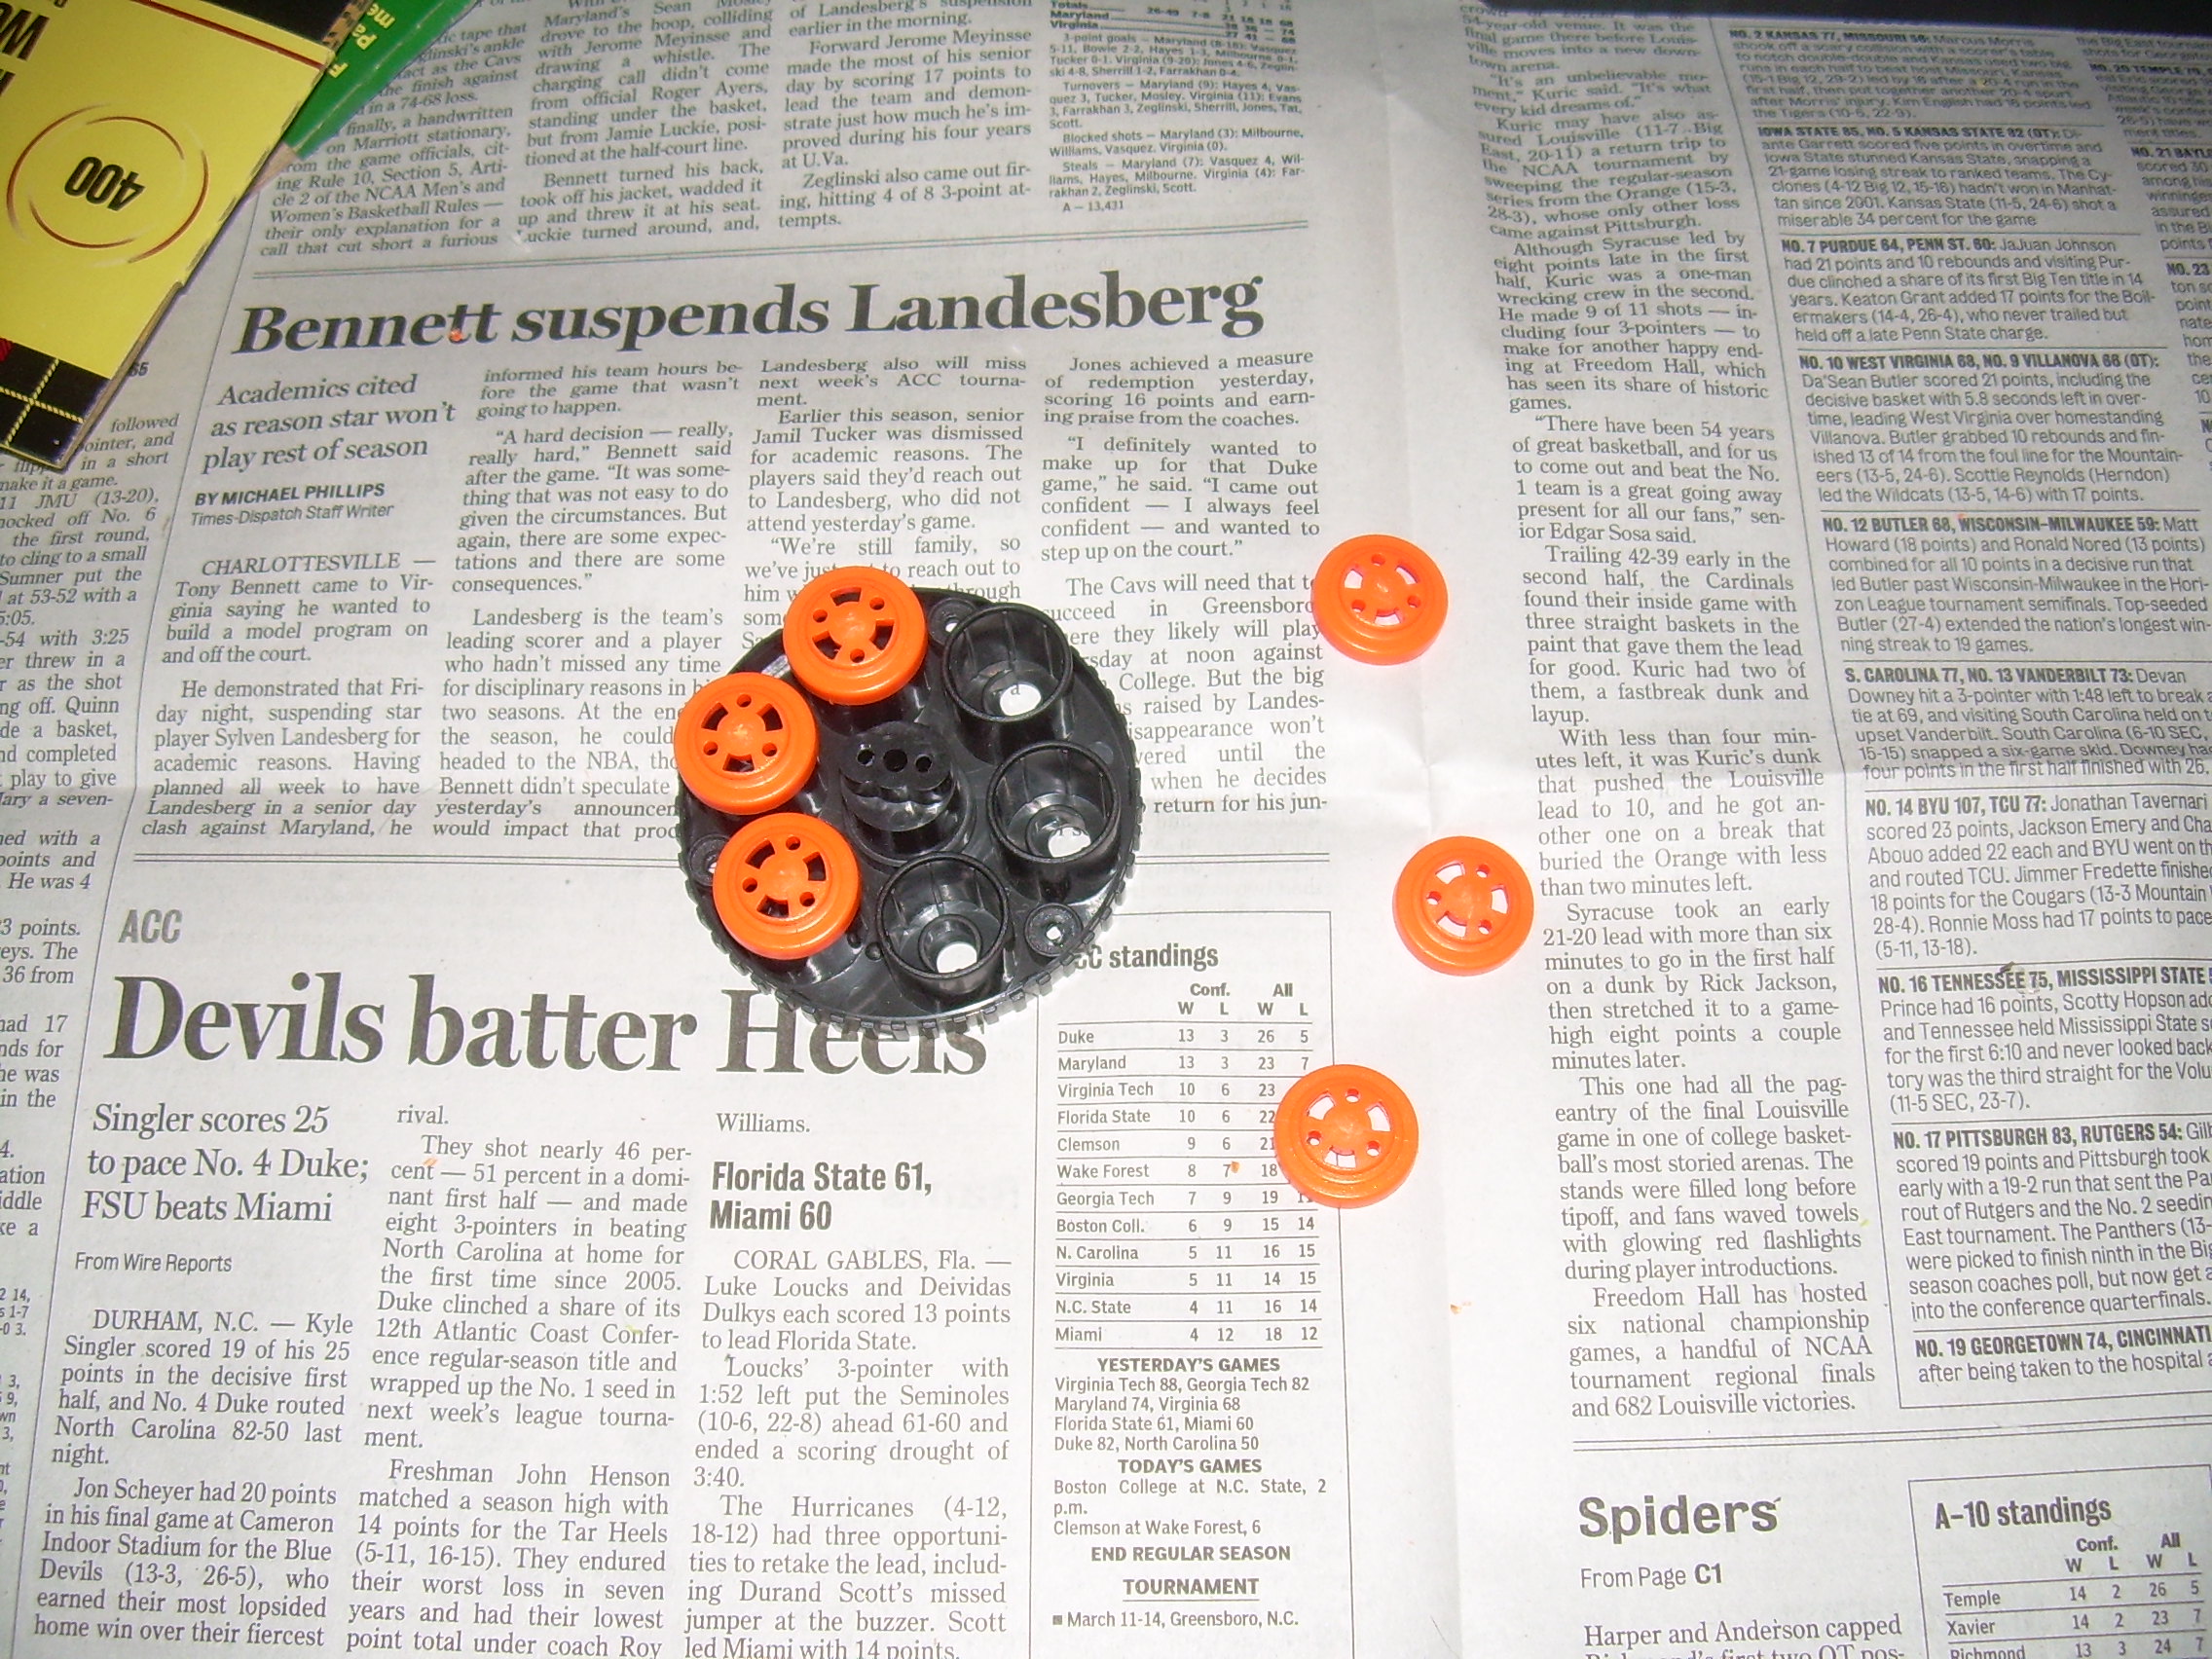
This is a portion of the cylinder assembly, with the air restrictors removed. To be perfectly frank, I saw no difference at all in the power of the toy after the air restrictors were removed.
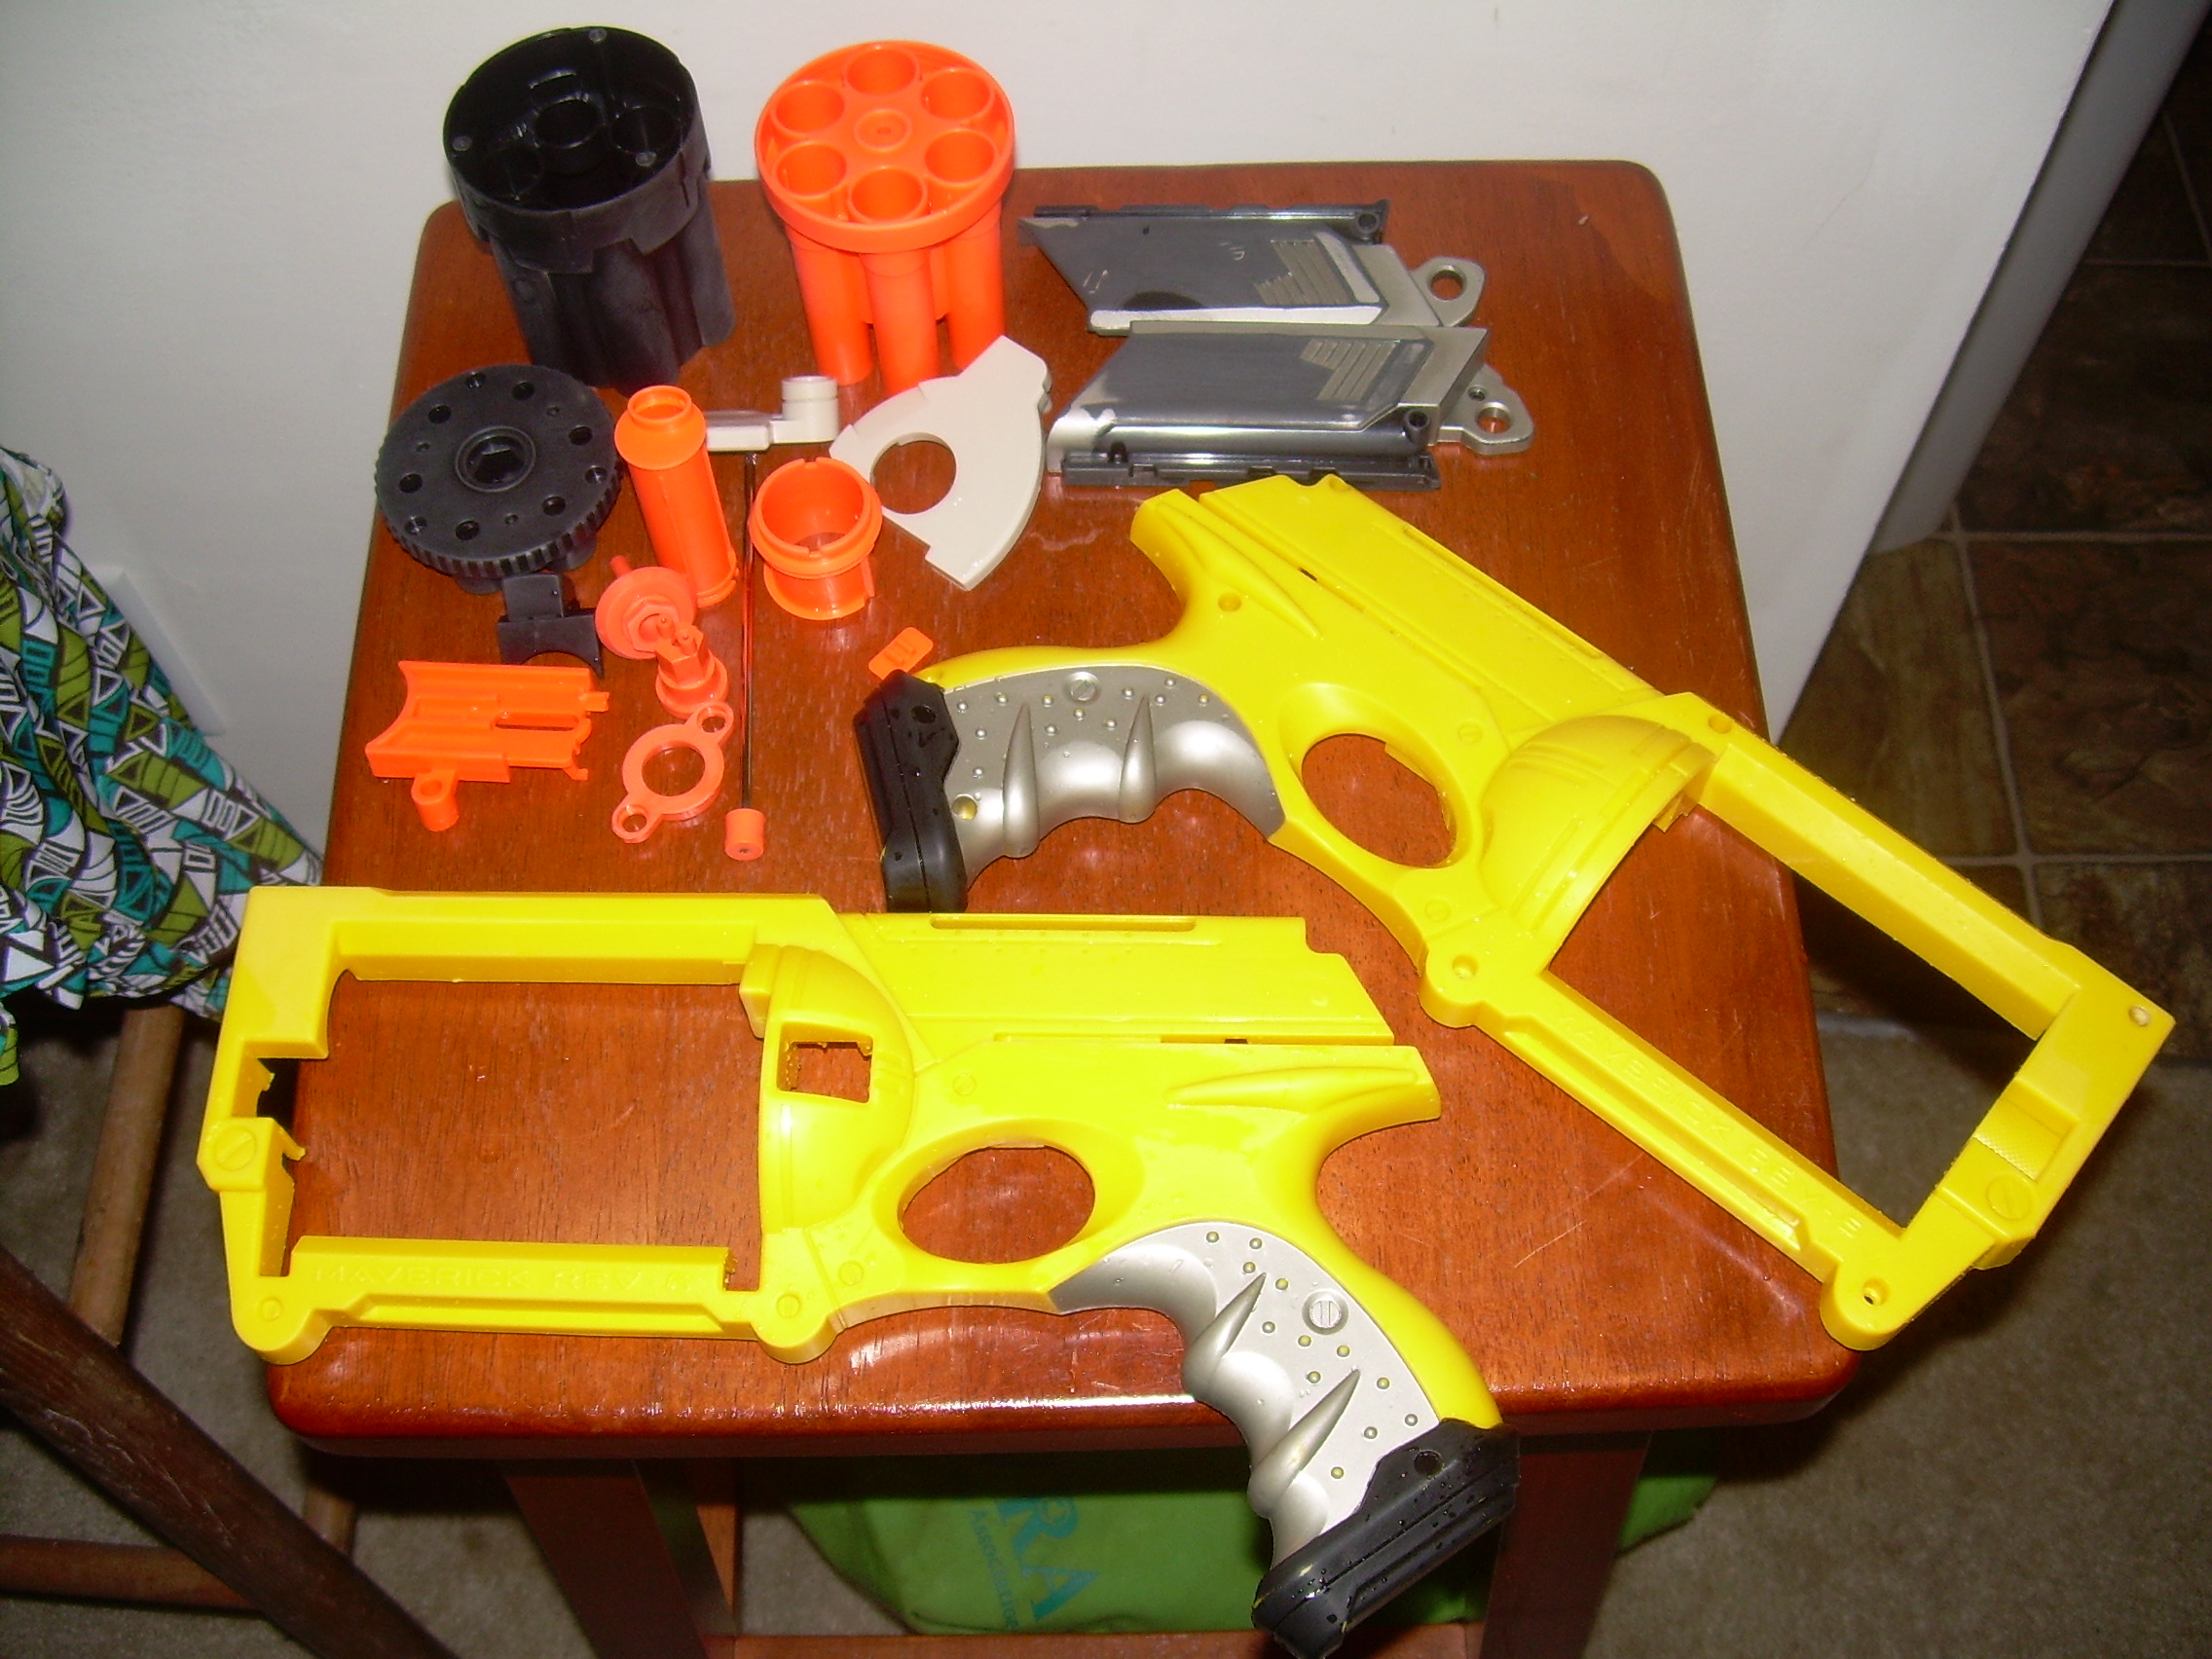
The parts are washed and now drying.
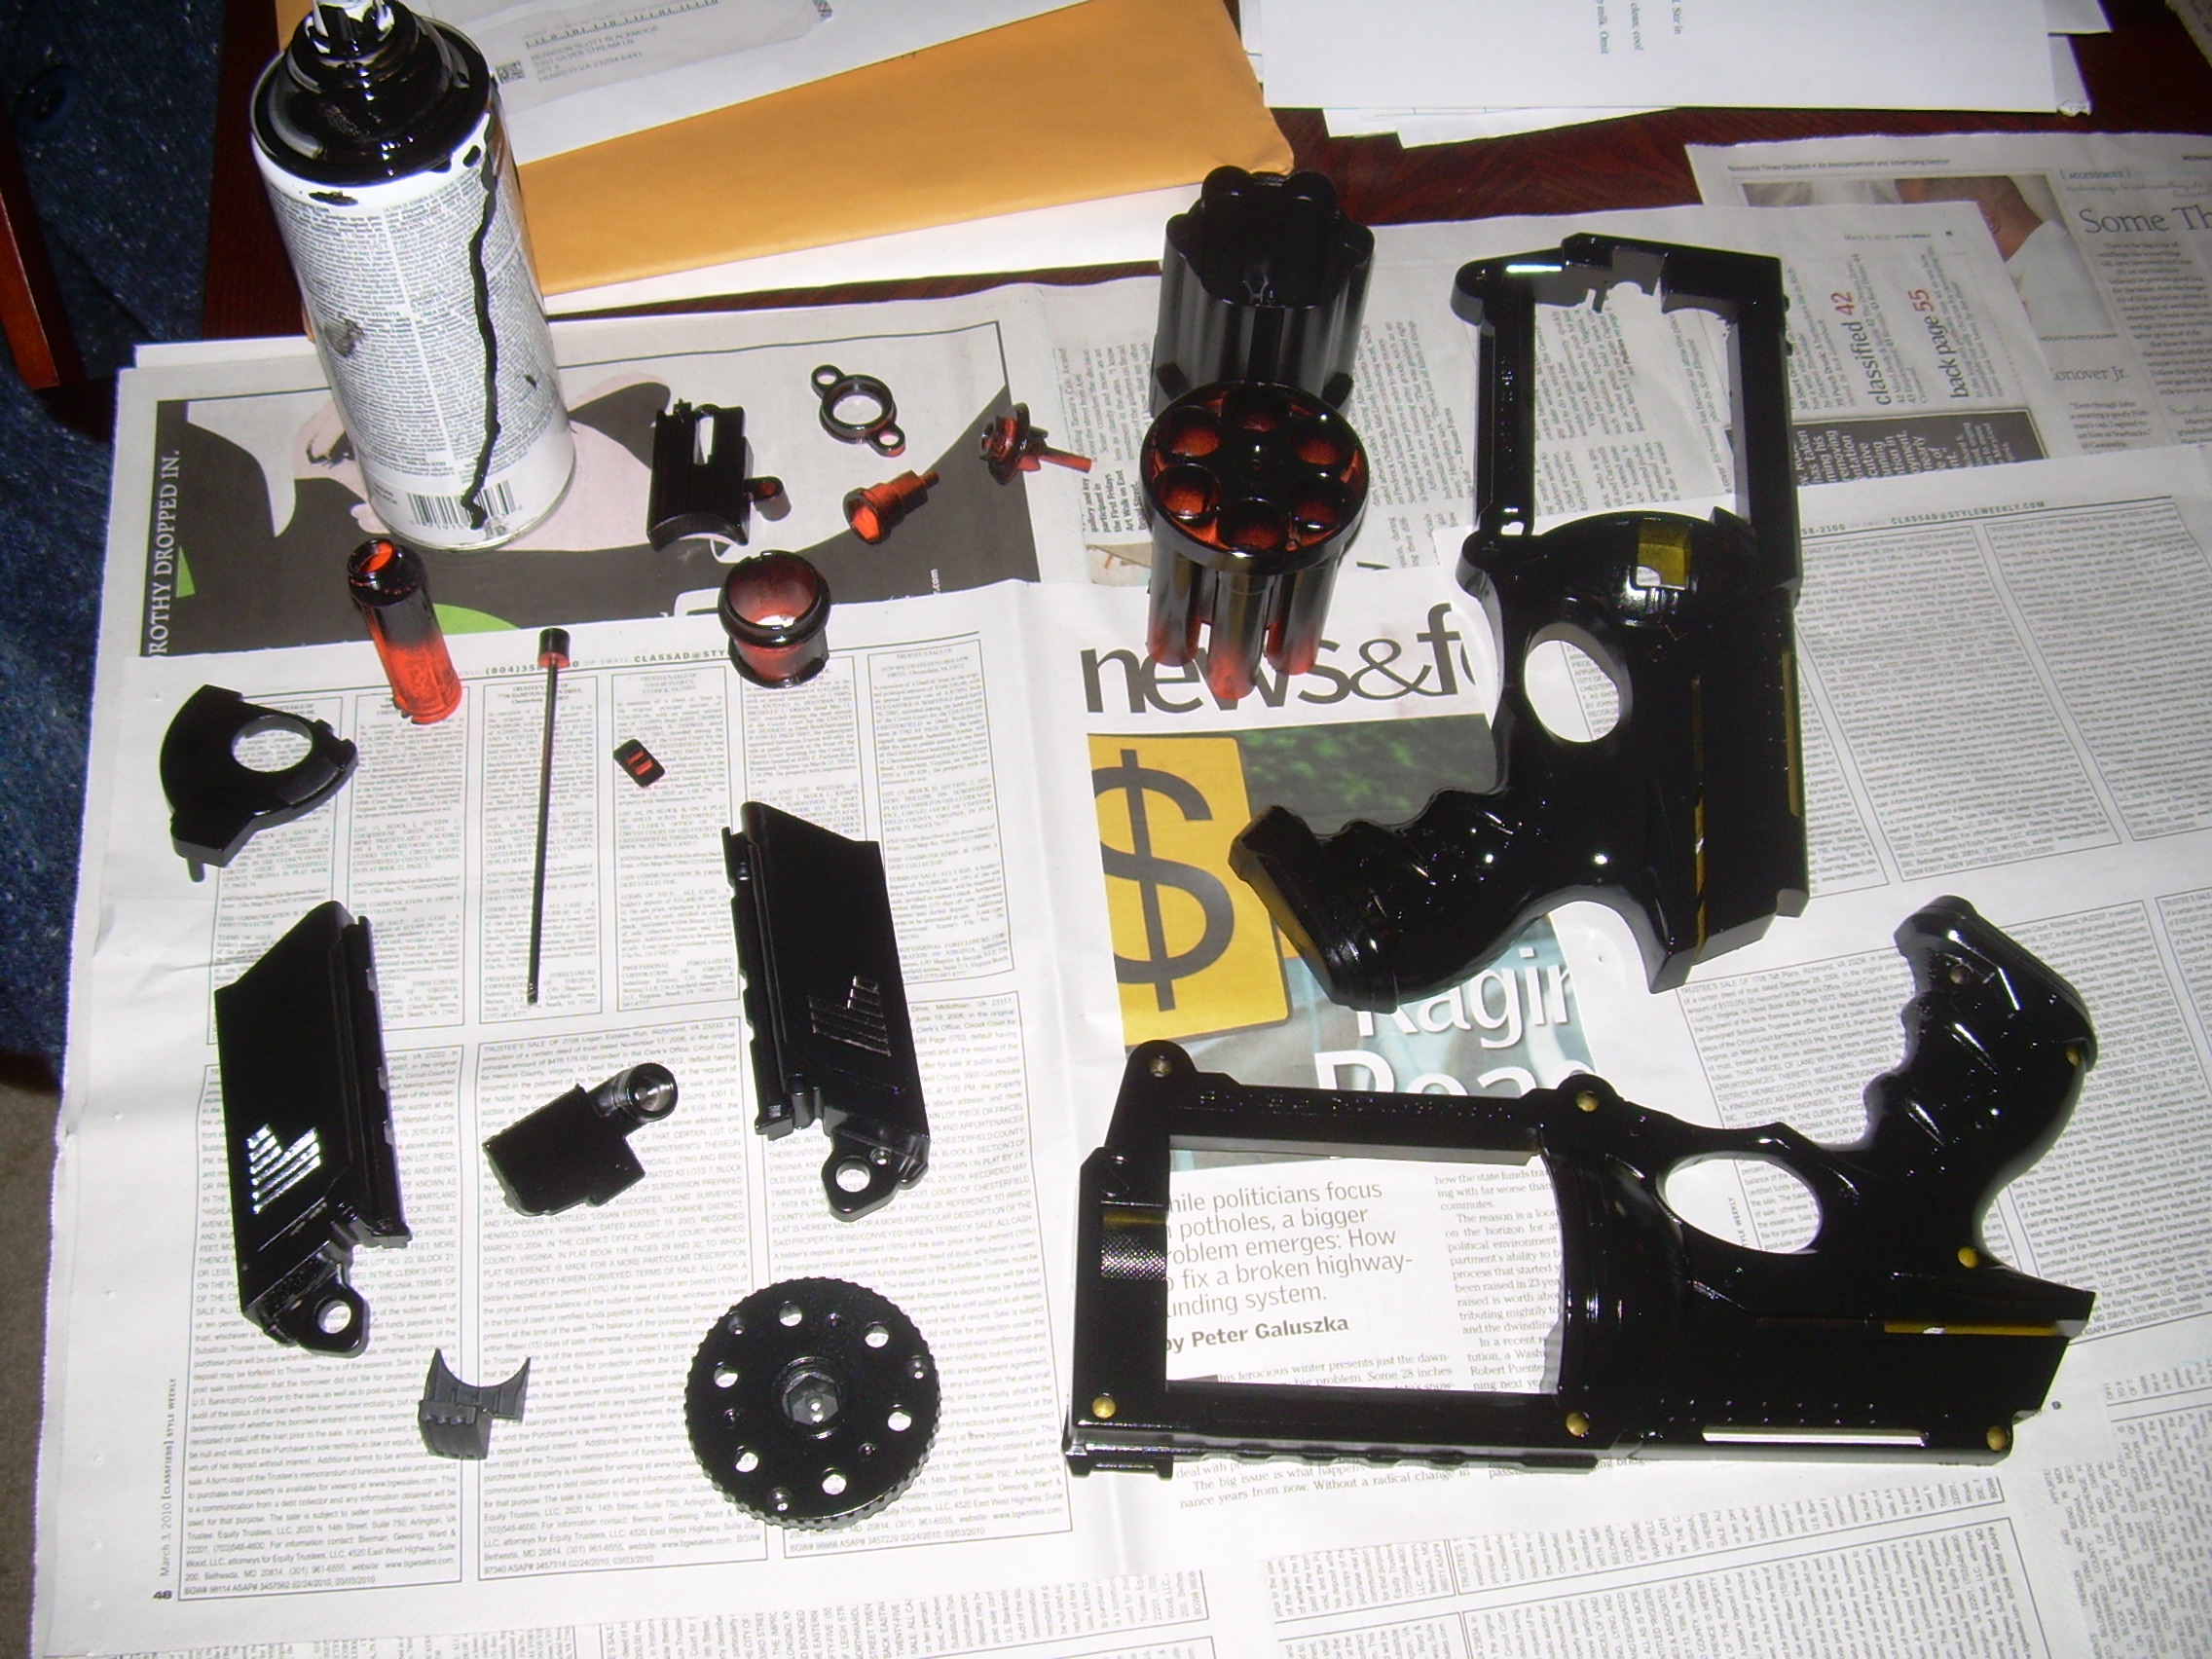
Here the parts are primed, first with two lights coats of “plastic primer”, then with two lights coats of glossy black paint, then with two lights coats of stain black paint. In retrospect, this is four coats of paint too many. The “plastic primer”, in particular, is as thick as molasses, and I think the function of the toy was impaired by this.
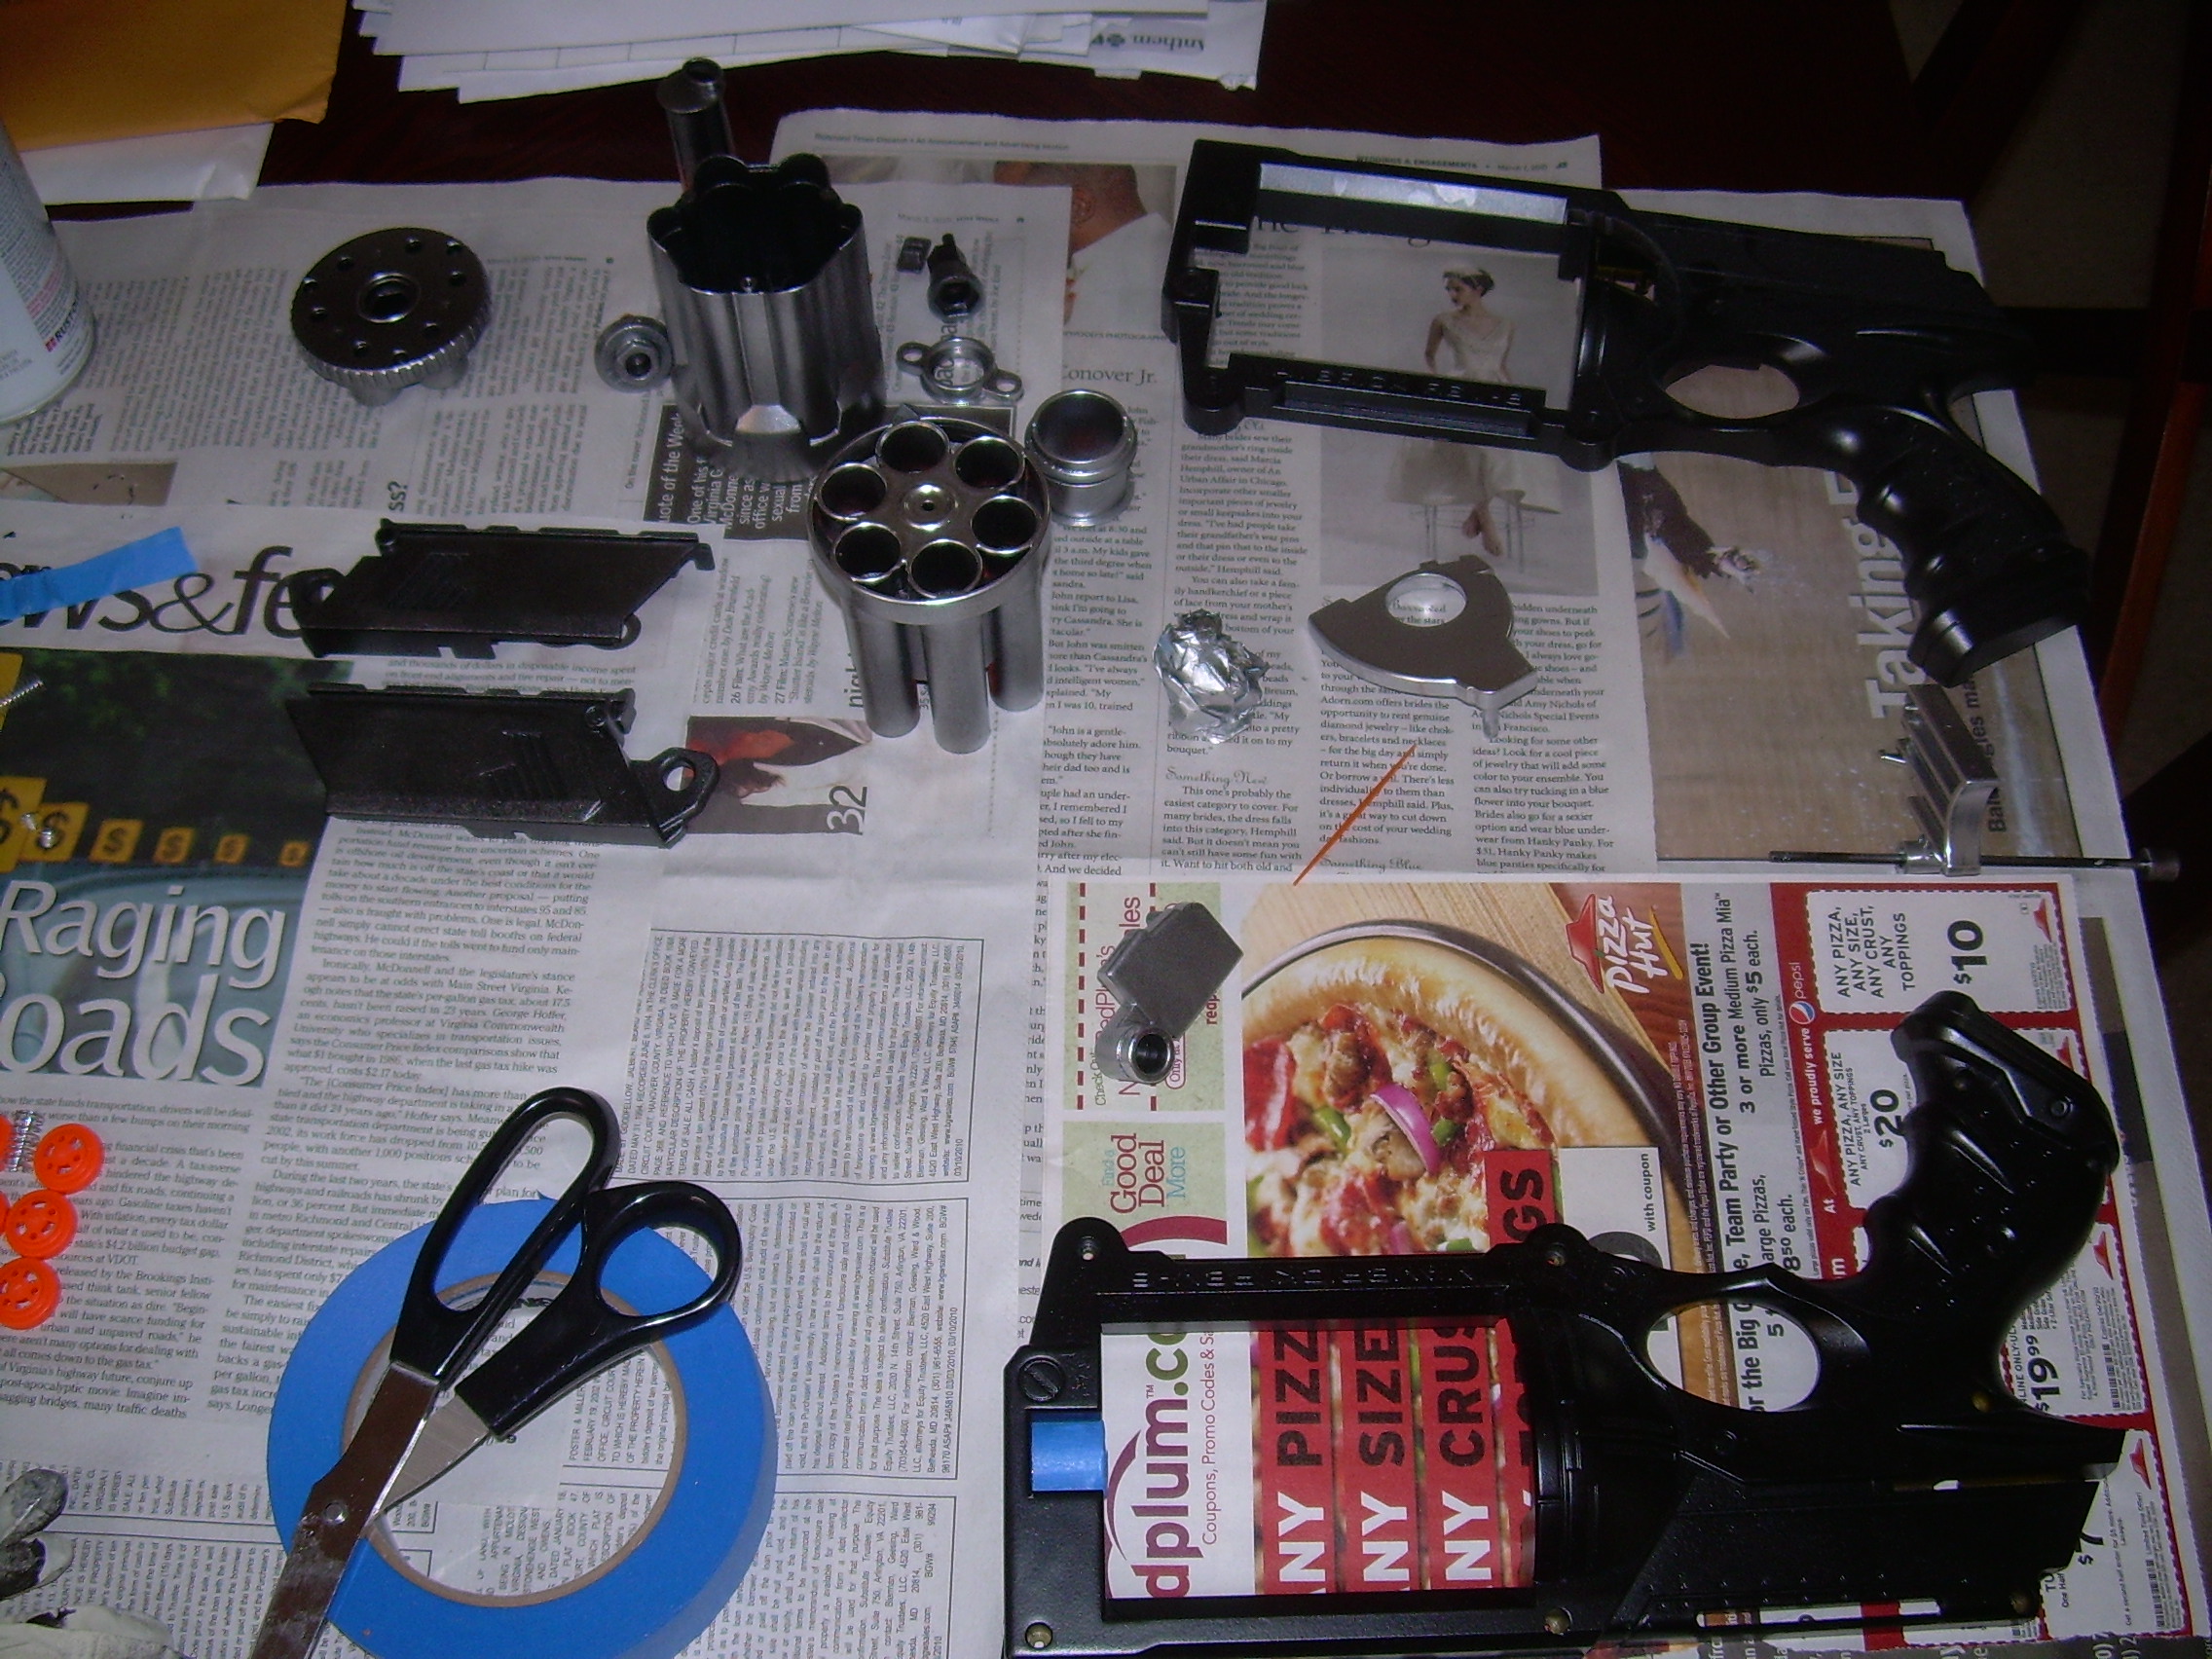
I then painted some of the parts with glossy metallic chrome paint. This looked really spiffy, if not altogether steampunkish — a bit too shiny.
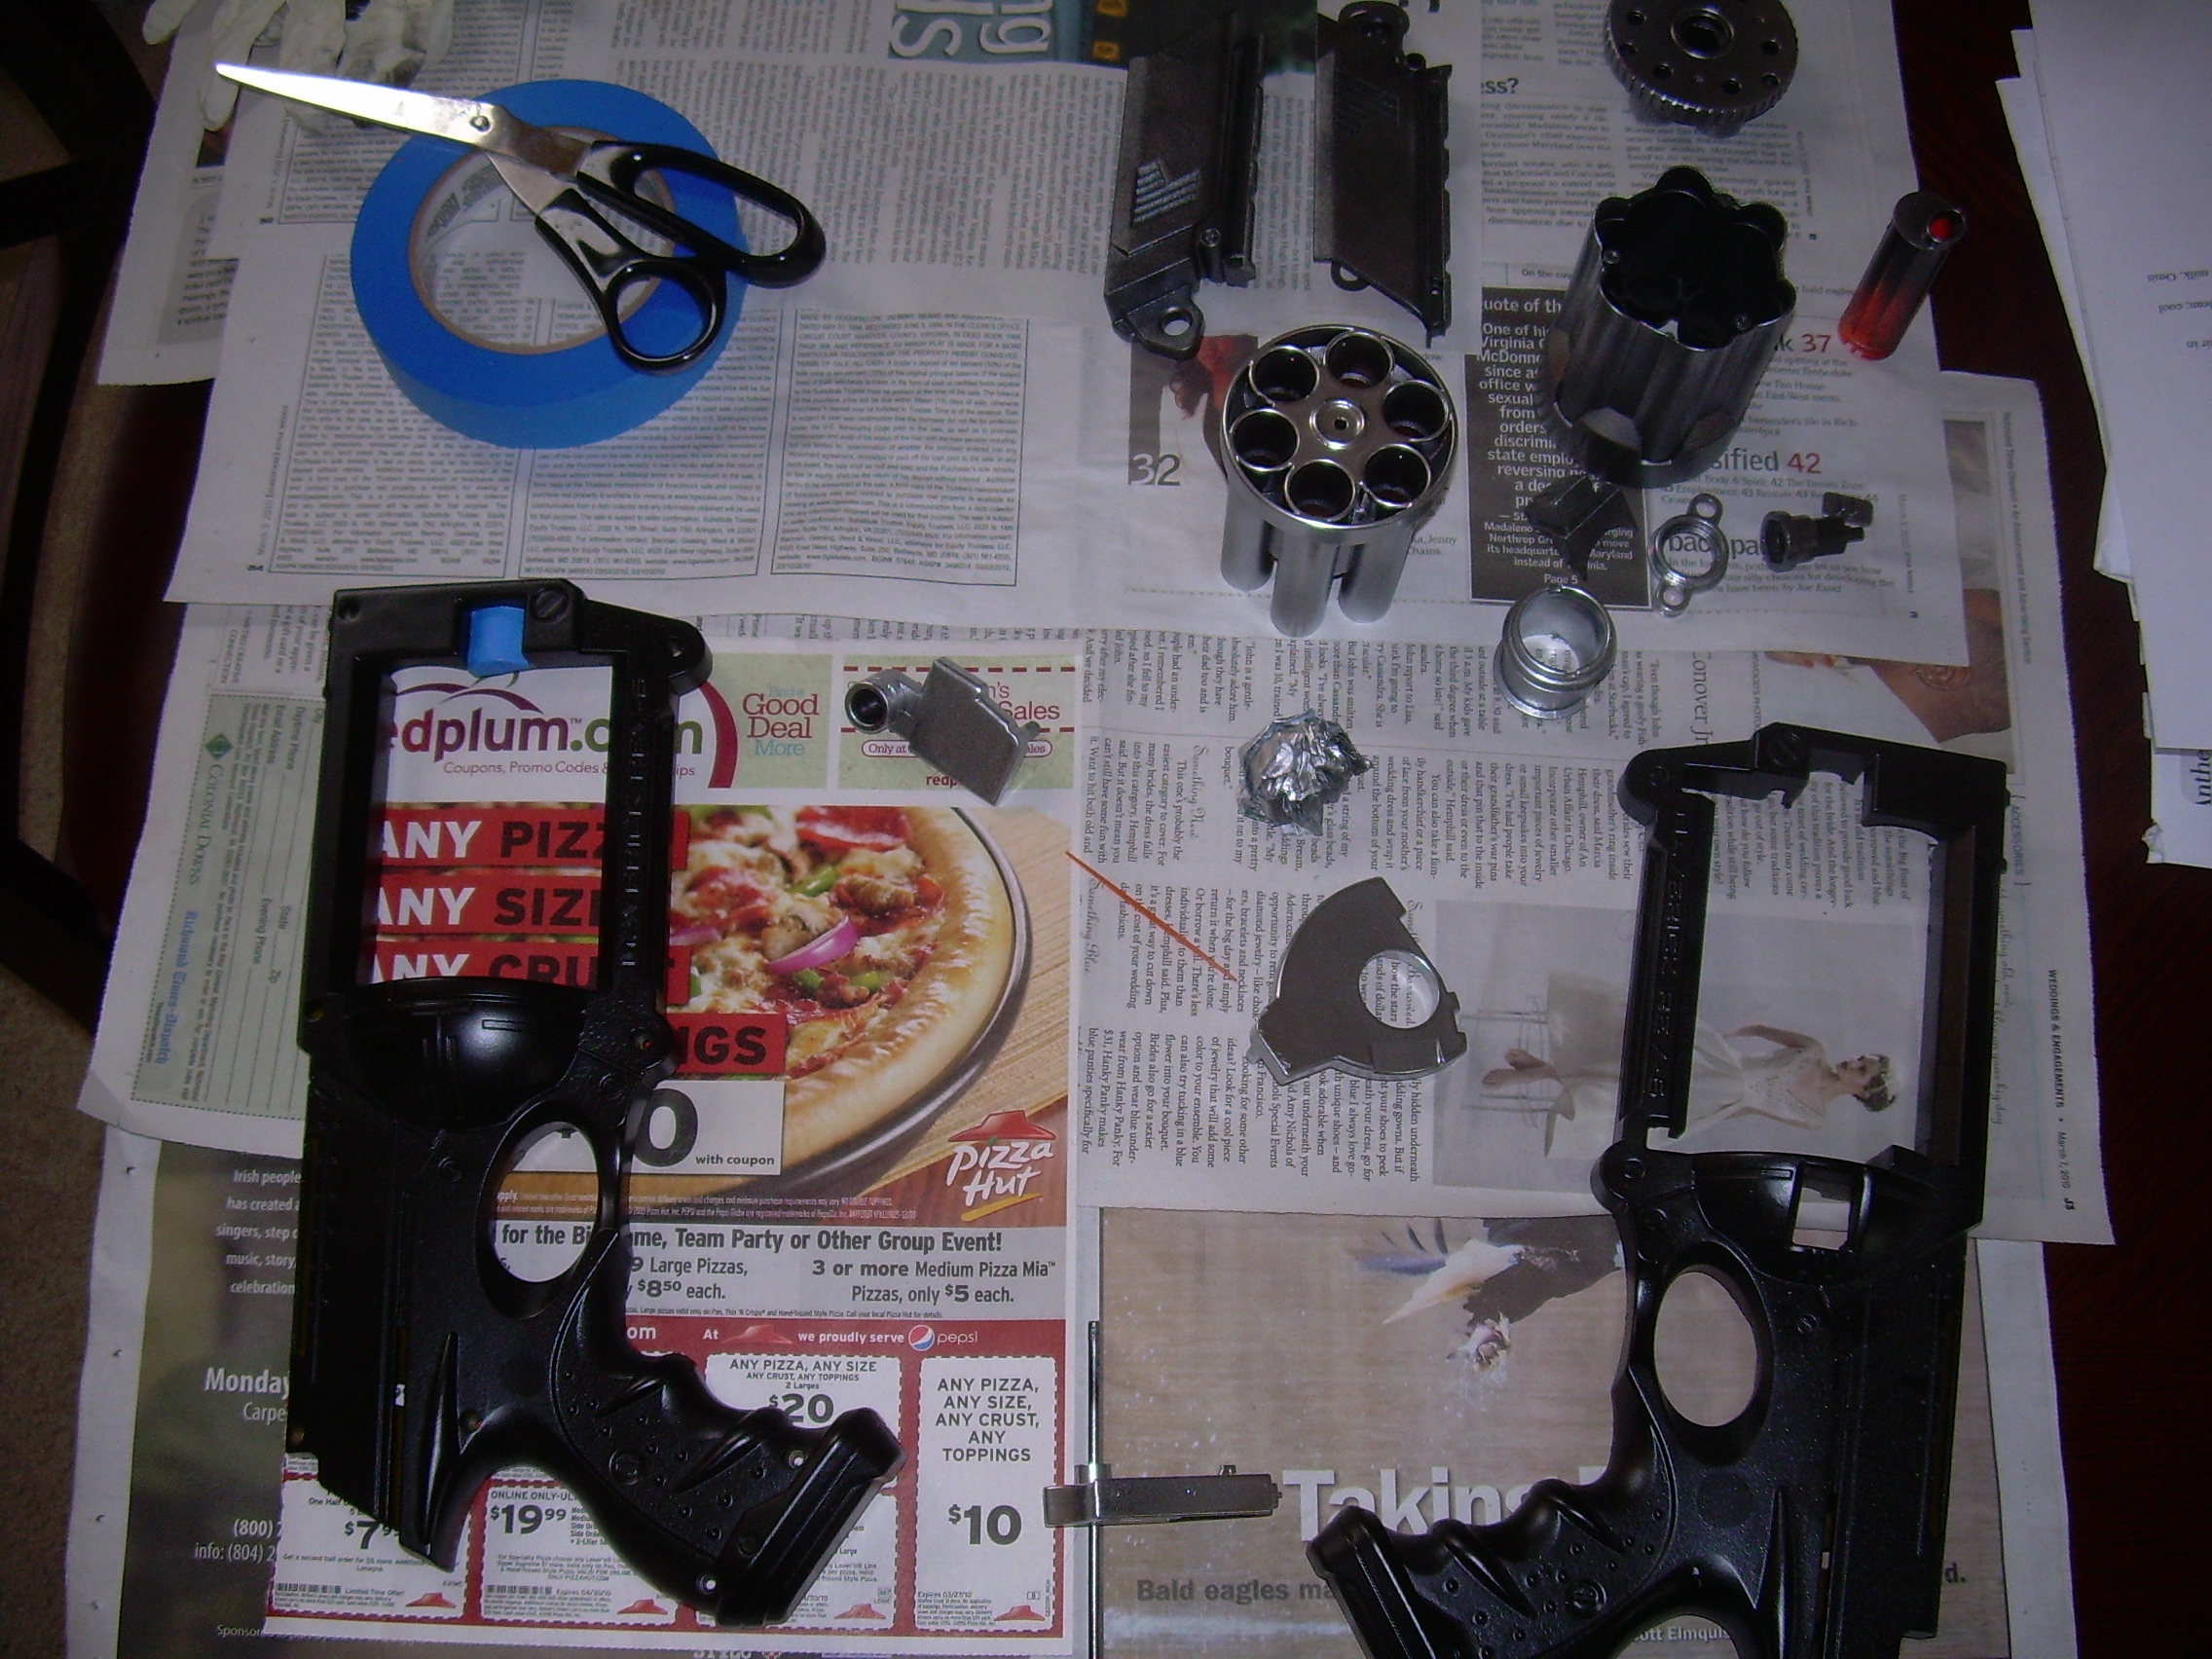
I misted the satin black with the metallic chrome, and this gave me a really neat effect. I call it “dark steel”. It’s more cyberpunk than steampunk, so I decided to paint over it with metallic brass paint (making the paint job even thicker), but it looked really neat, even though you can’t really see it in this photo.
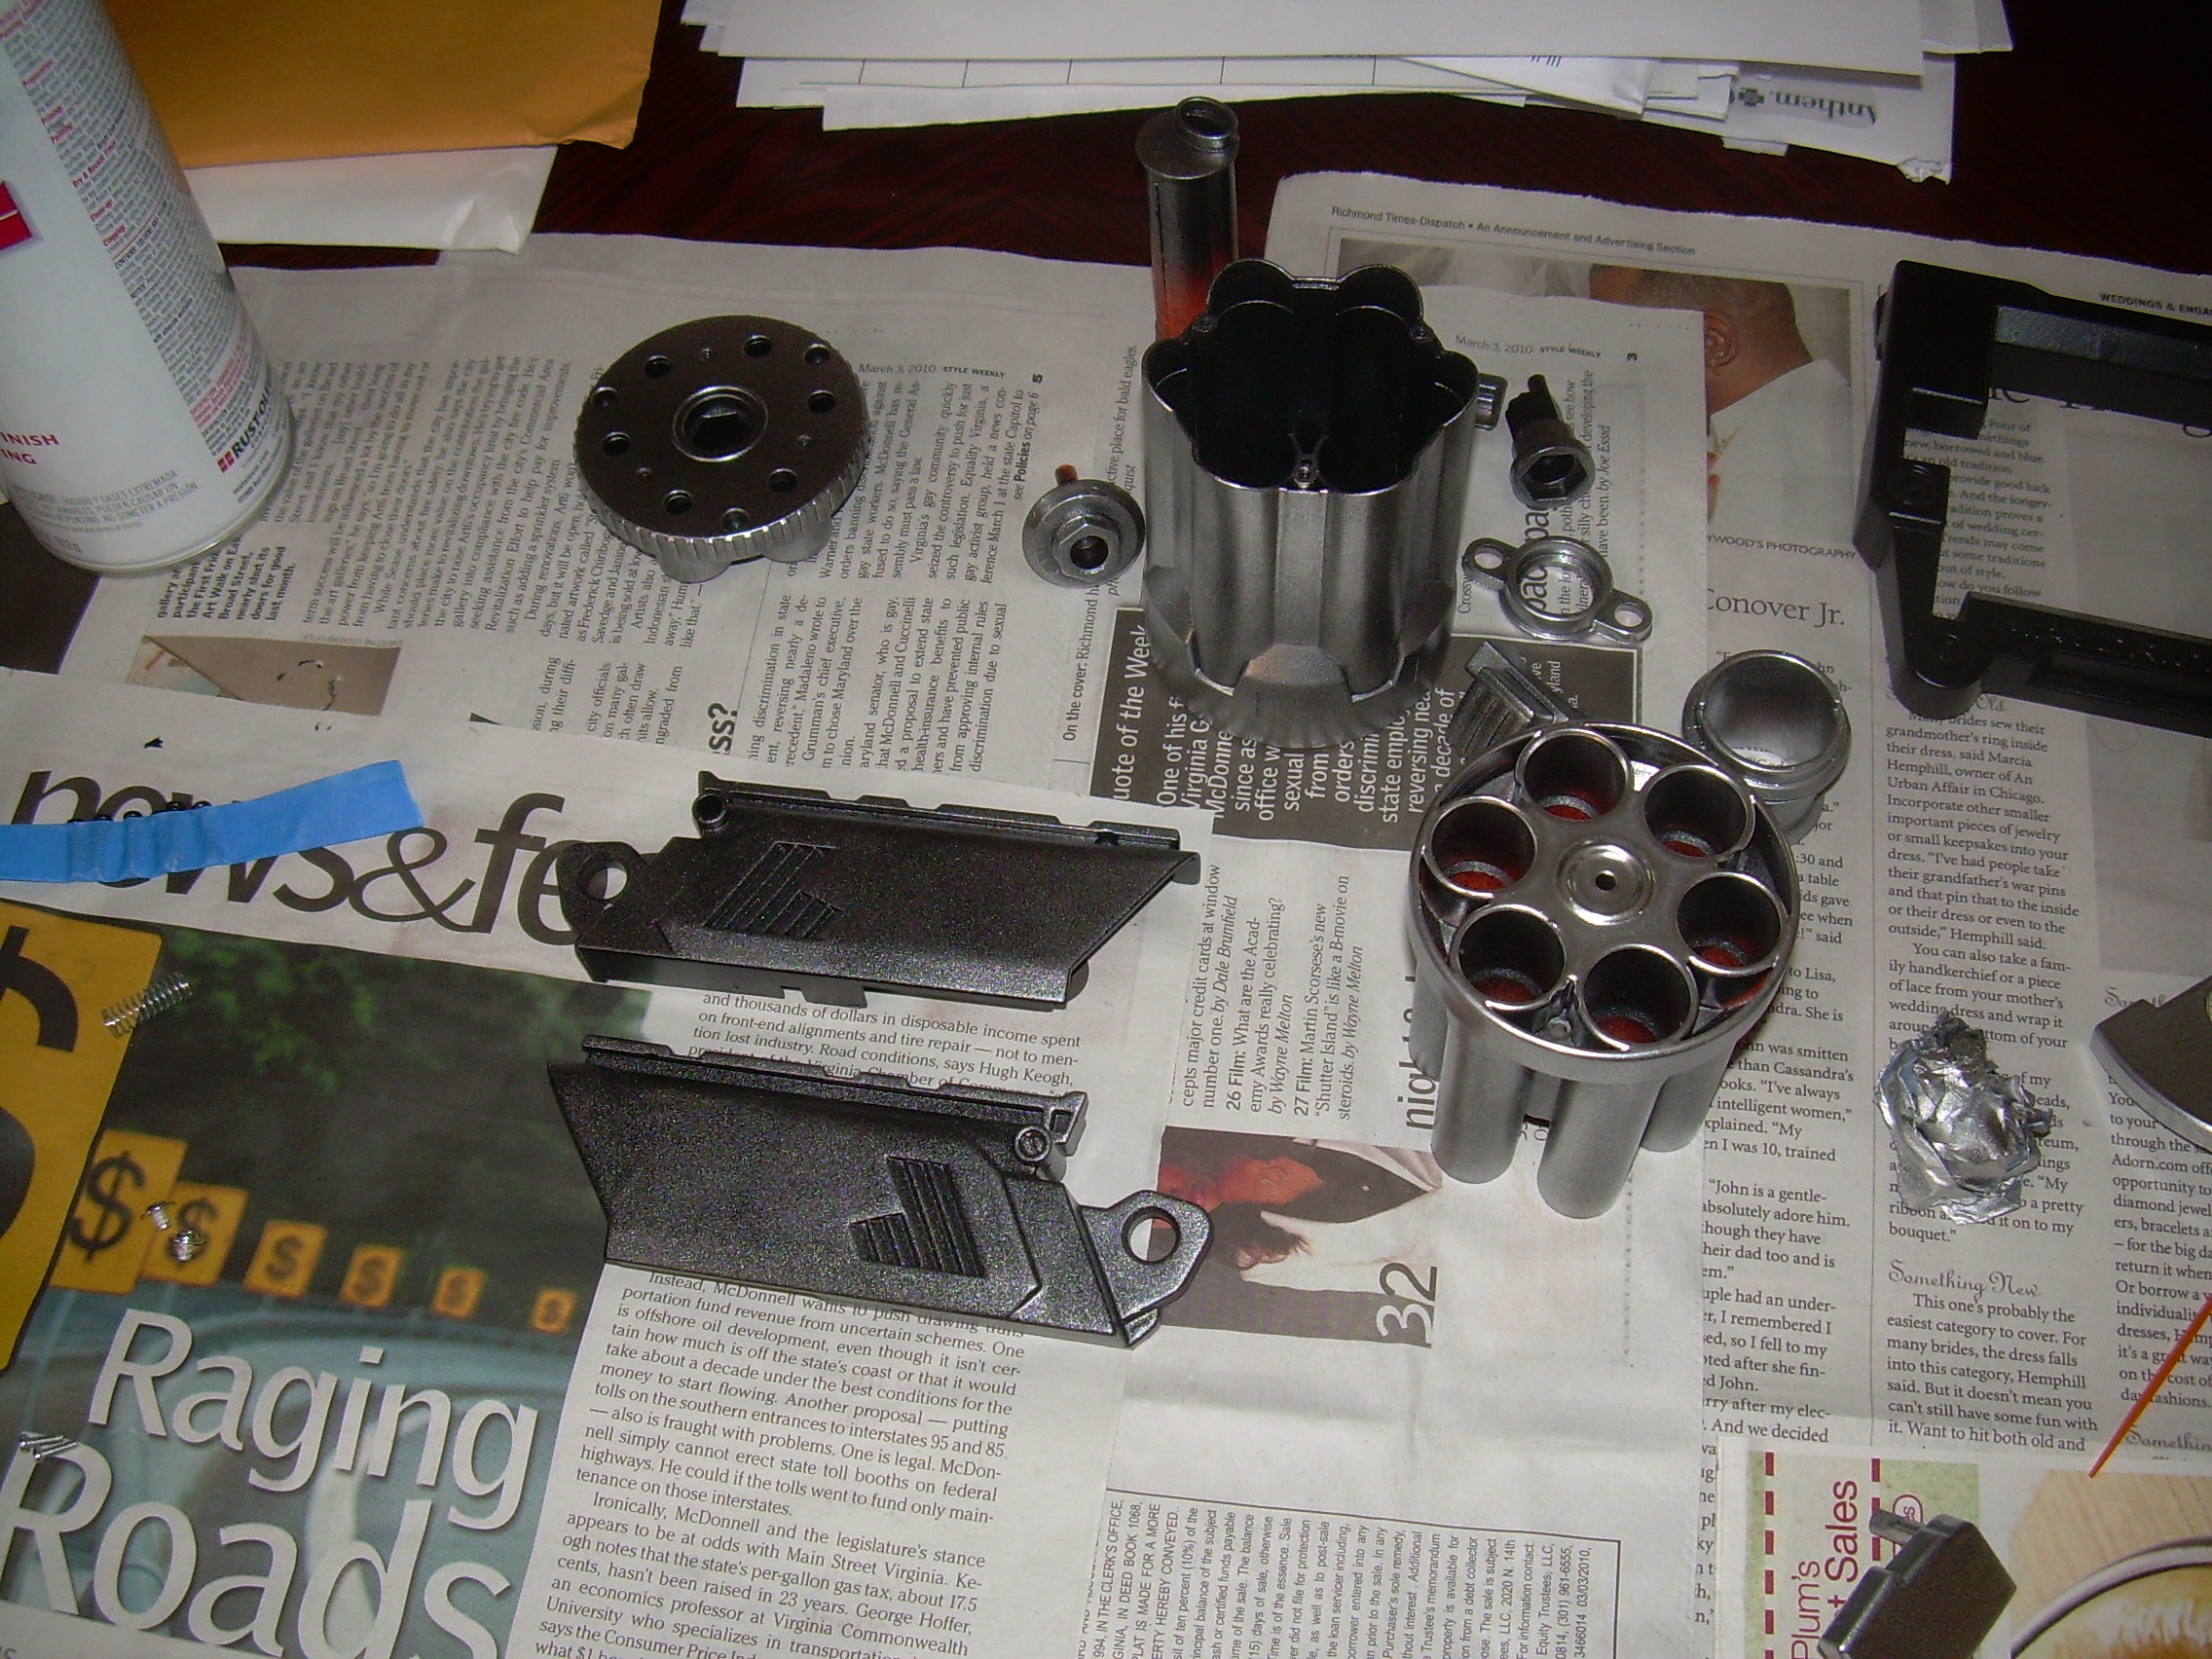
Another coat of the metallic chrome on some parts, and another misting of the metallic chrome on the stain black slide. You can see the “dark steel” effect a bit better here.
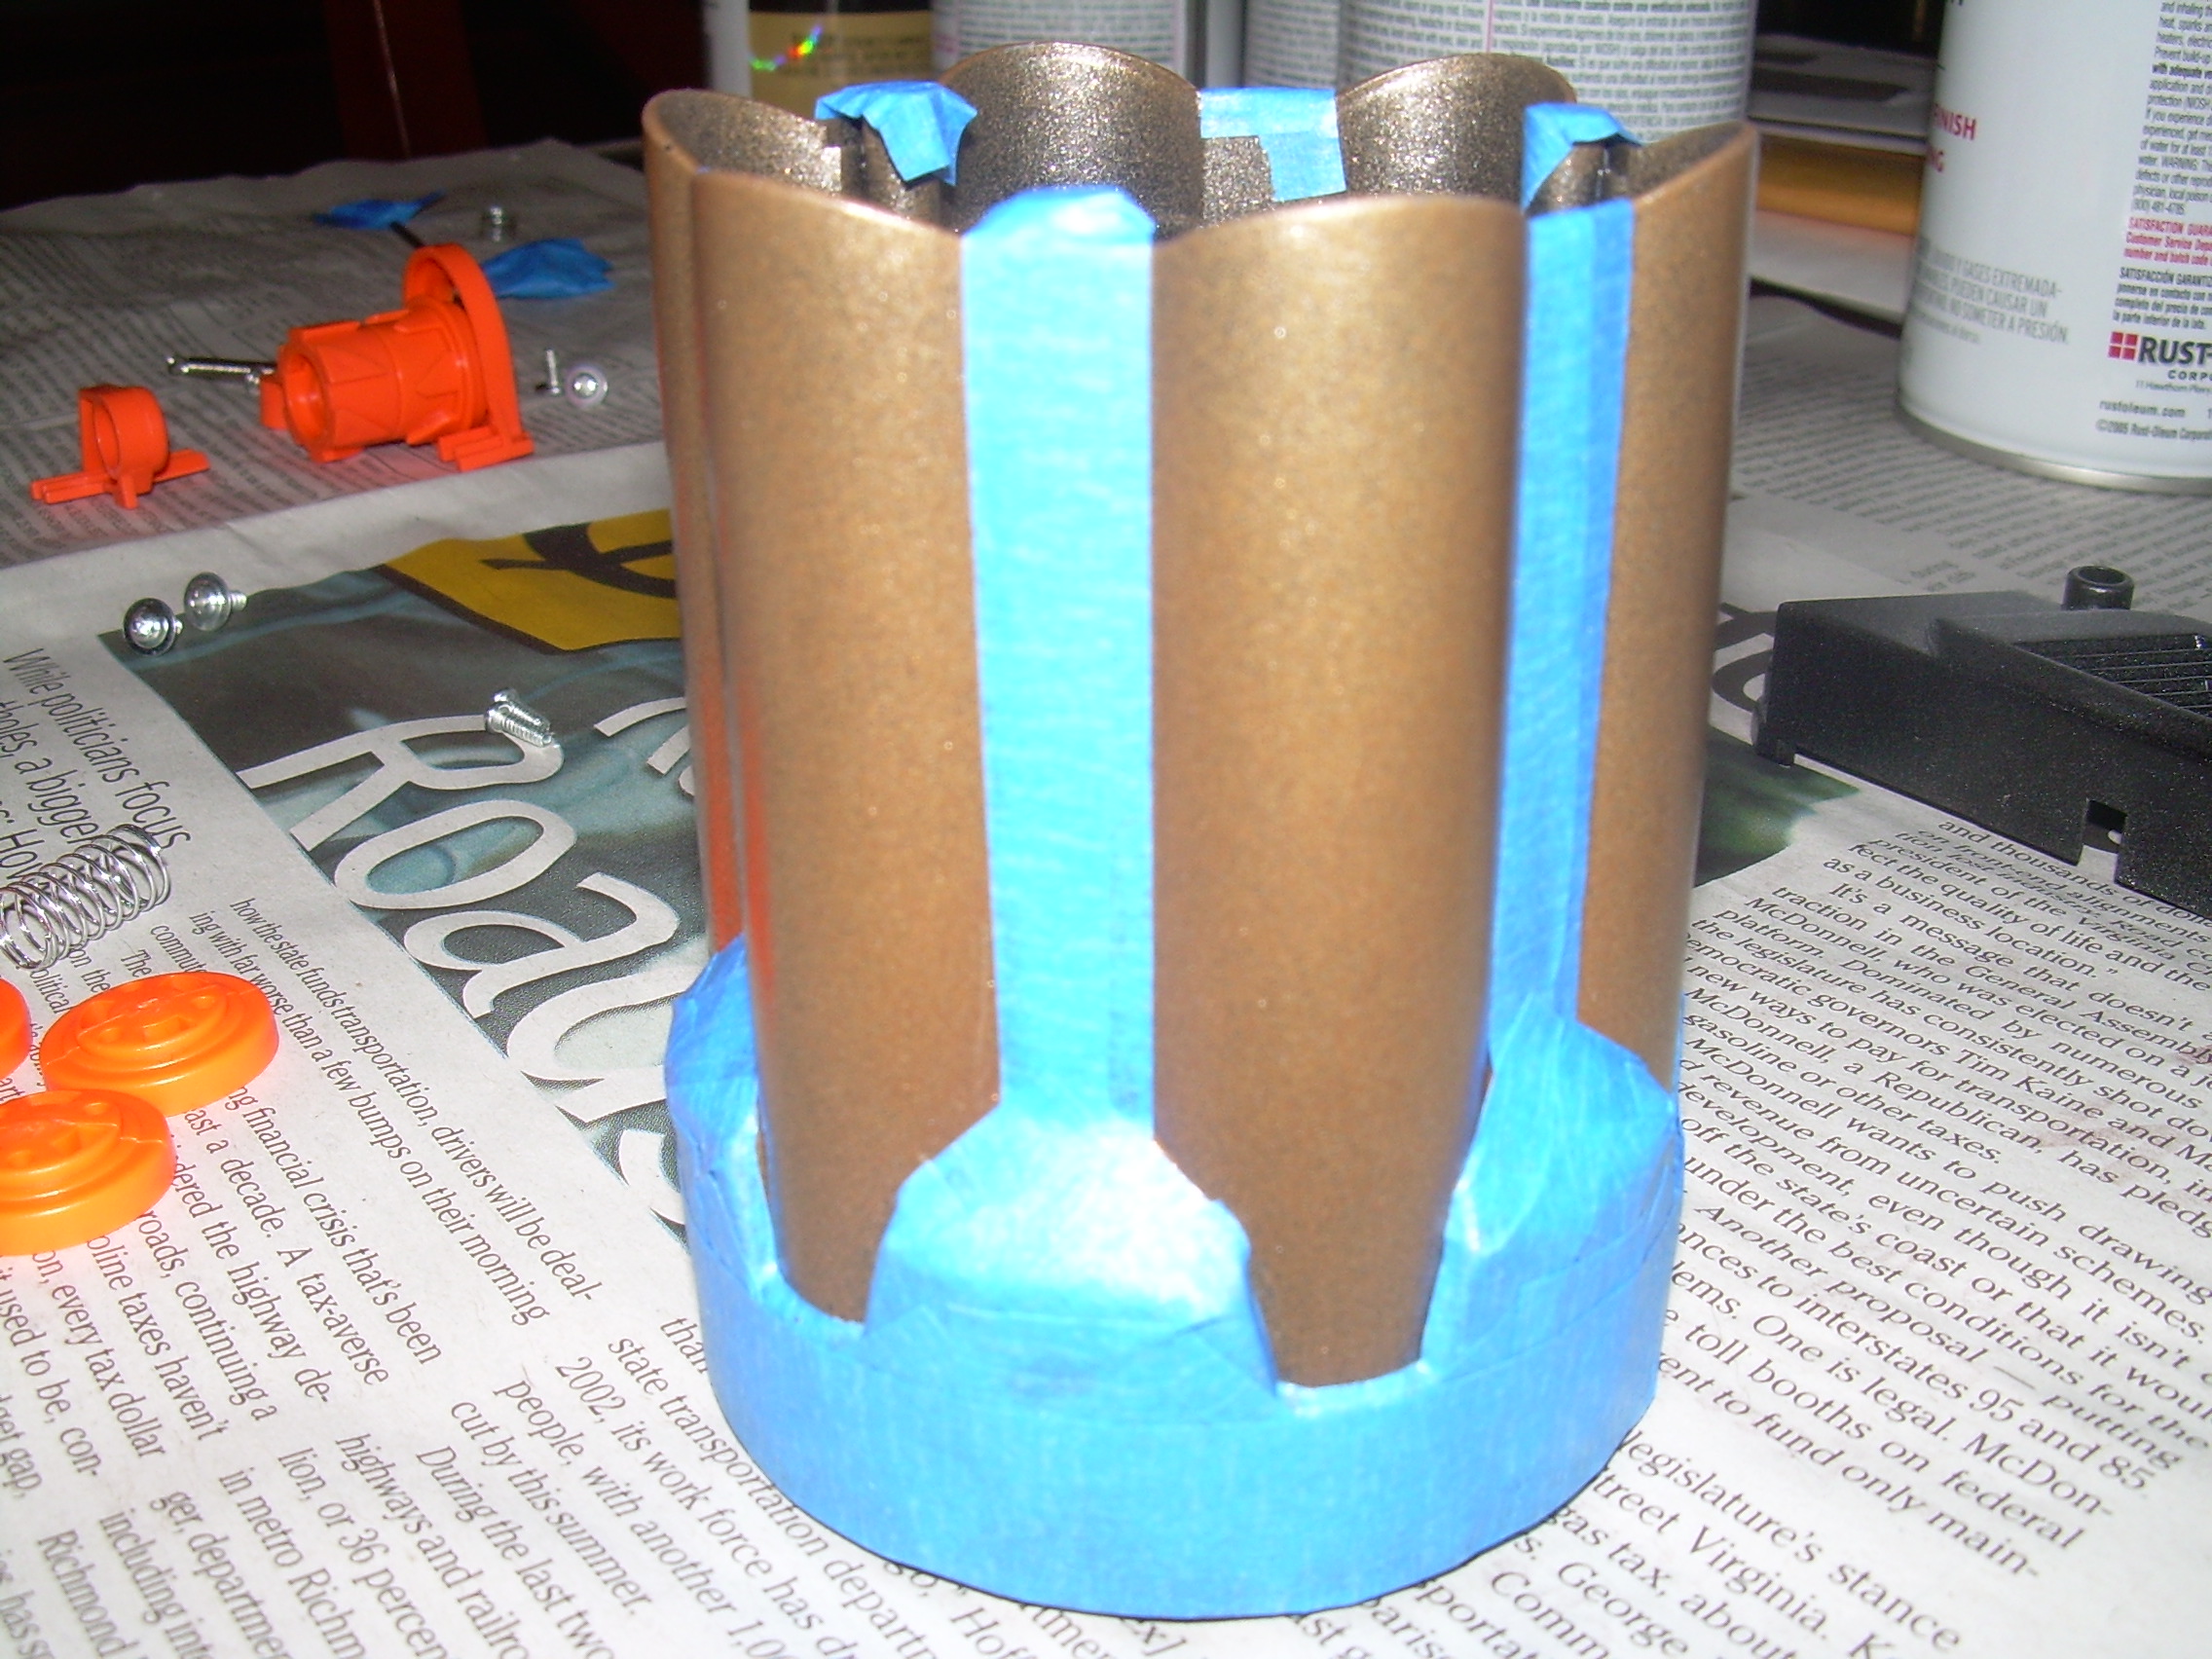
Masking off the cylinder was the single most tedious part of this whole project.
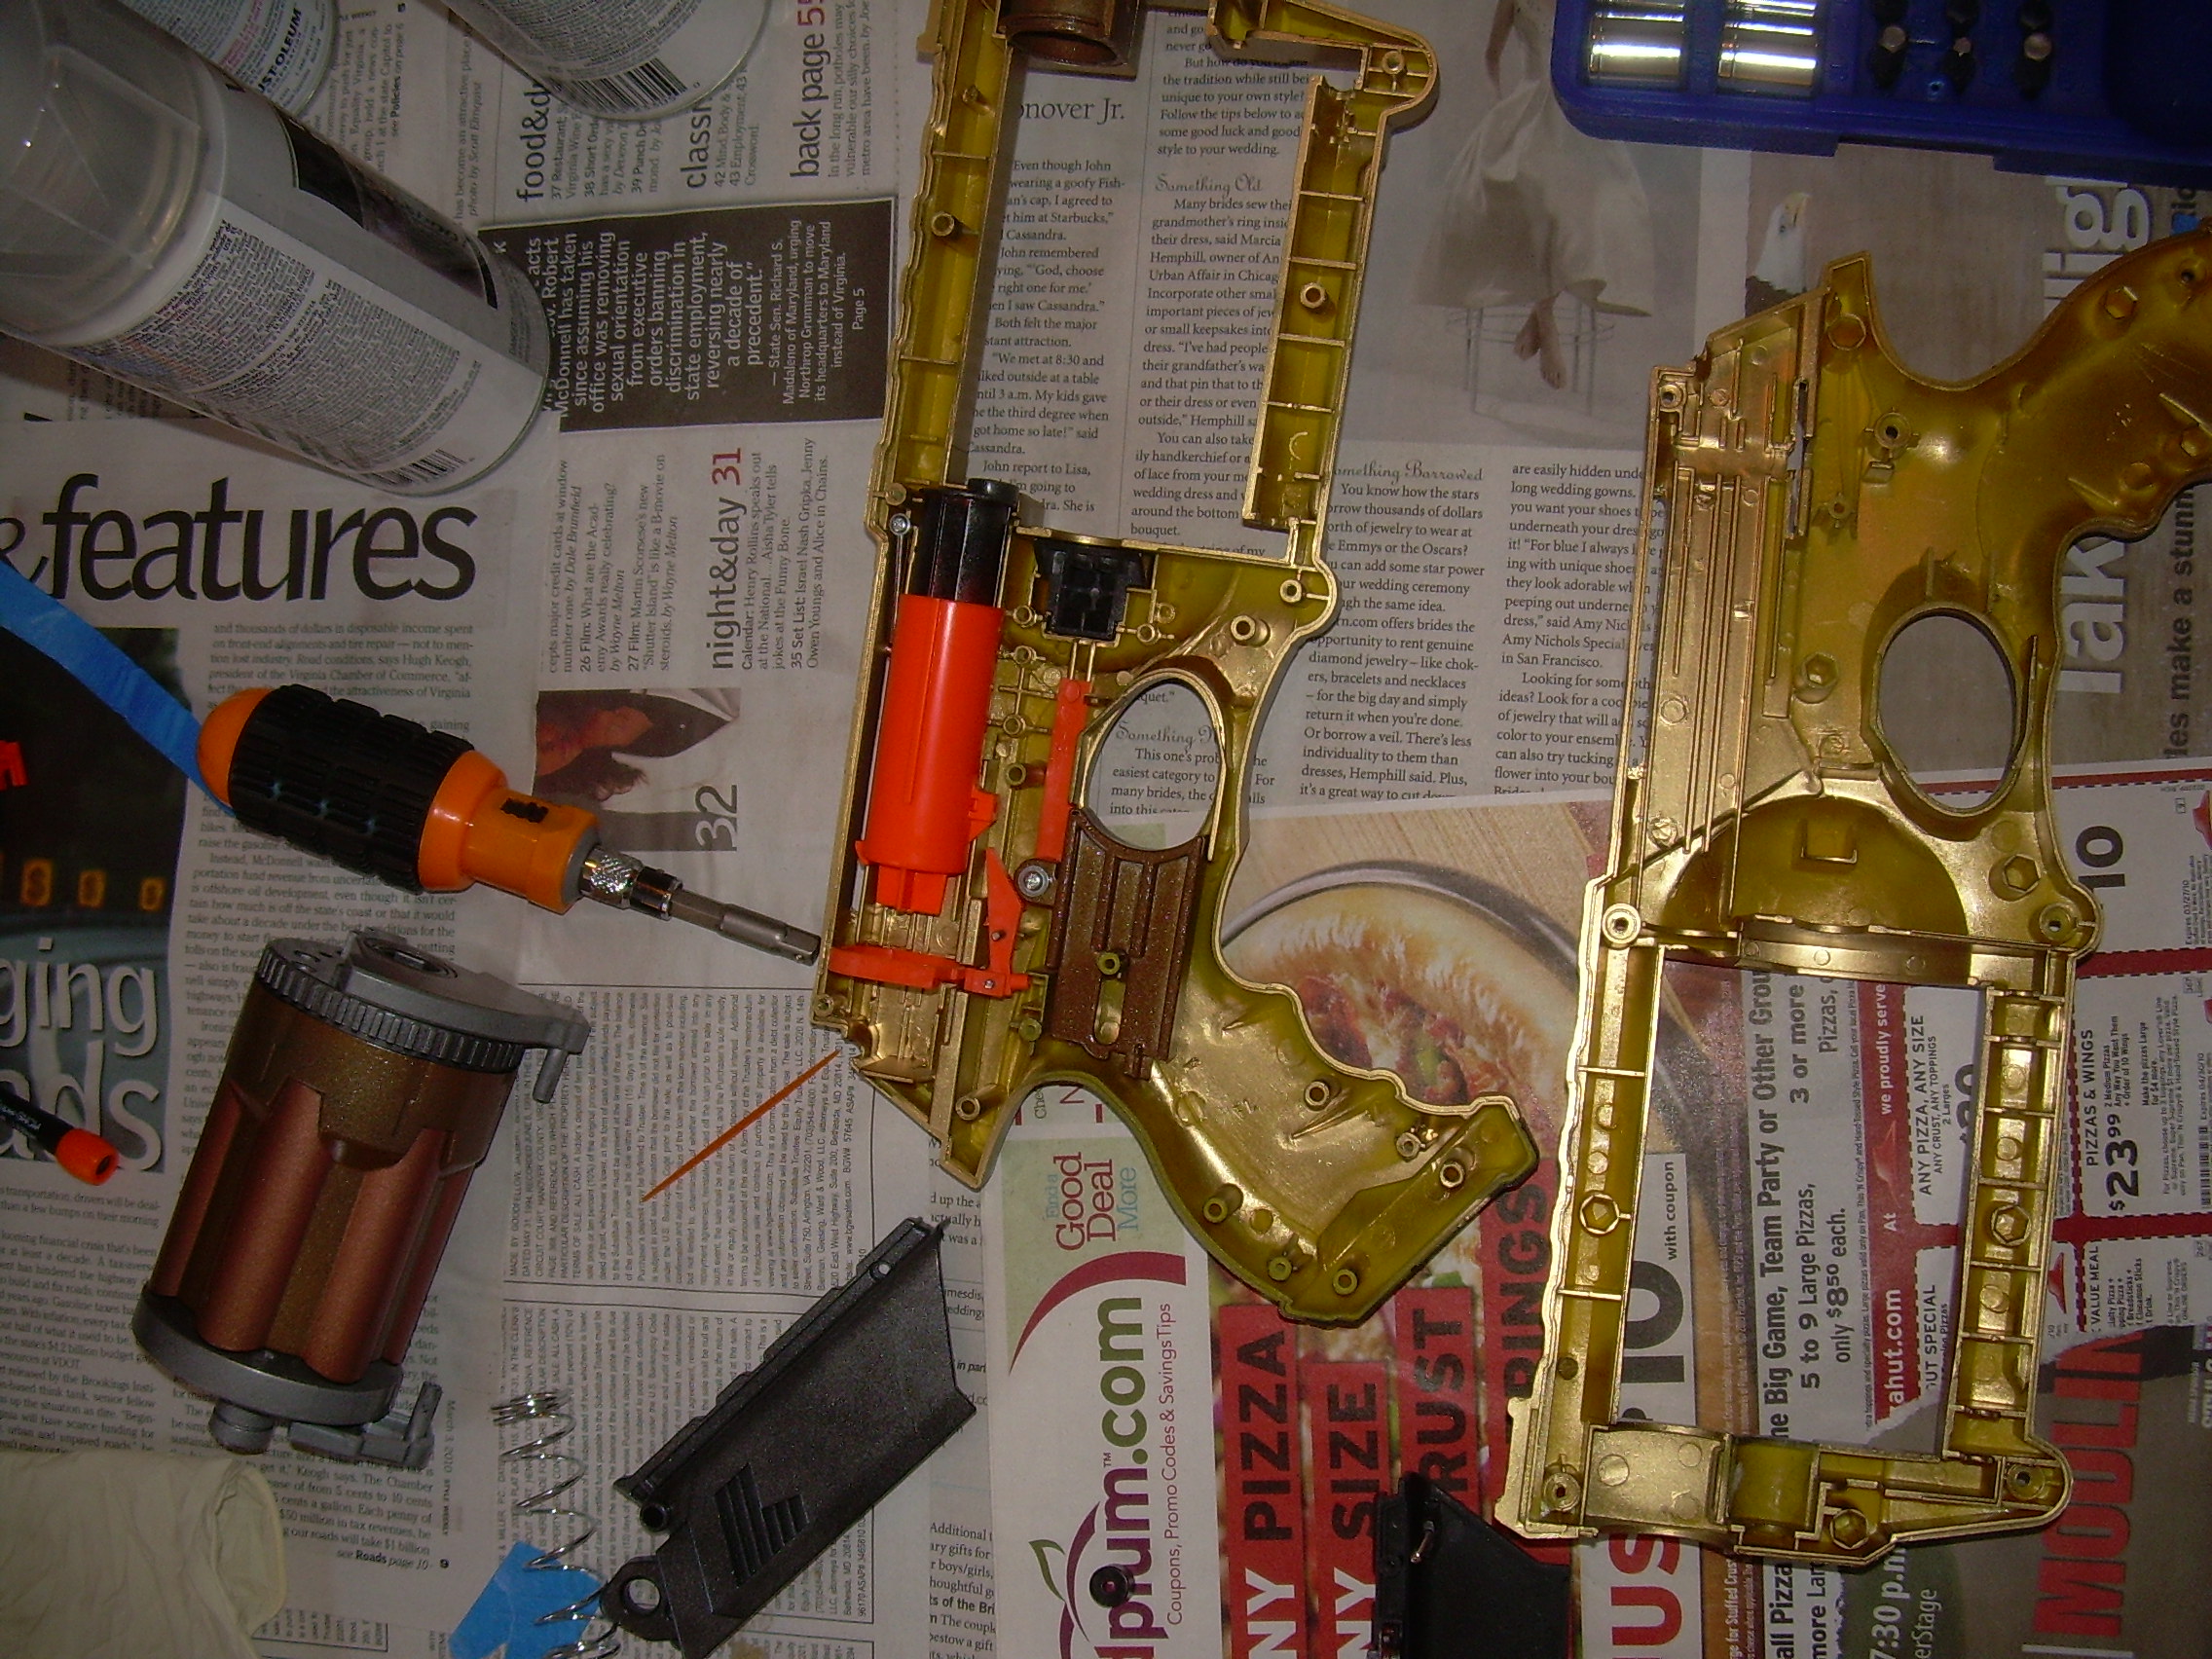
Here the frame has been painted with the metallic brass, and everything has been given several coats of glossy clear lacquer (making the paint even thicker),and I am starting to reassemble it.
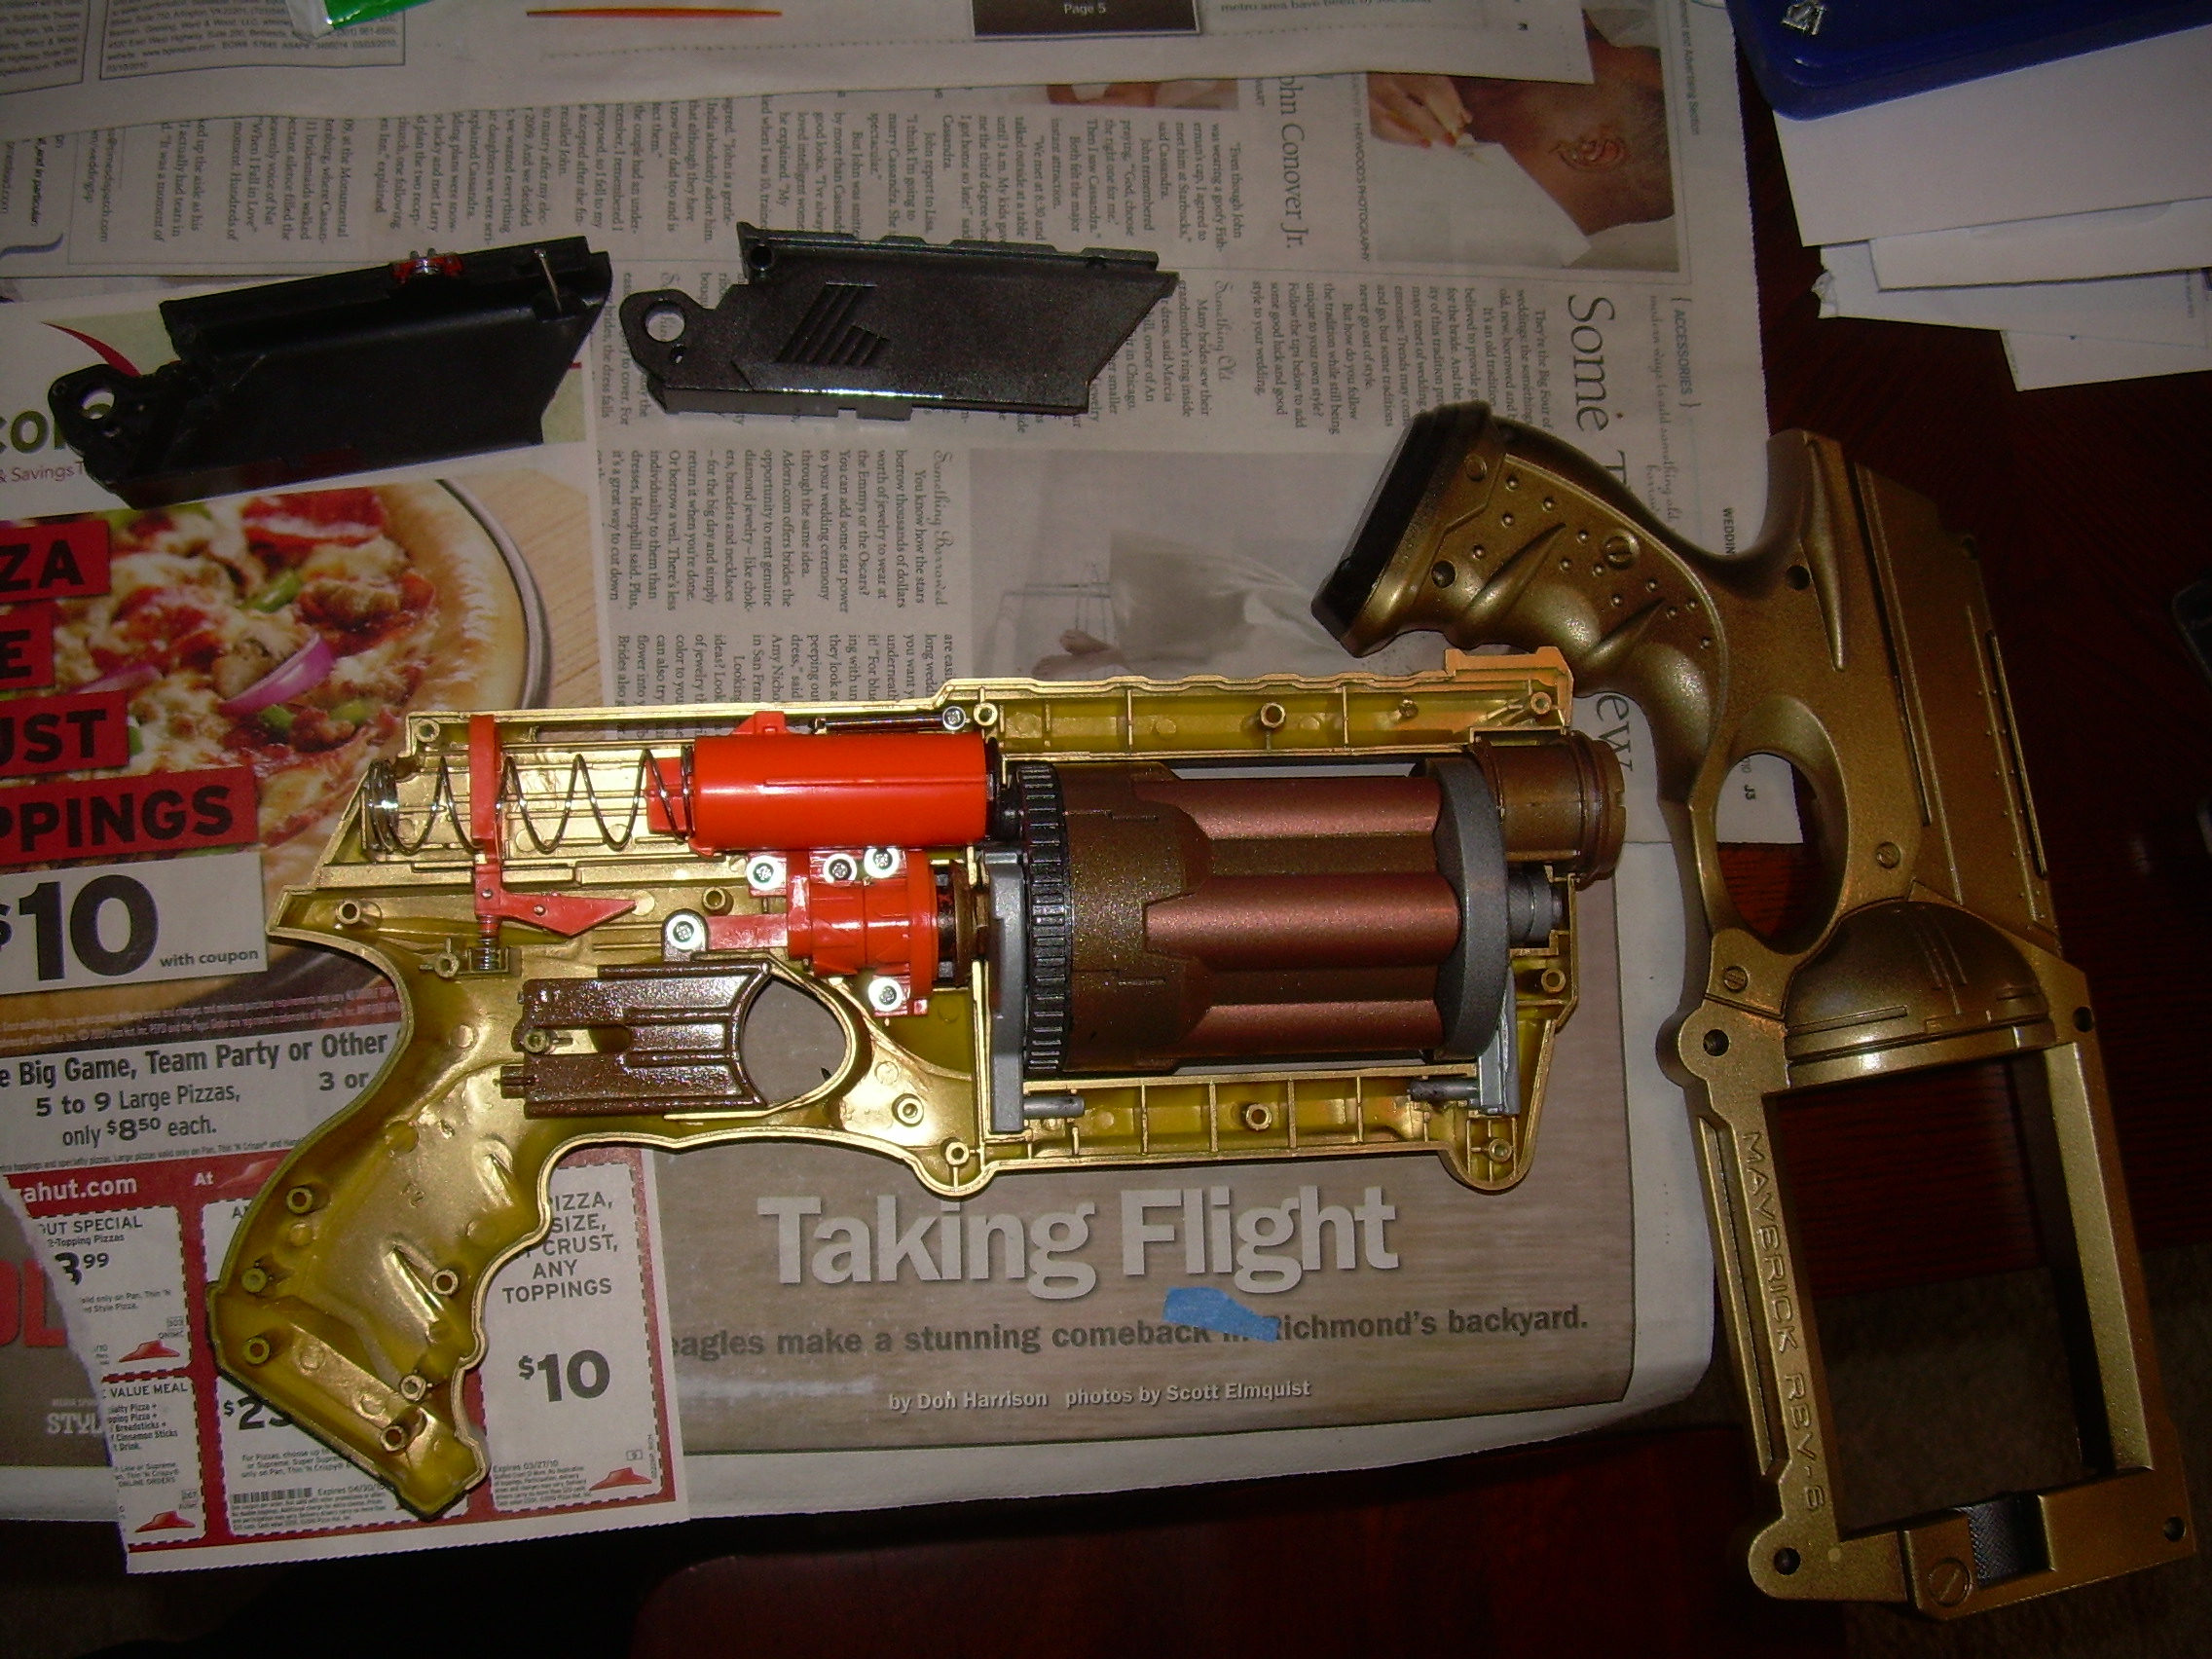
Here the cylinder has been assembled and inserted, and the frame is nearly reassembled. I had to take apart my other Nerf Maverick to see how to put everything back together, because there are a lot of very similar — but not identical — springs, and I was not sure which went where.
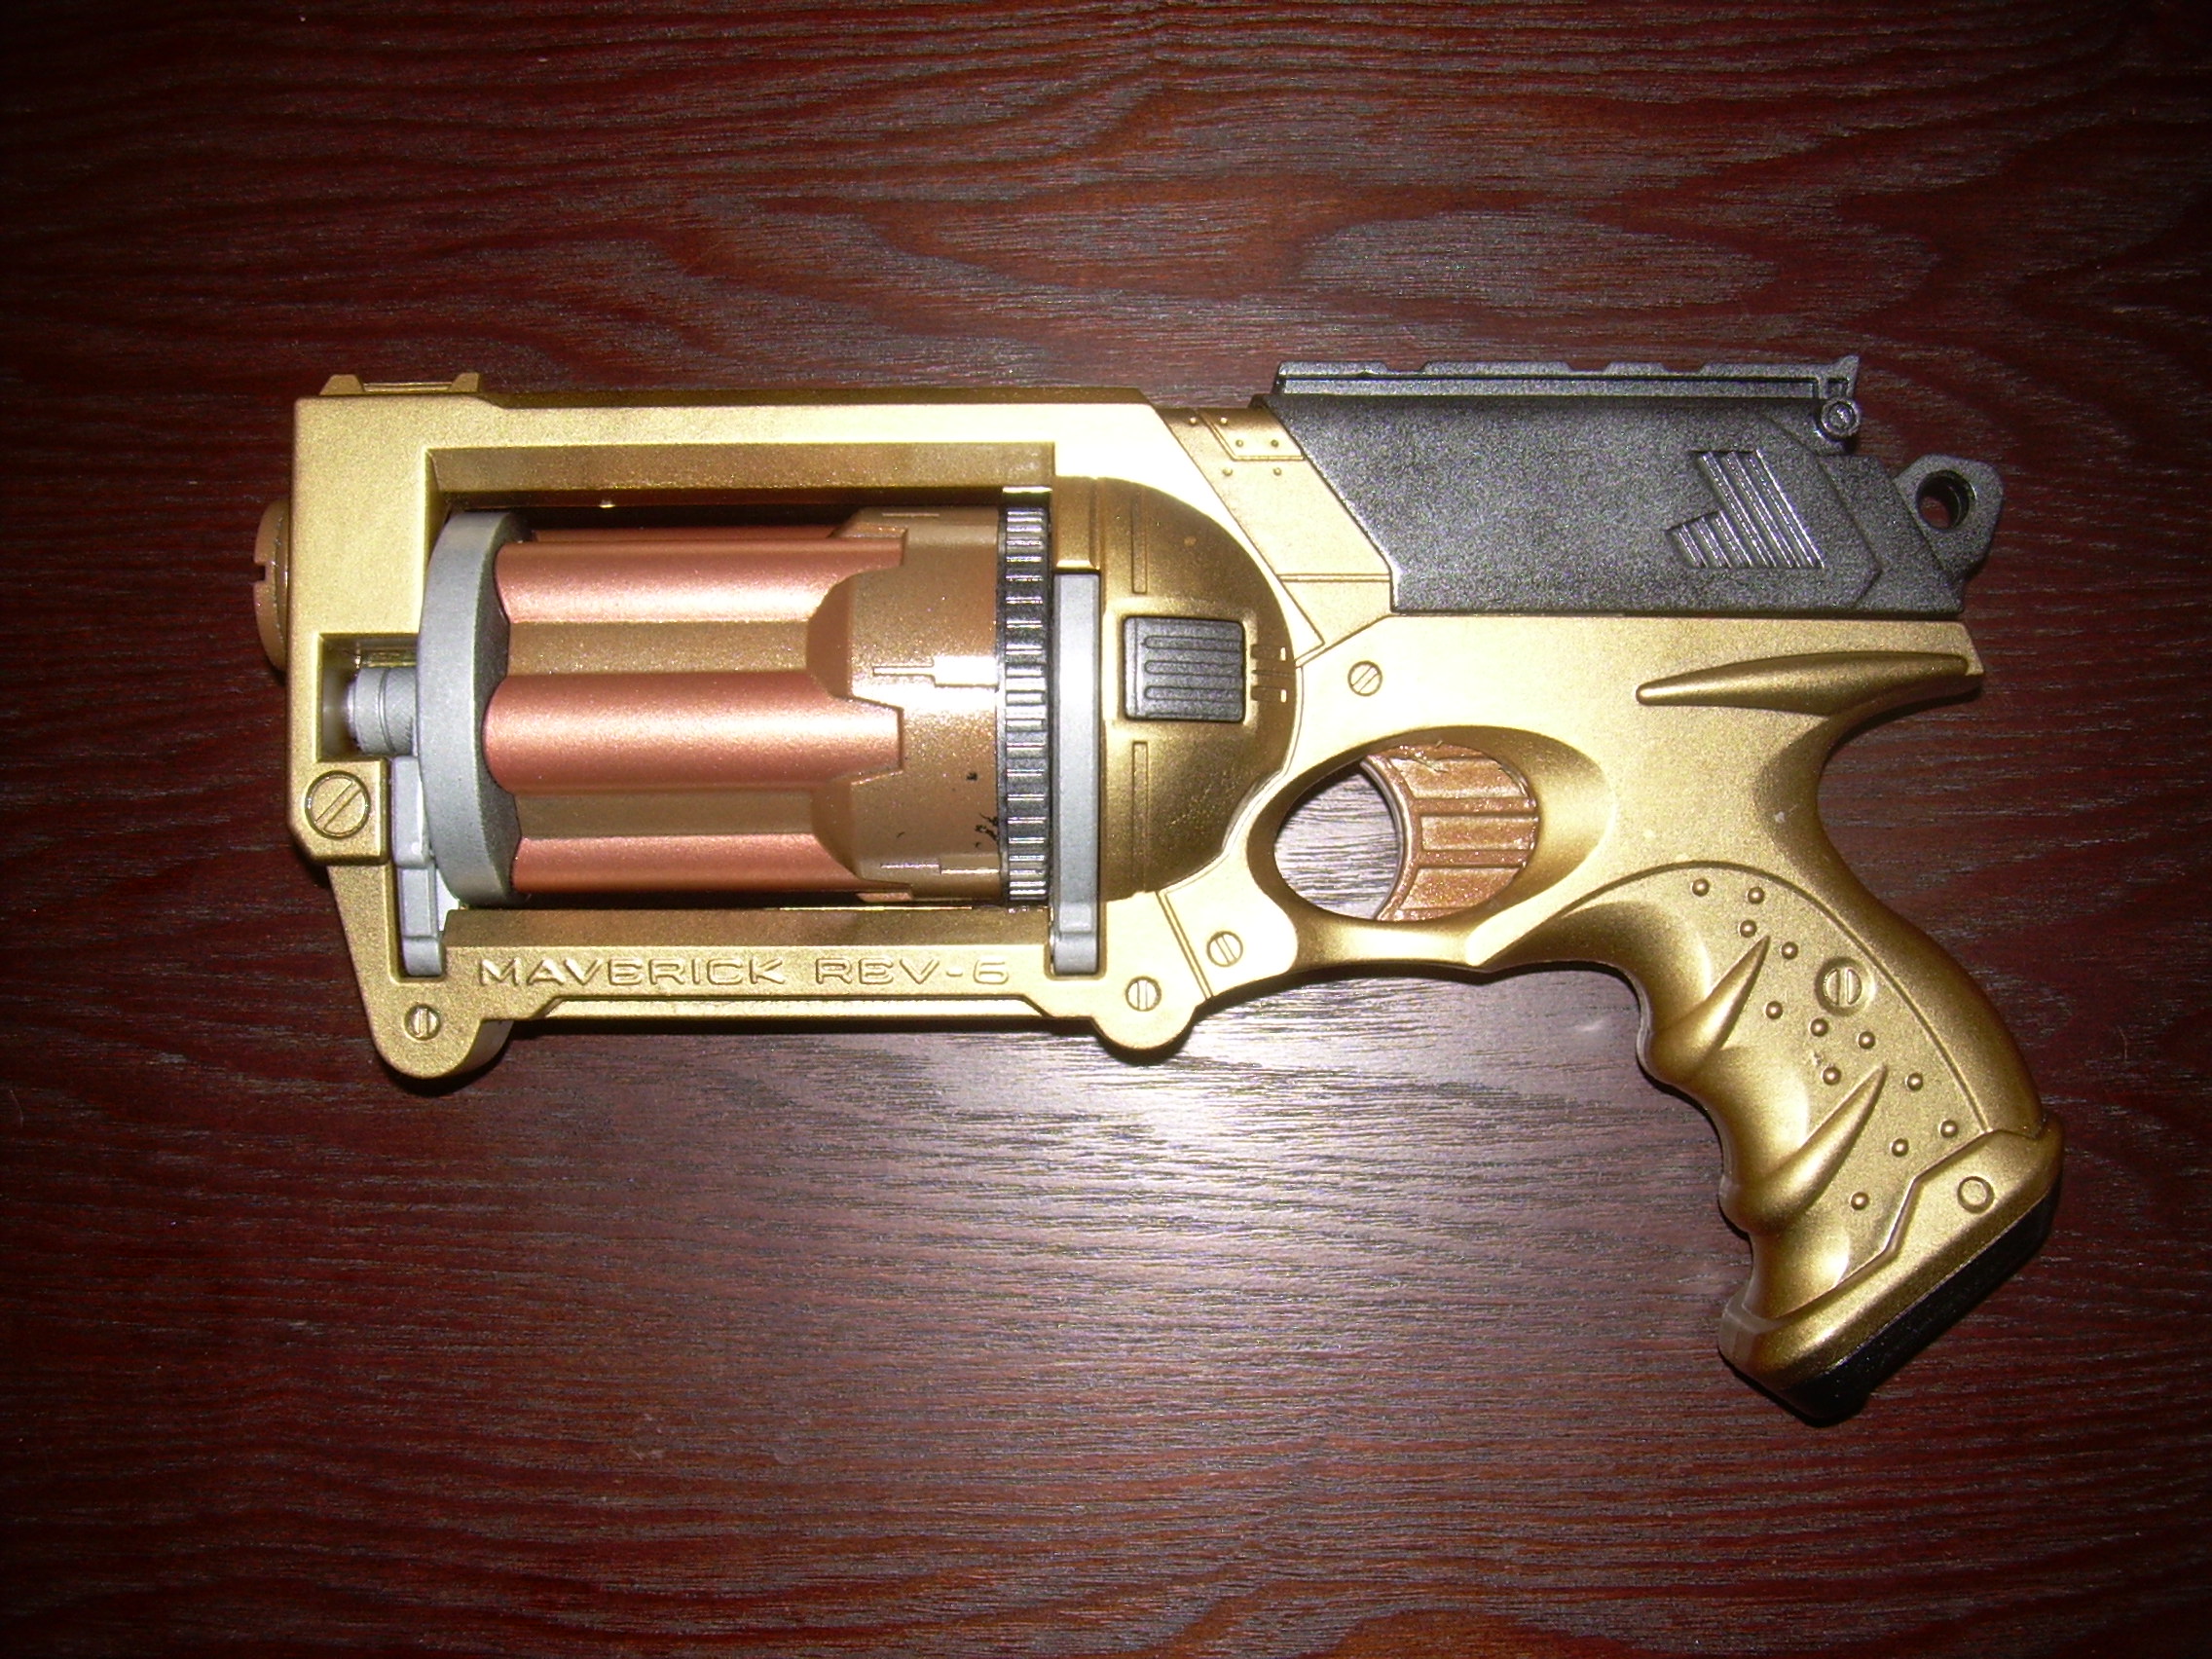
And here we are, all assembled and more or less functional. The failure to fire rate is something like 75%, which is horrible. I think it’s because the paint is so darn thick. Still, it’s not bad looking for a costume prop. I like most of this color scheme, and I think my “real” attempt will greatly benefit from what I learned on this prototype. For example, flat clearcoat on metallic chrome paint turns it plain old grey.
By the way, if you use lubricant, use silicone lubricant from an auto parts store. Vaseline, WD-40, etc. will eat the damage the plastic.
![[x]](/images/sigil_md.jpg) Blackmoor Vituperative
Blackmoor Vituperative