This is an attempt to recreate a “how to” I wrote back in 2003 on replacing the 2003 Hyundai Tiburon stock antenna with an electric, retractable antenna. My memory is not the best, so any details that I have forgotten… well, they’re gone. Sorry.
Required materials
2003 Hyundai Tiburon
electric retractable antenna
10mm wrench
adjustable wrench
channel lock pliers
90 degree ratchet Phillips screwdriver
90 degree flathead screwdriver
tire iron
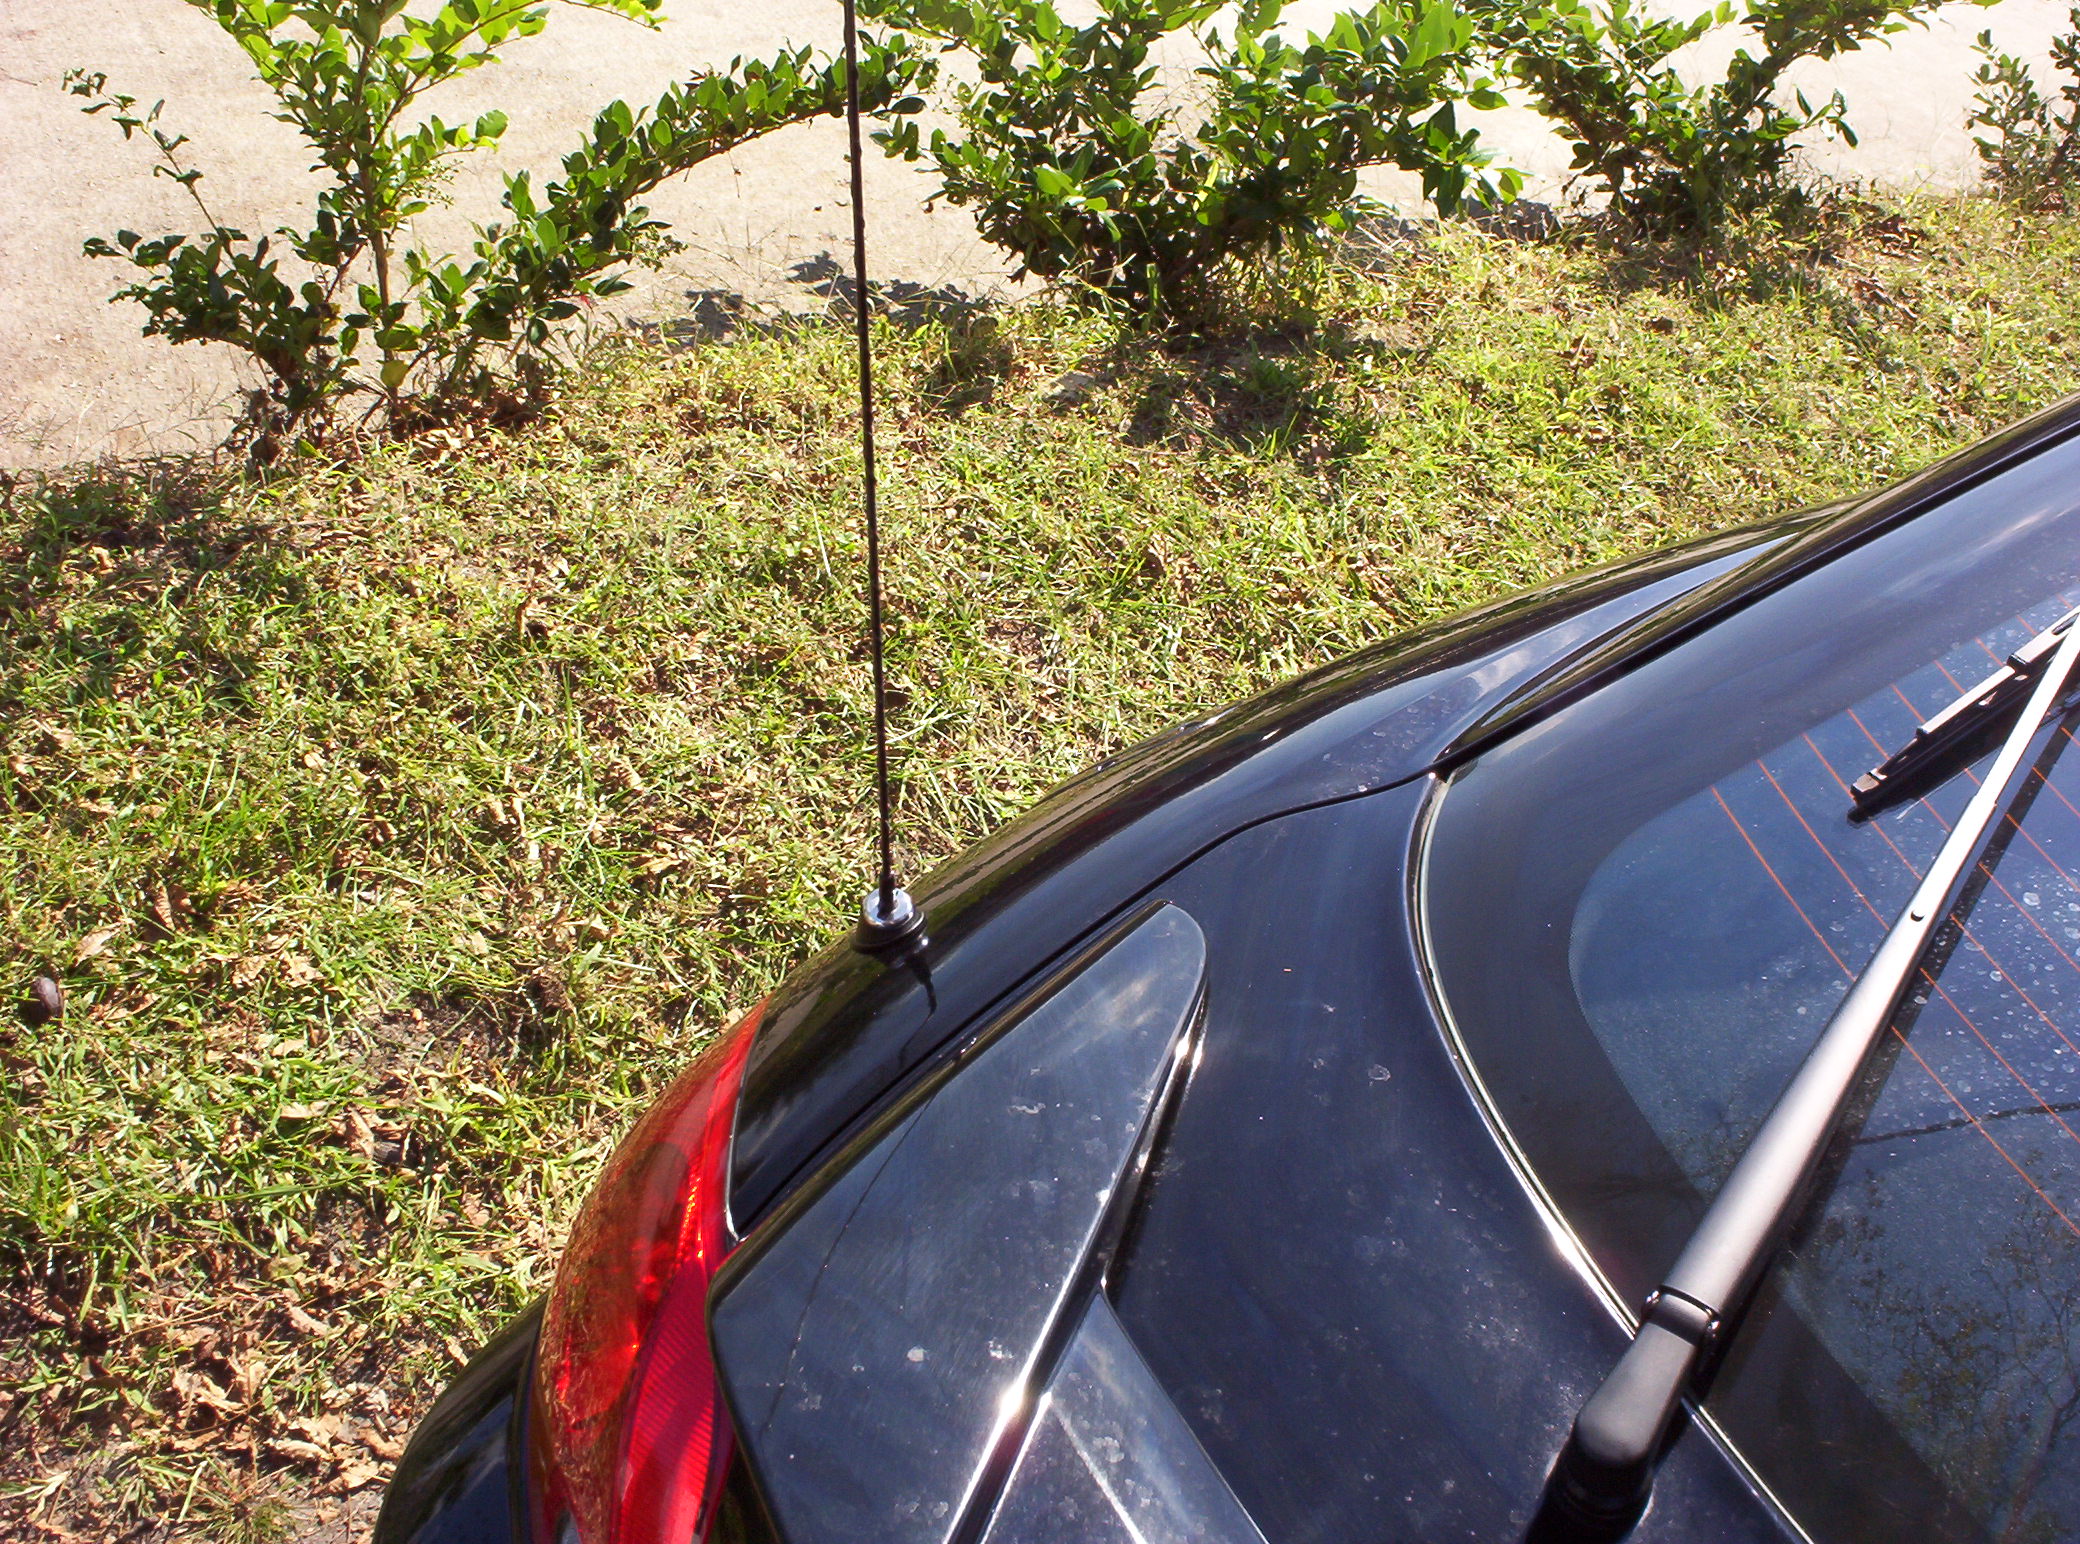
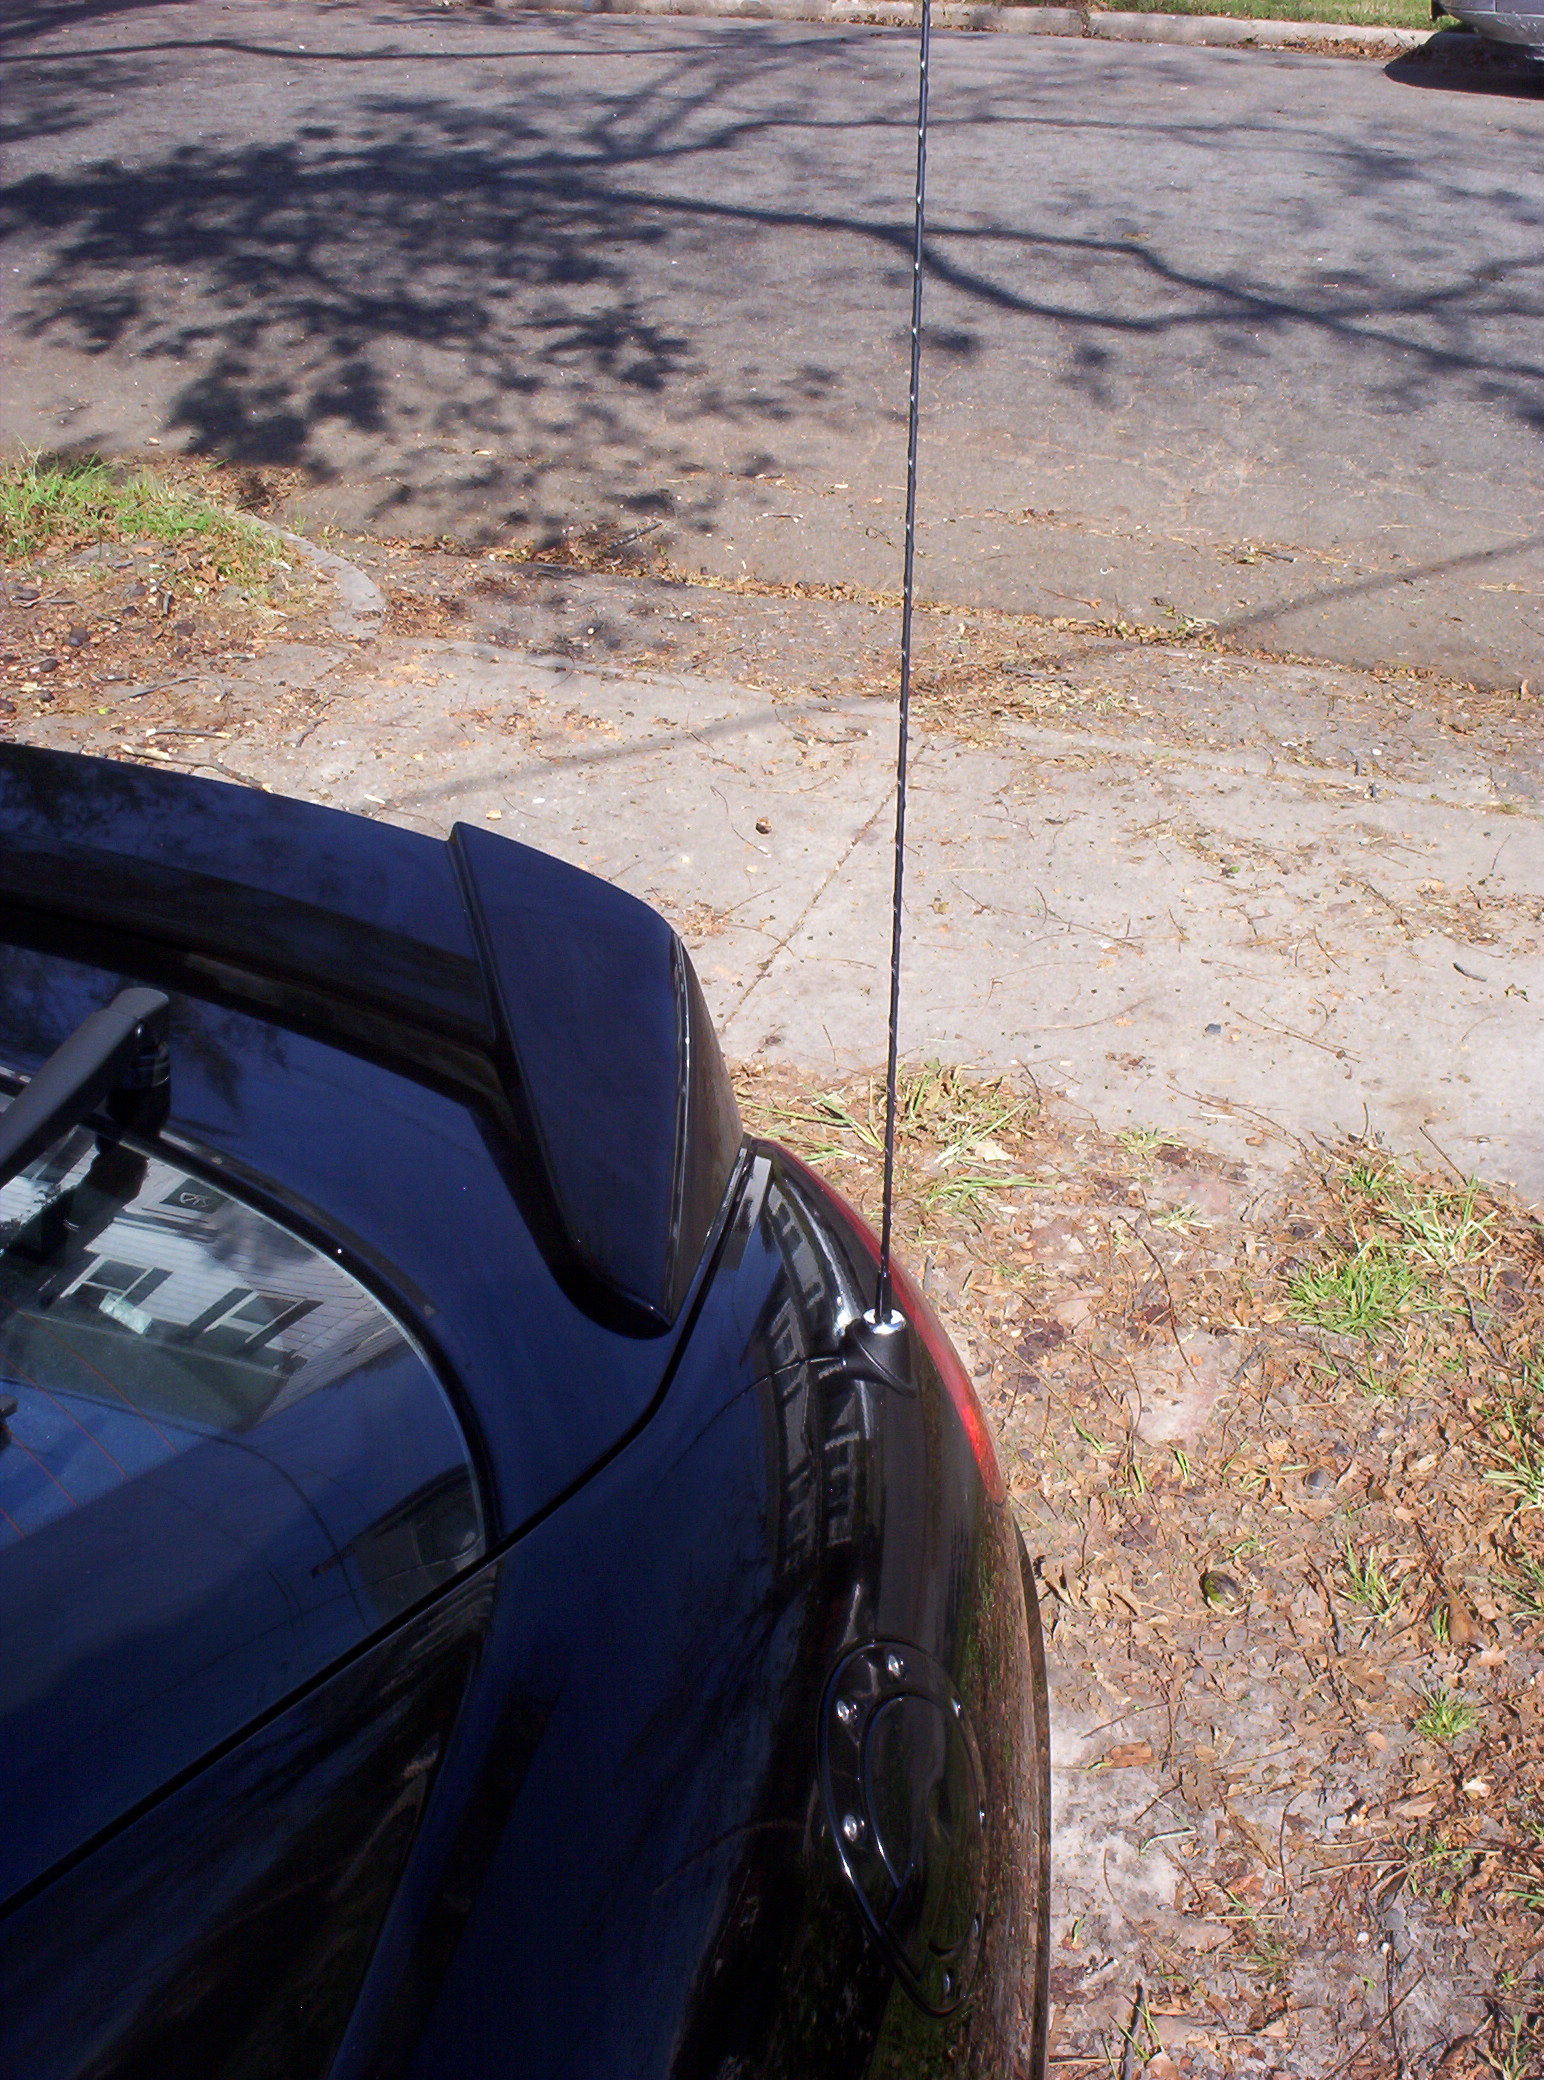
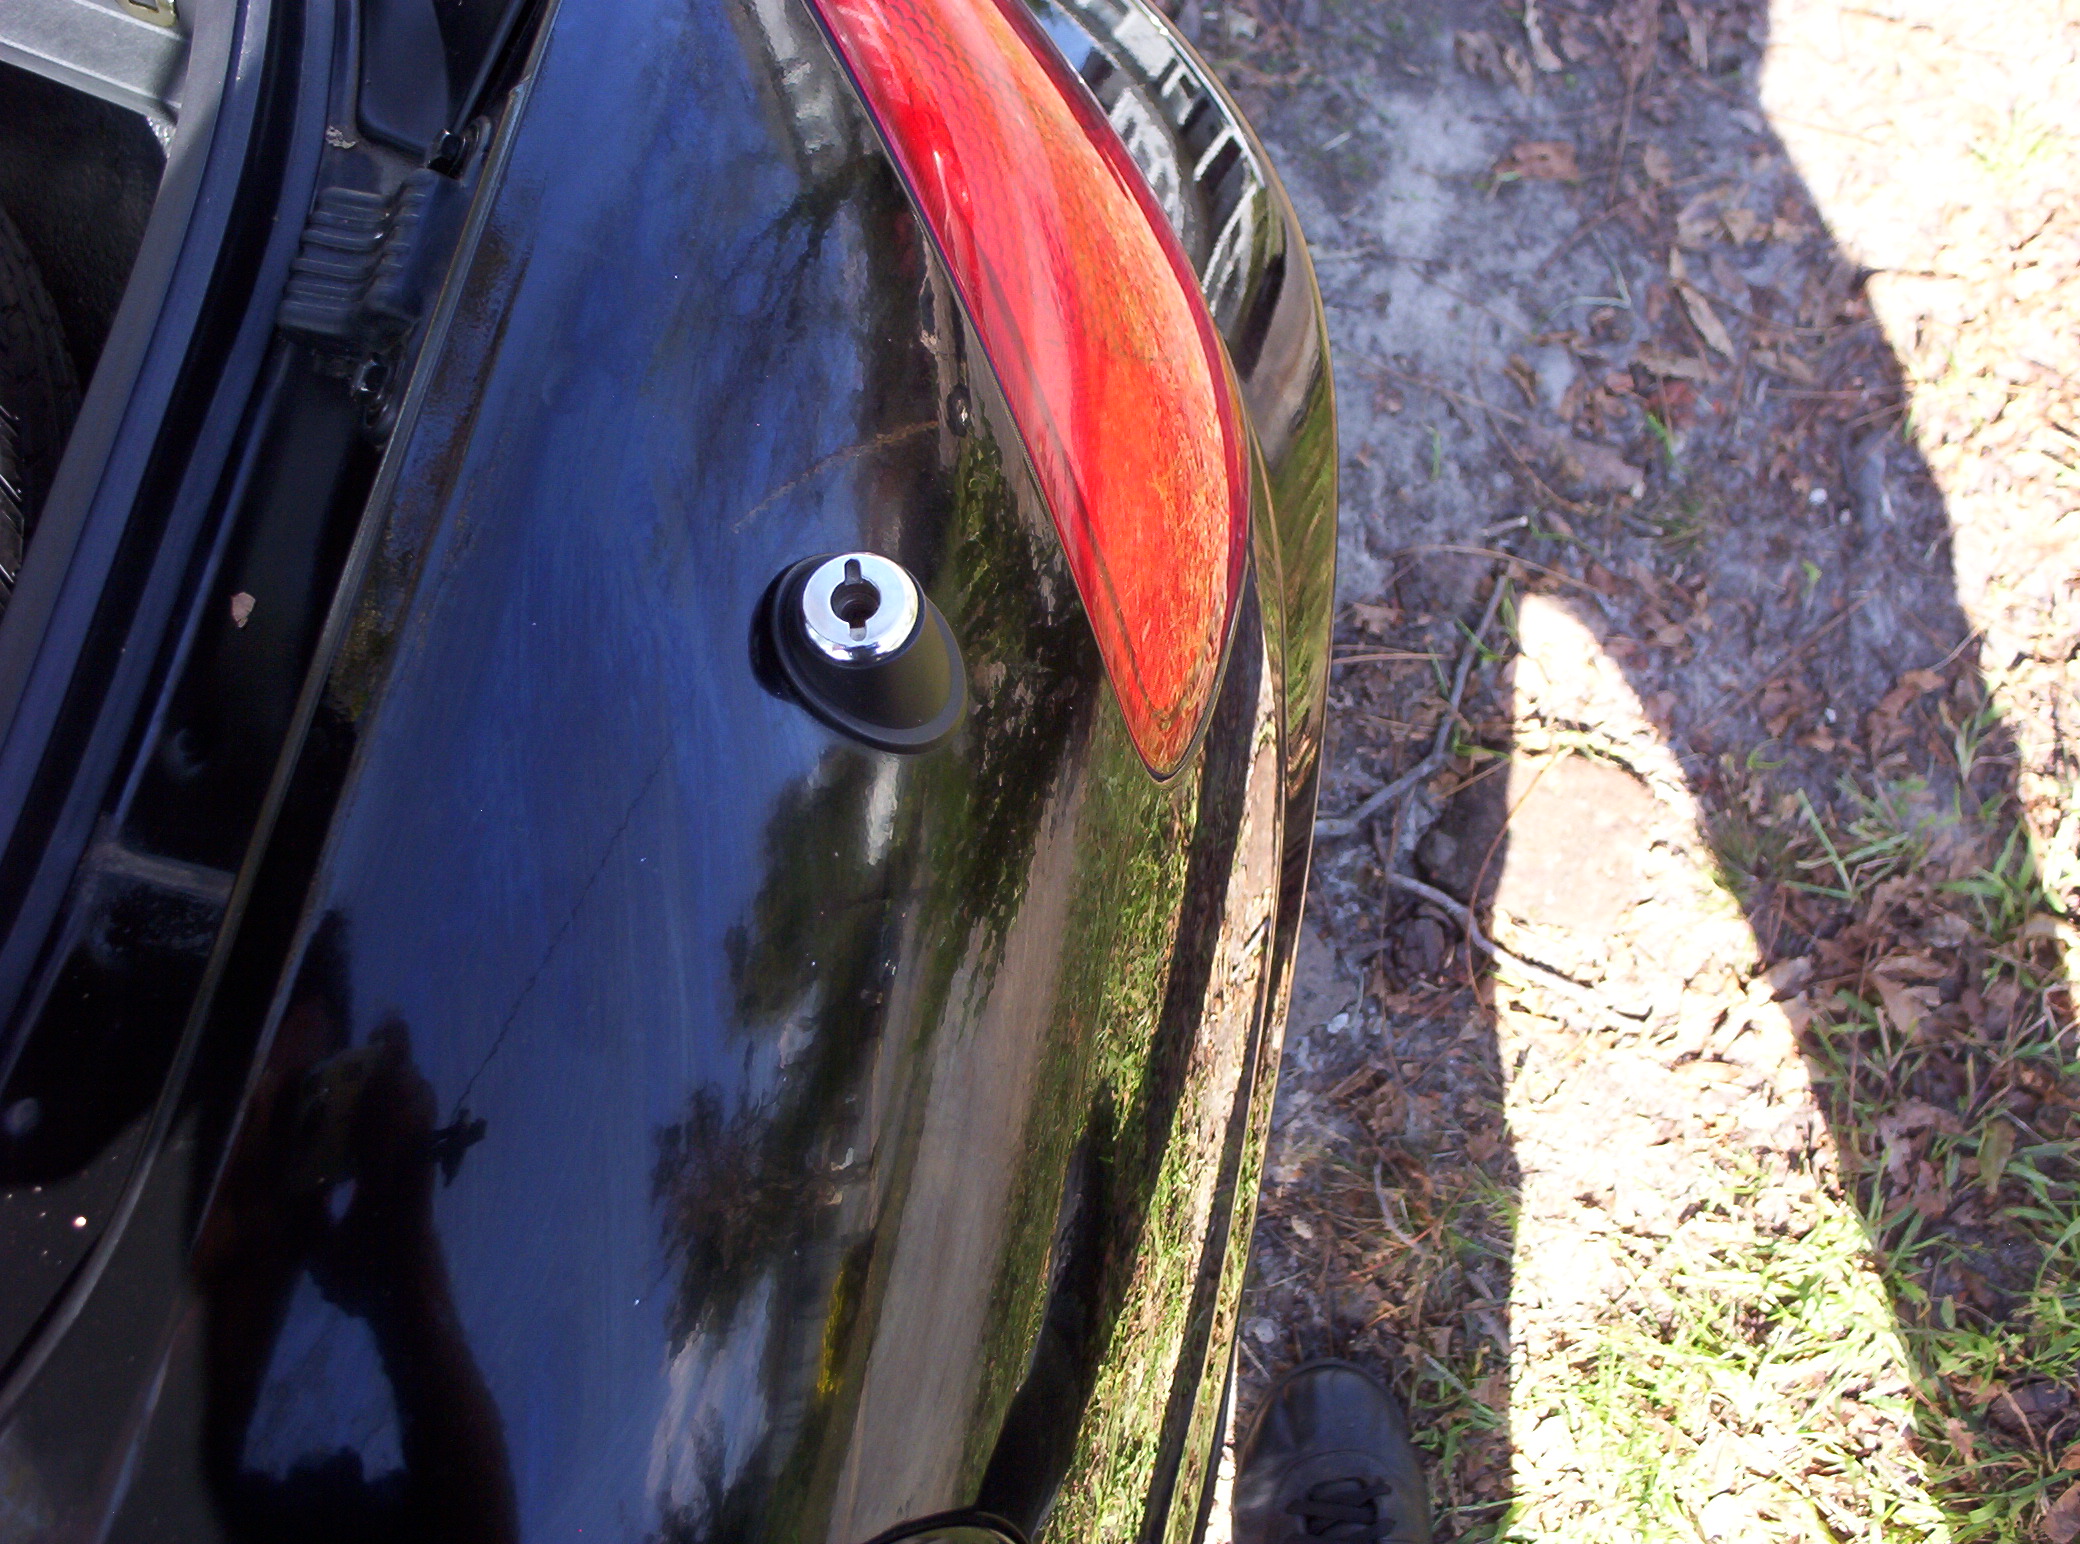
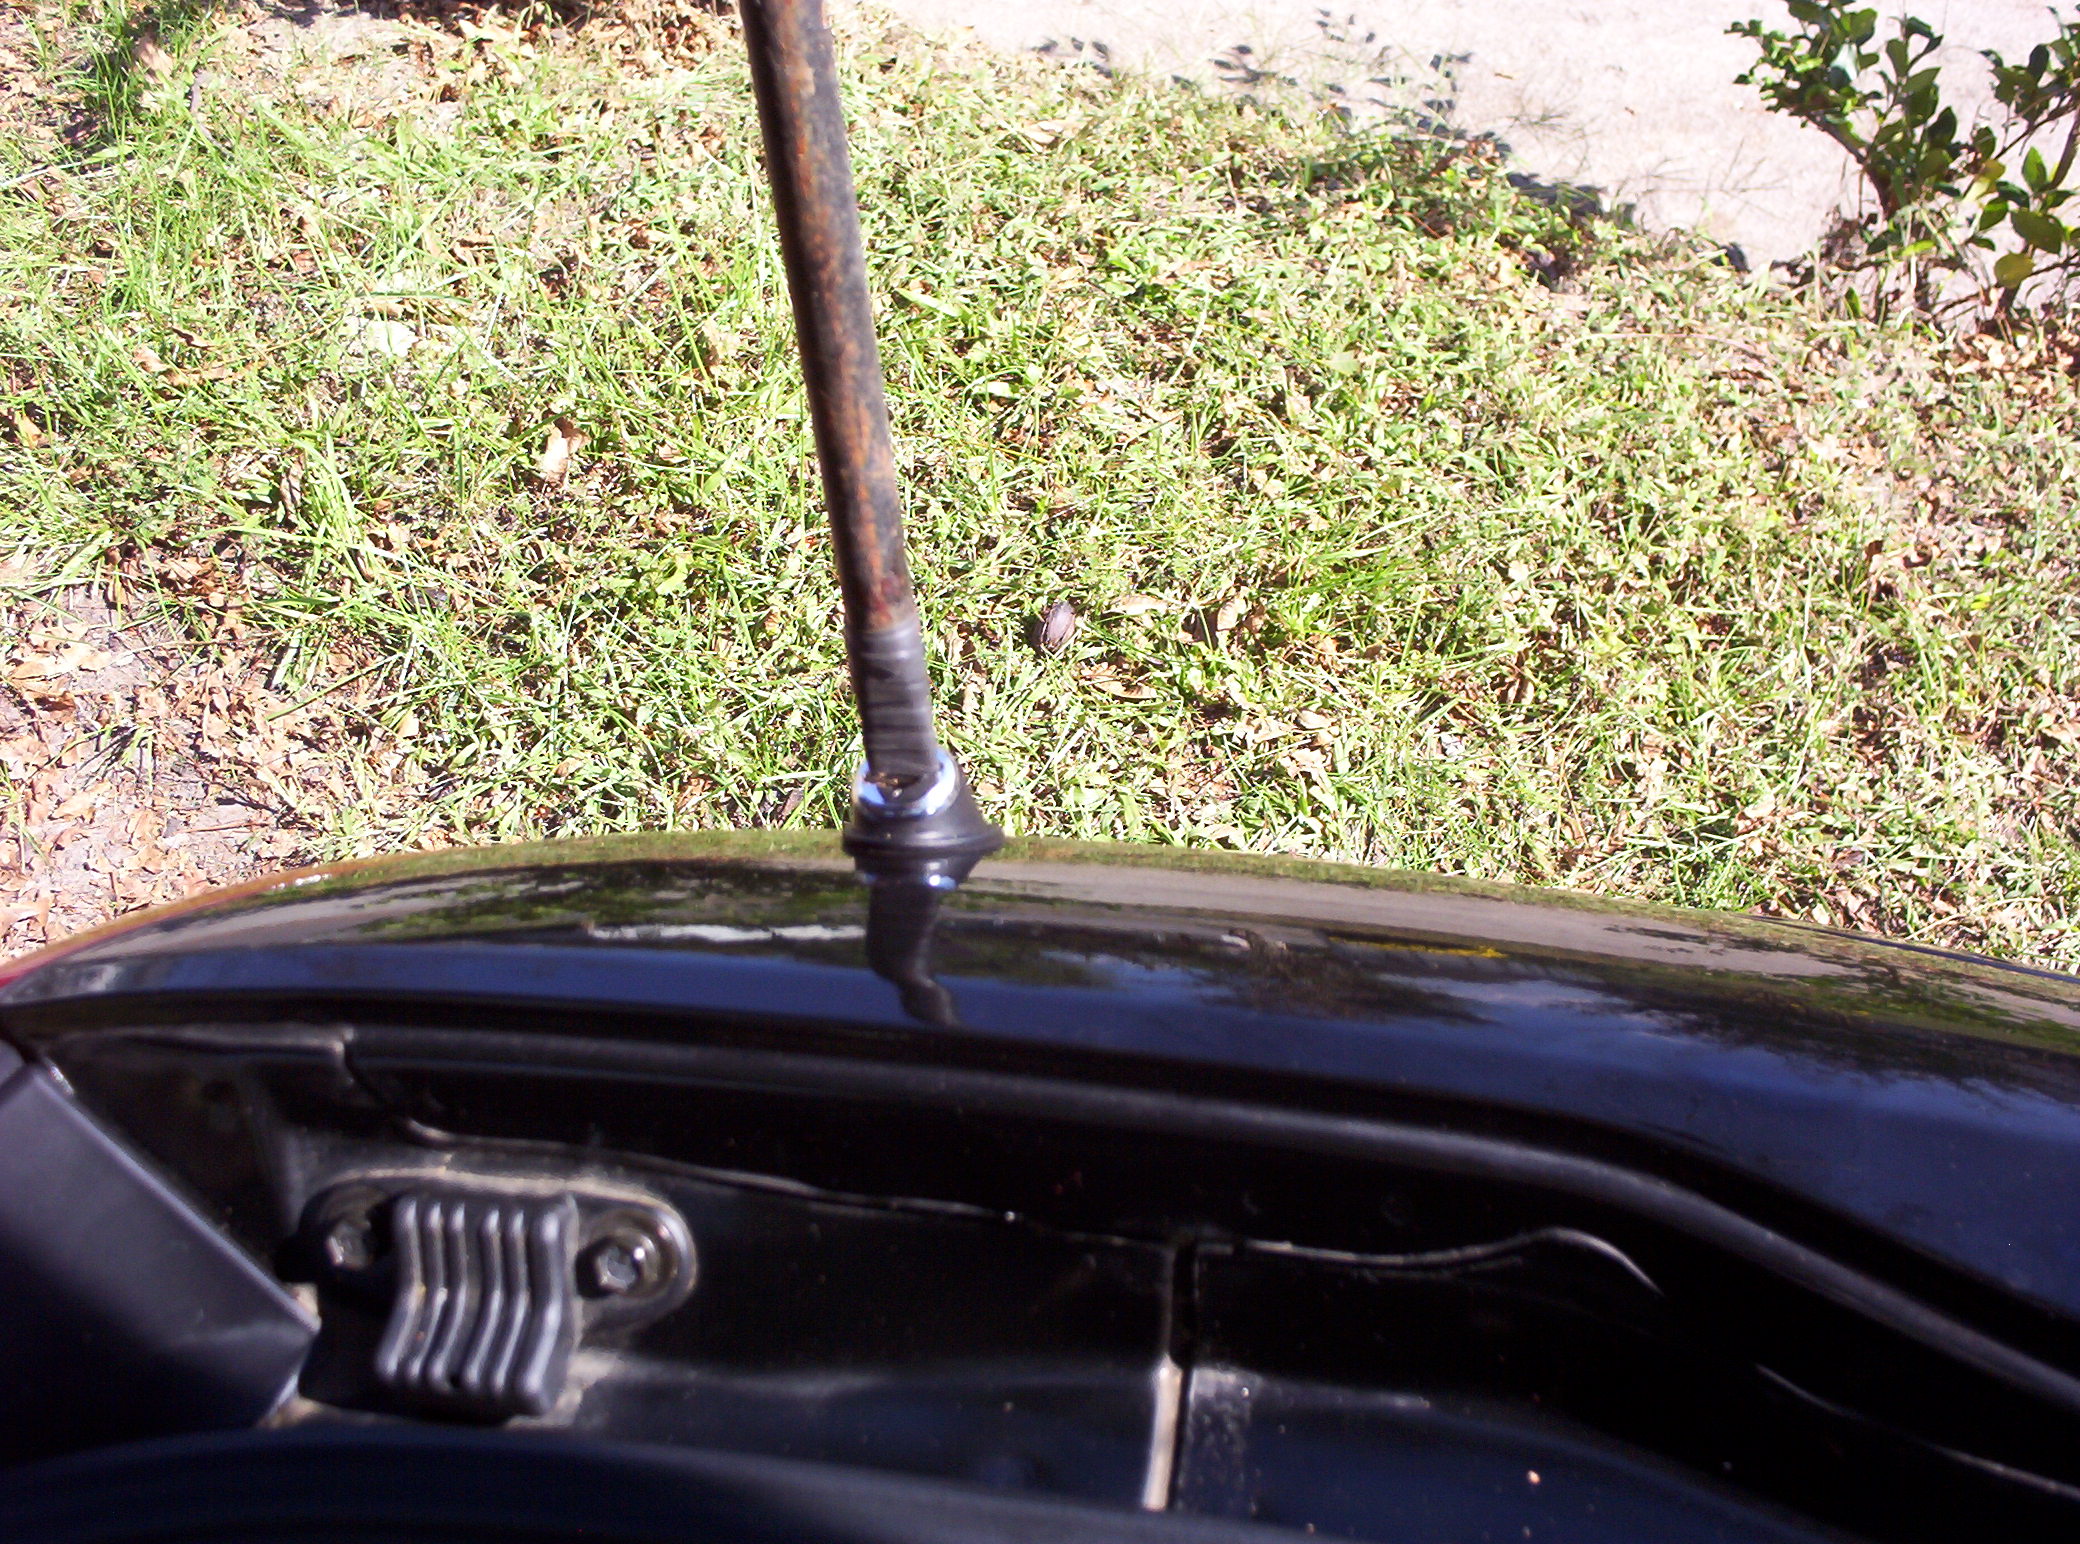
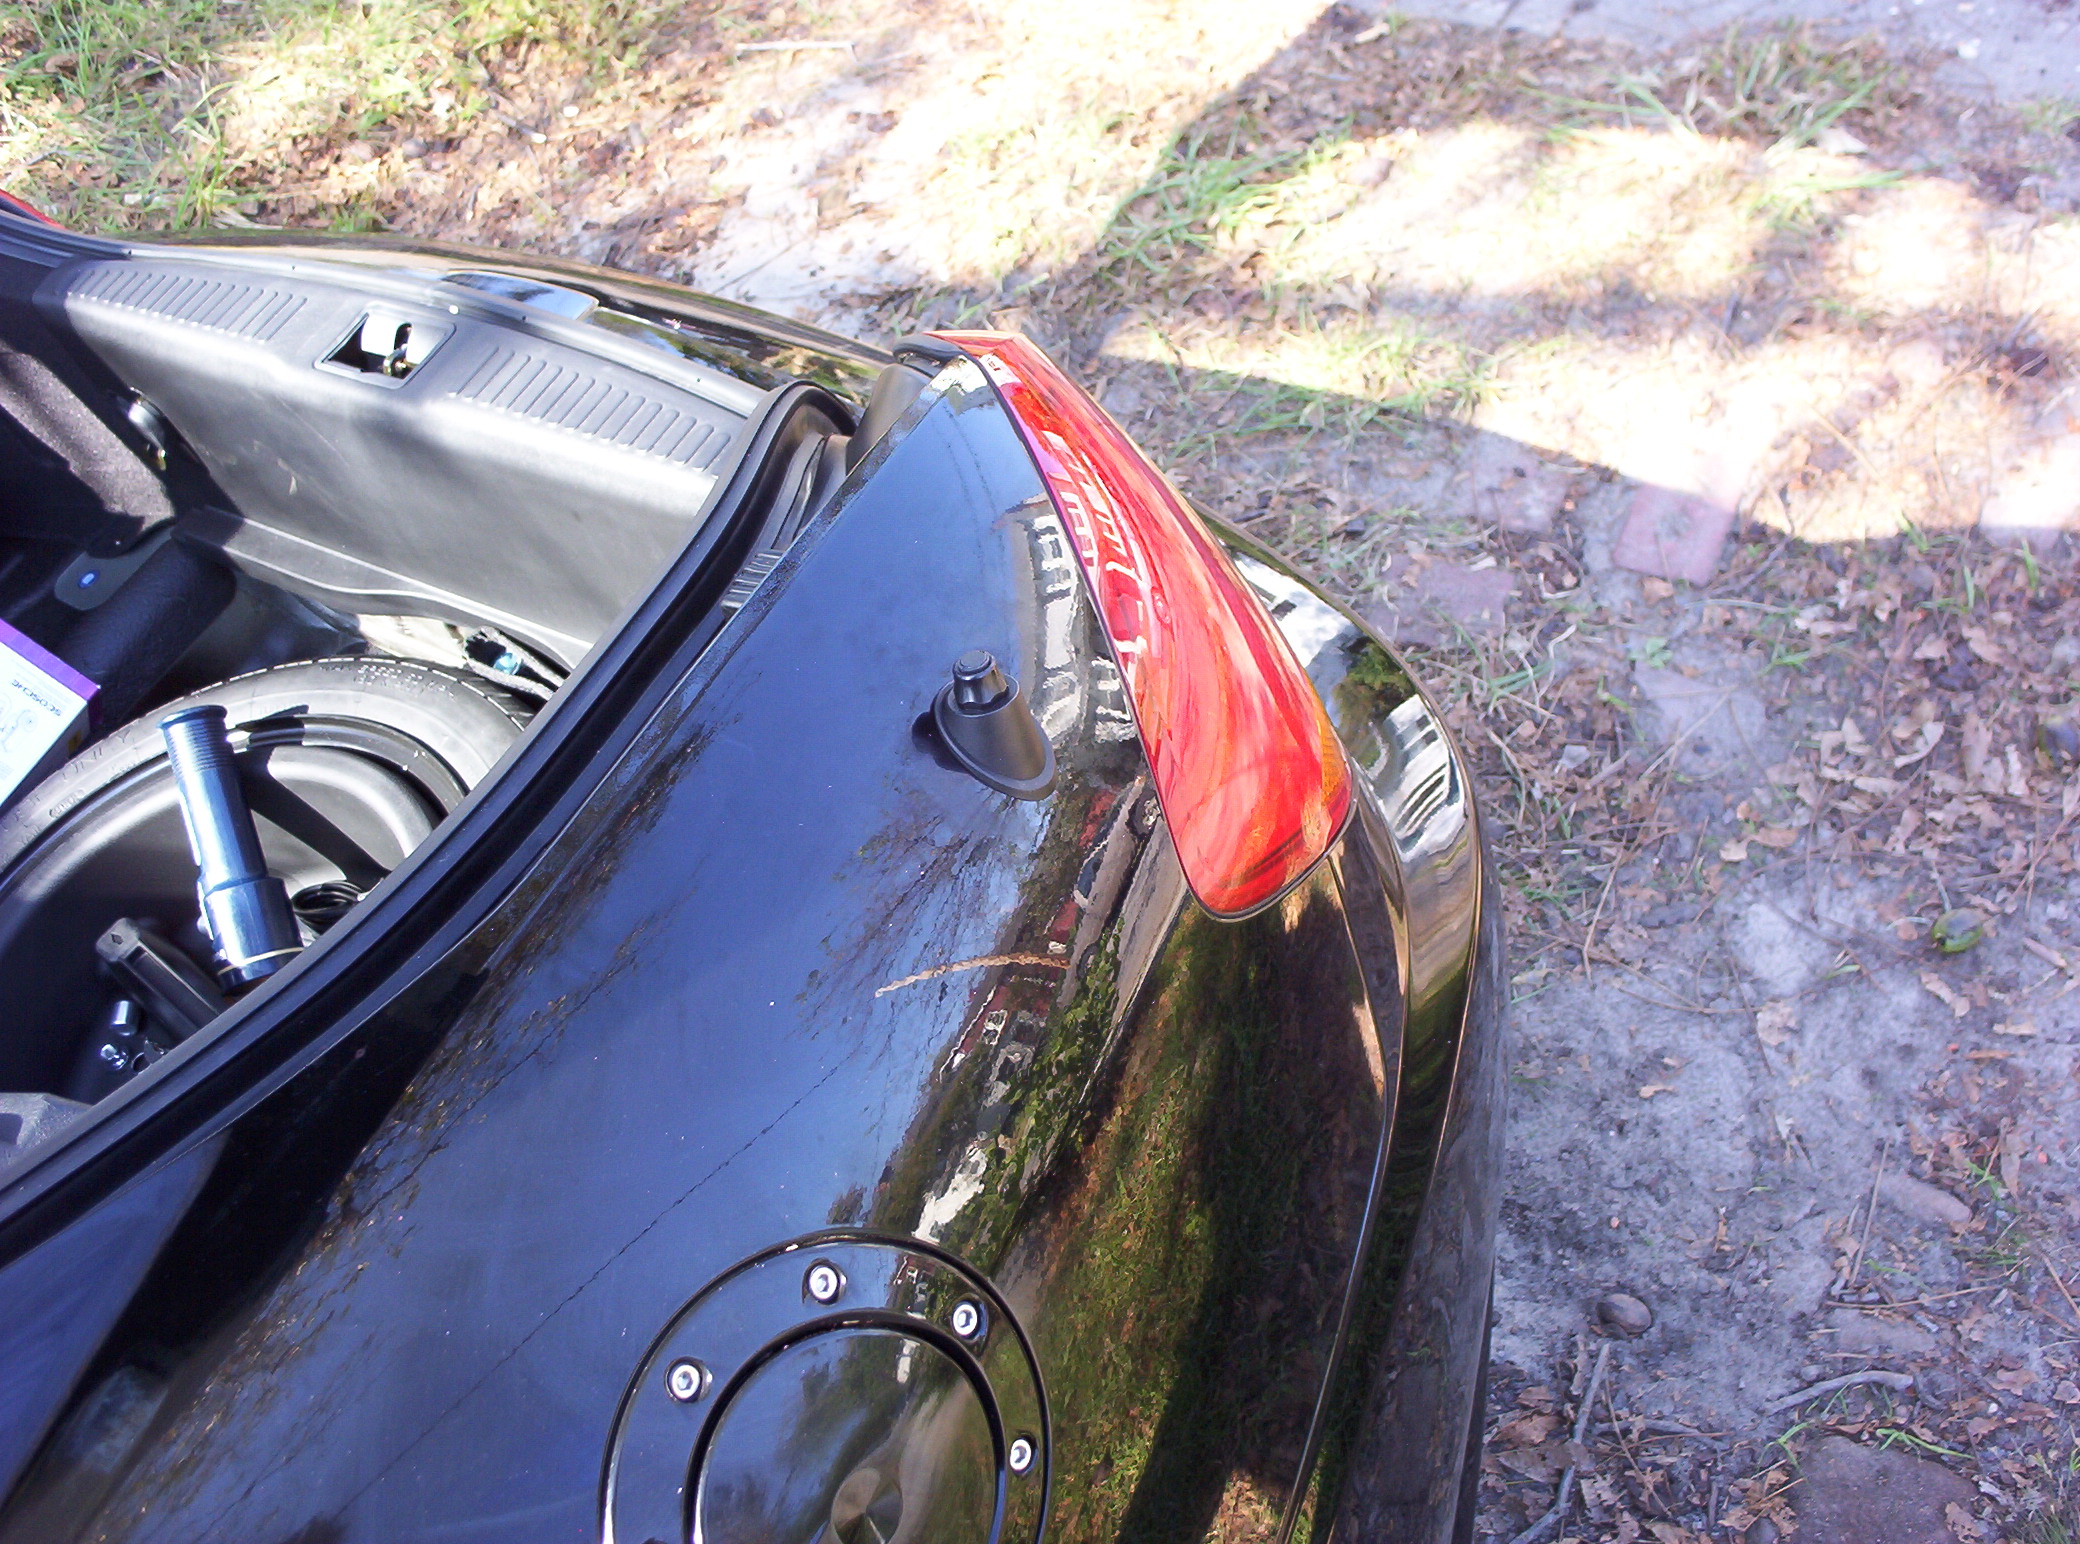
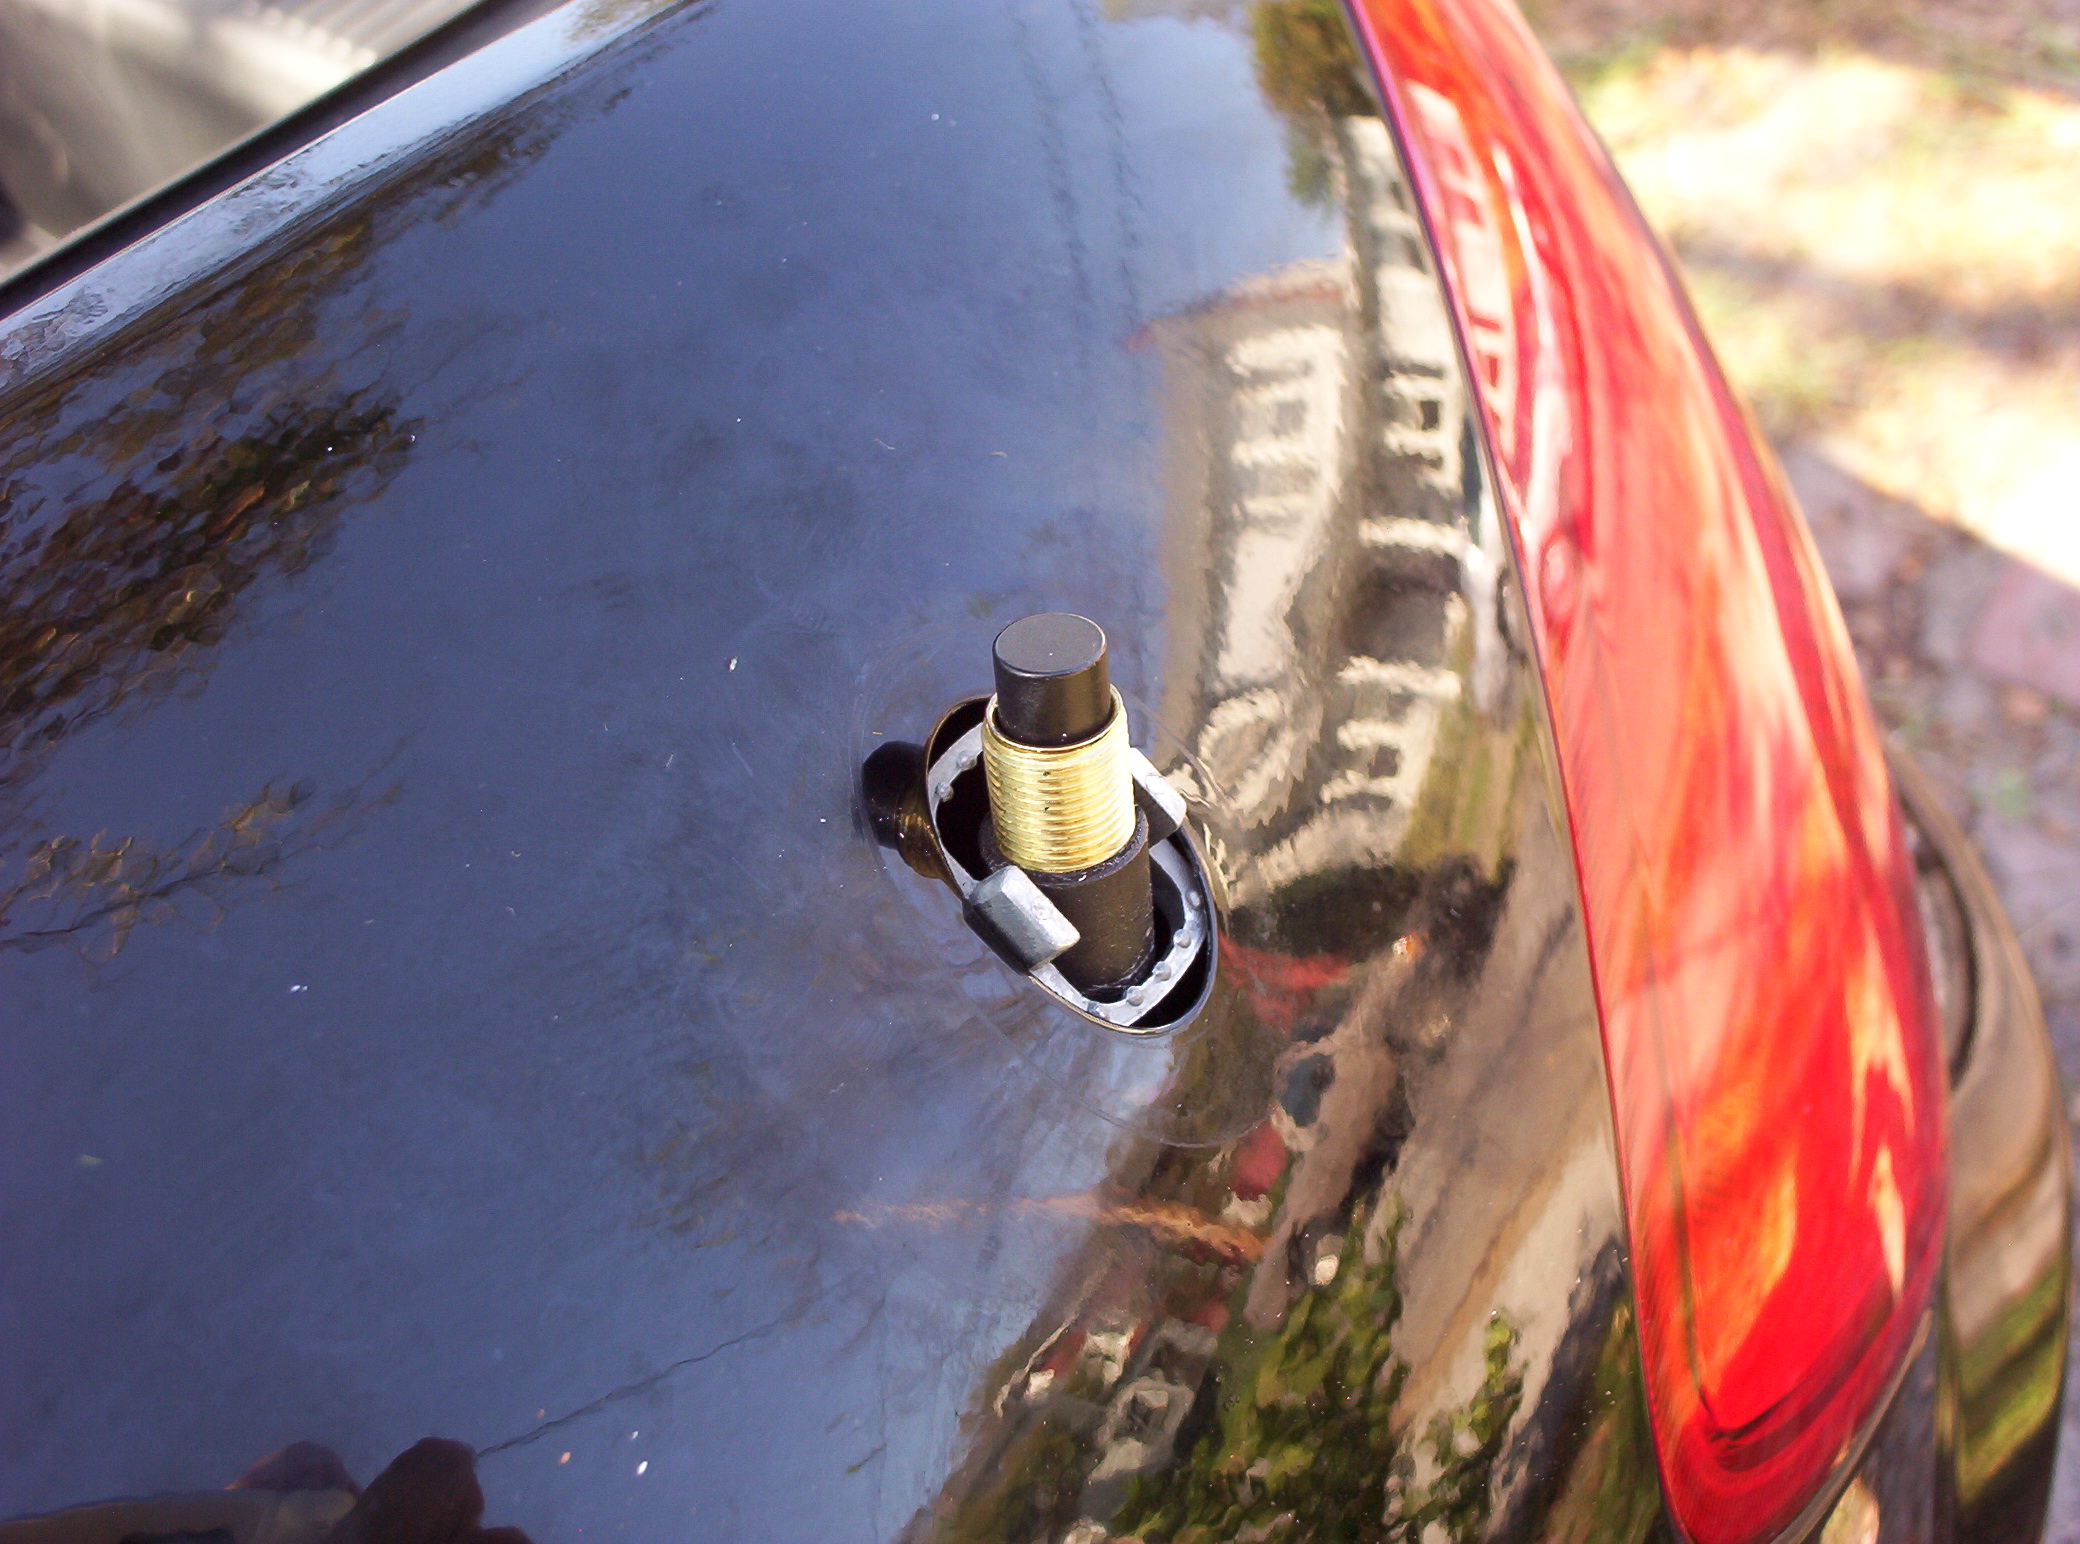
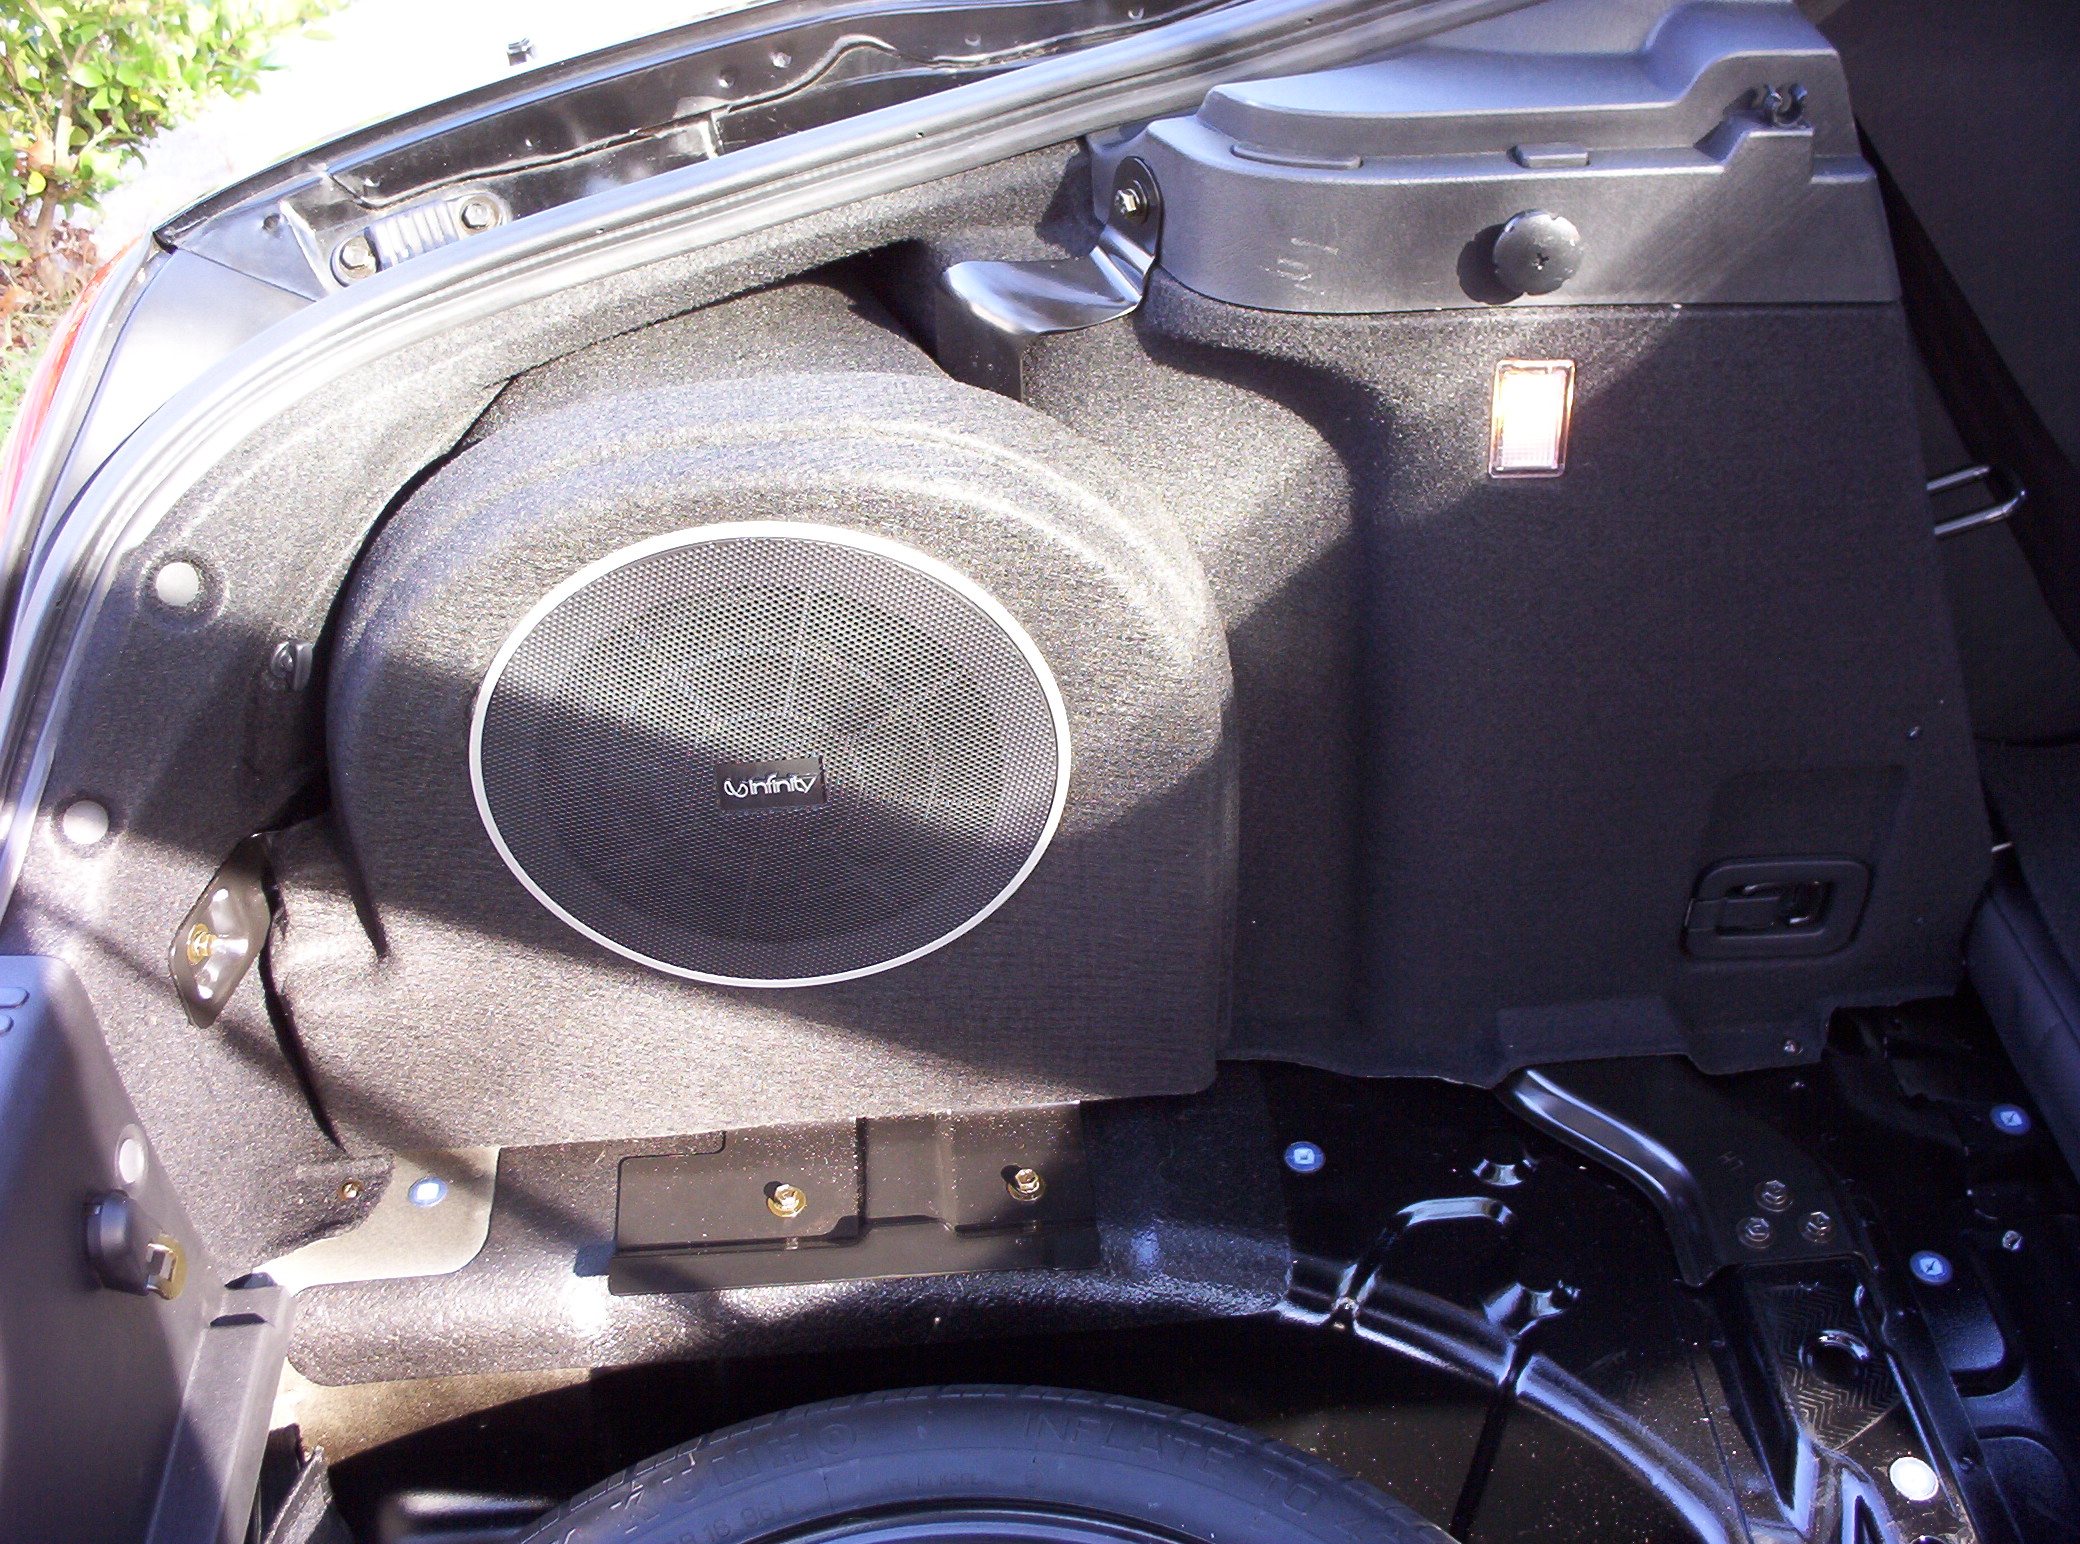
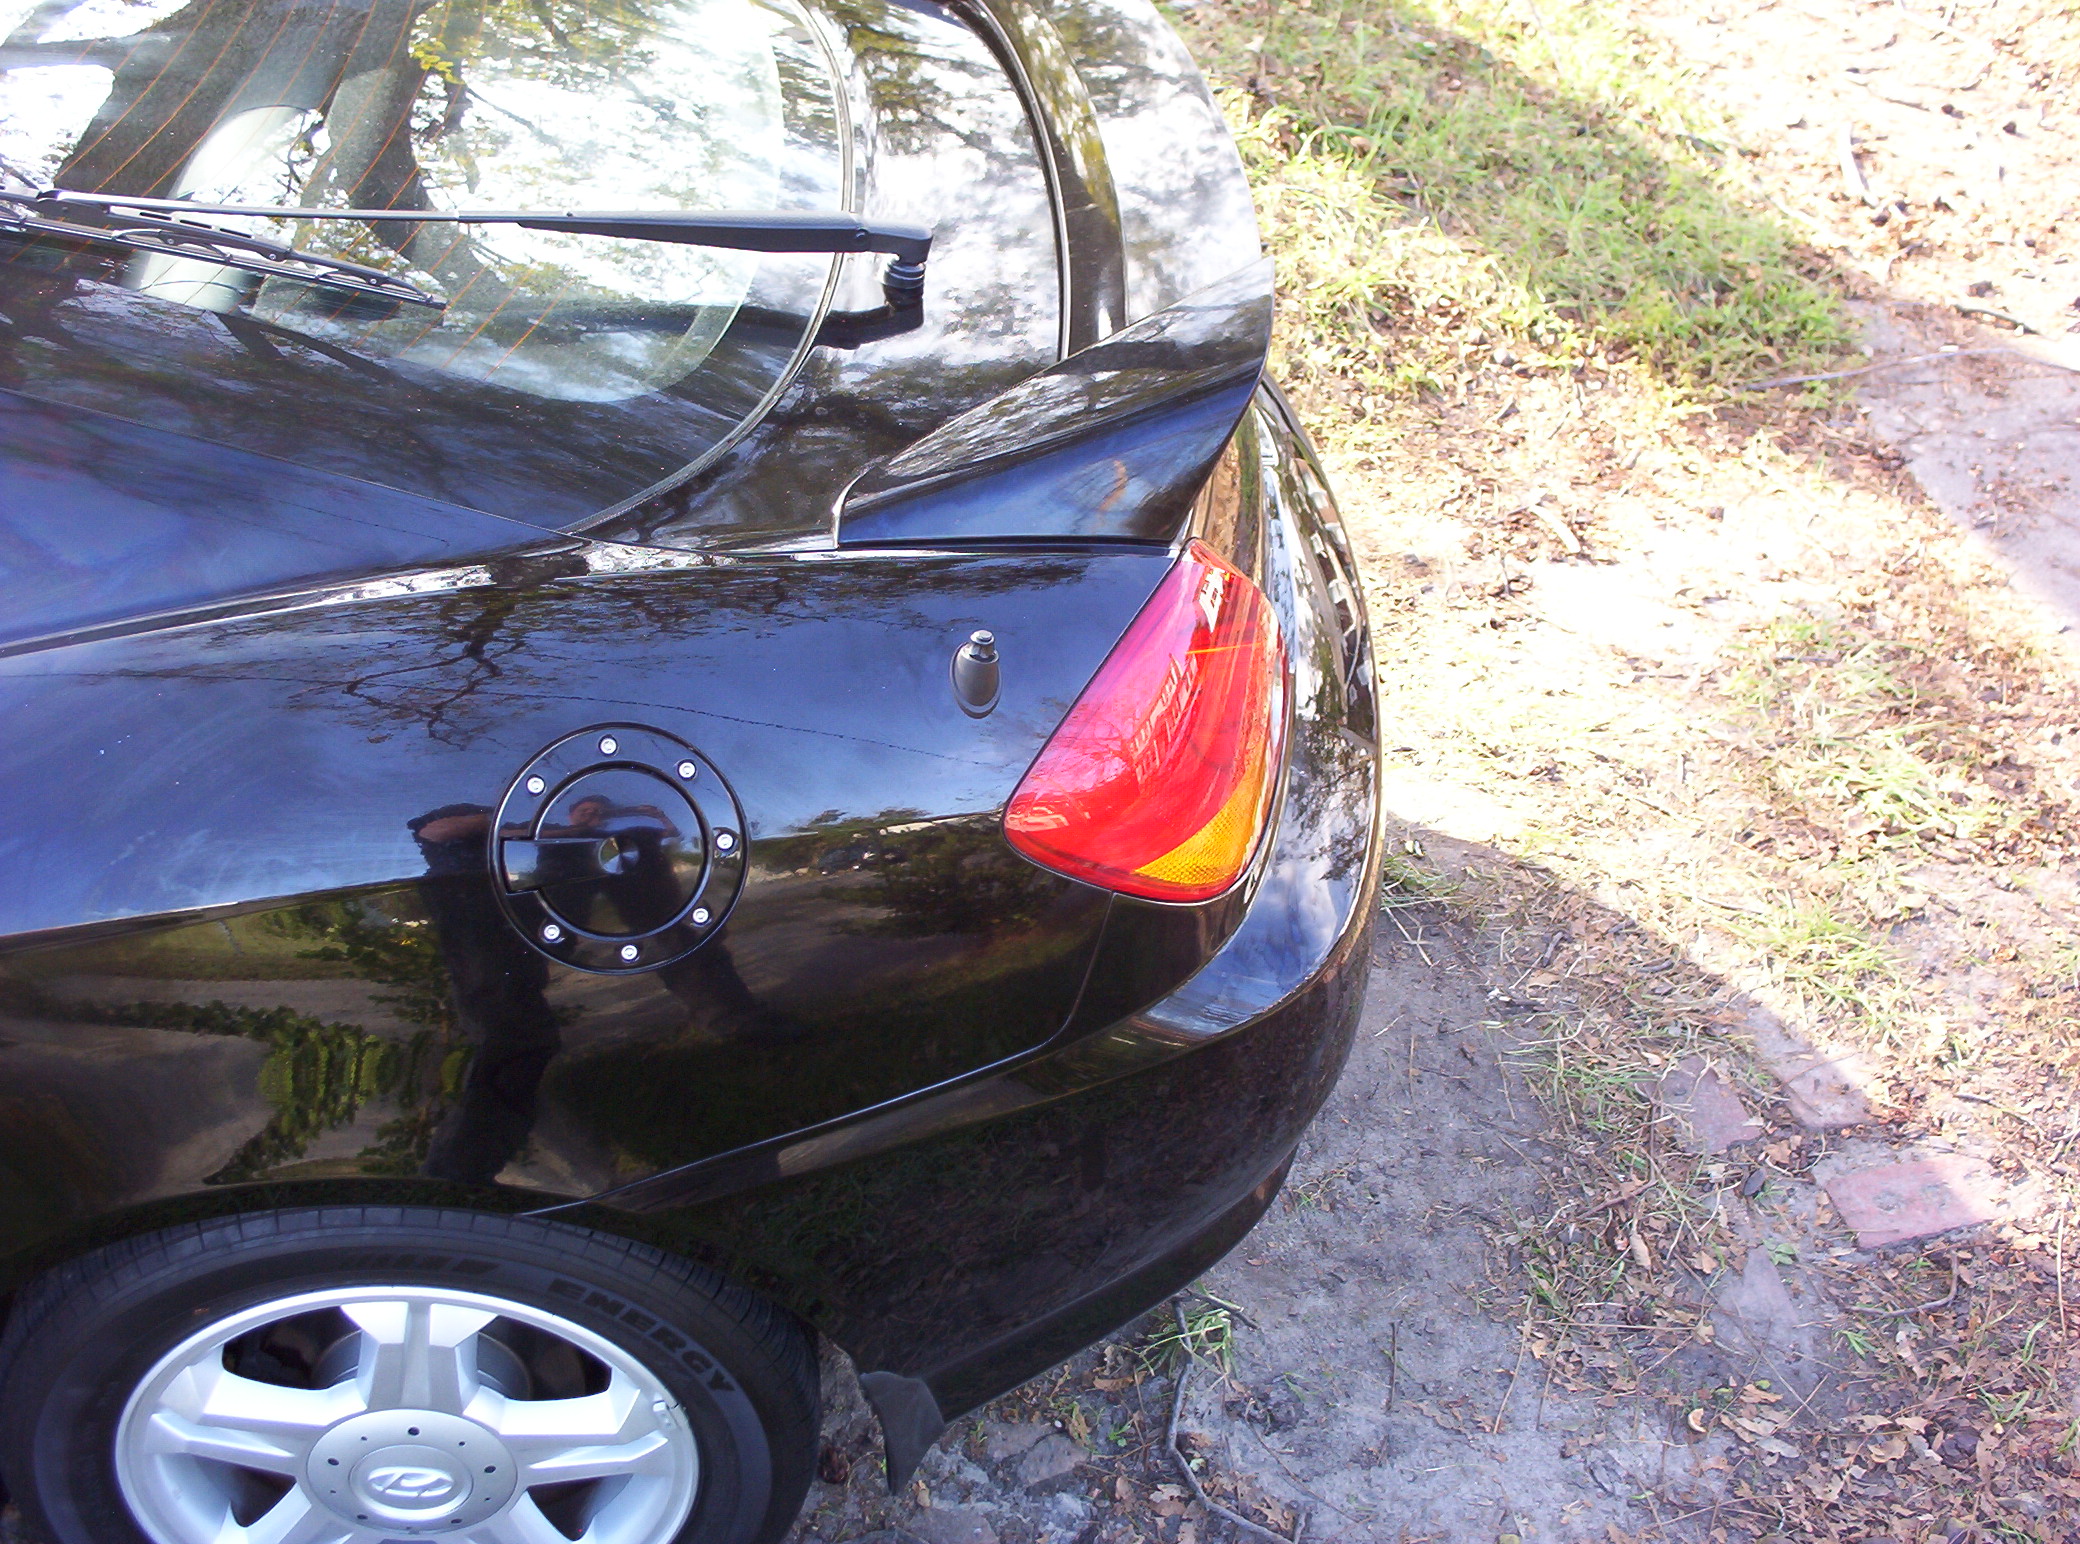
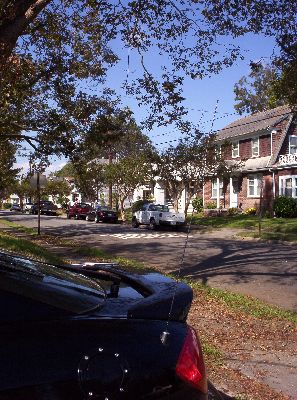
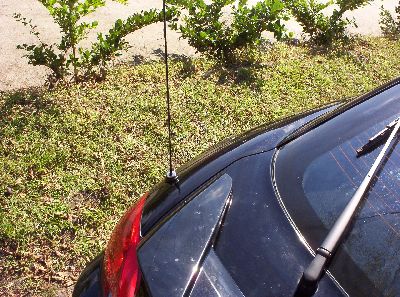
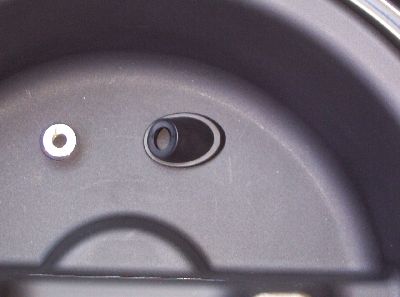
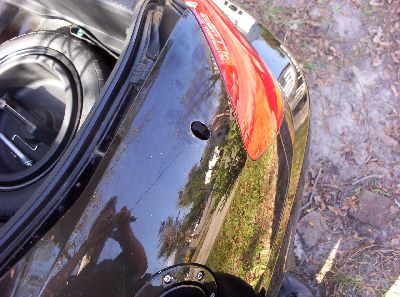
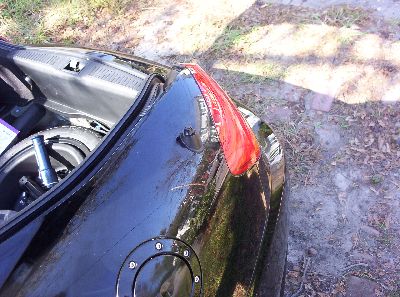
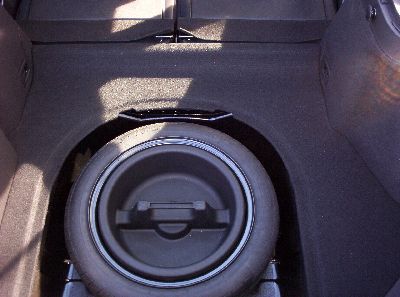
First, a few photos of the stock antenna. The spoiler was so shiny back then…

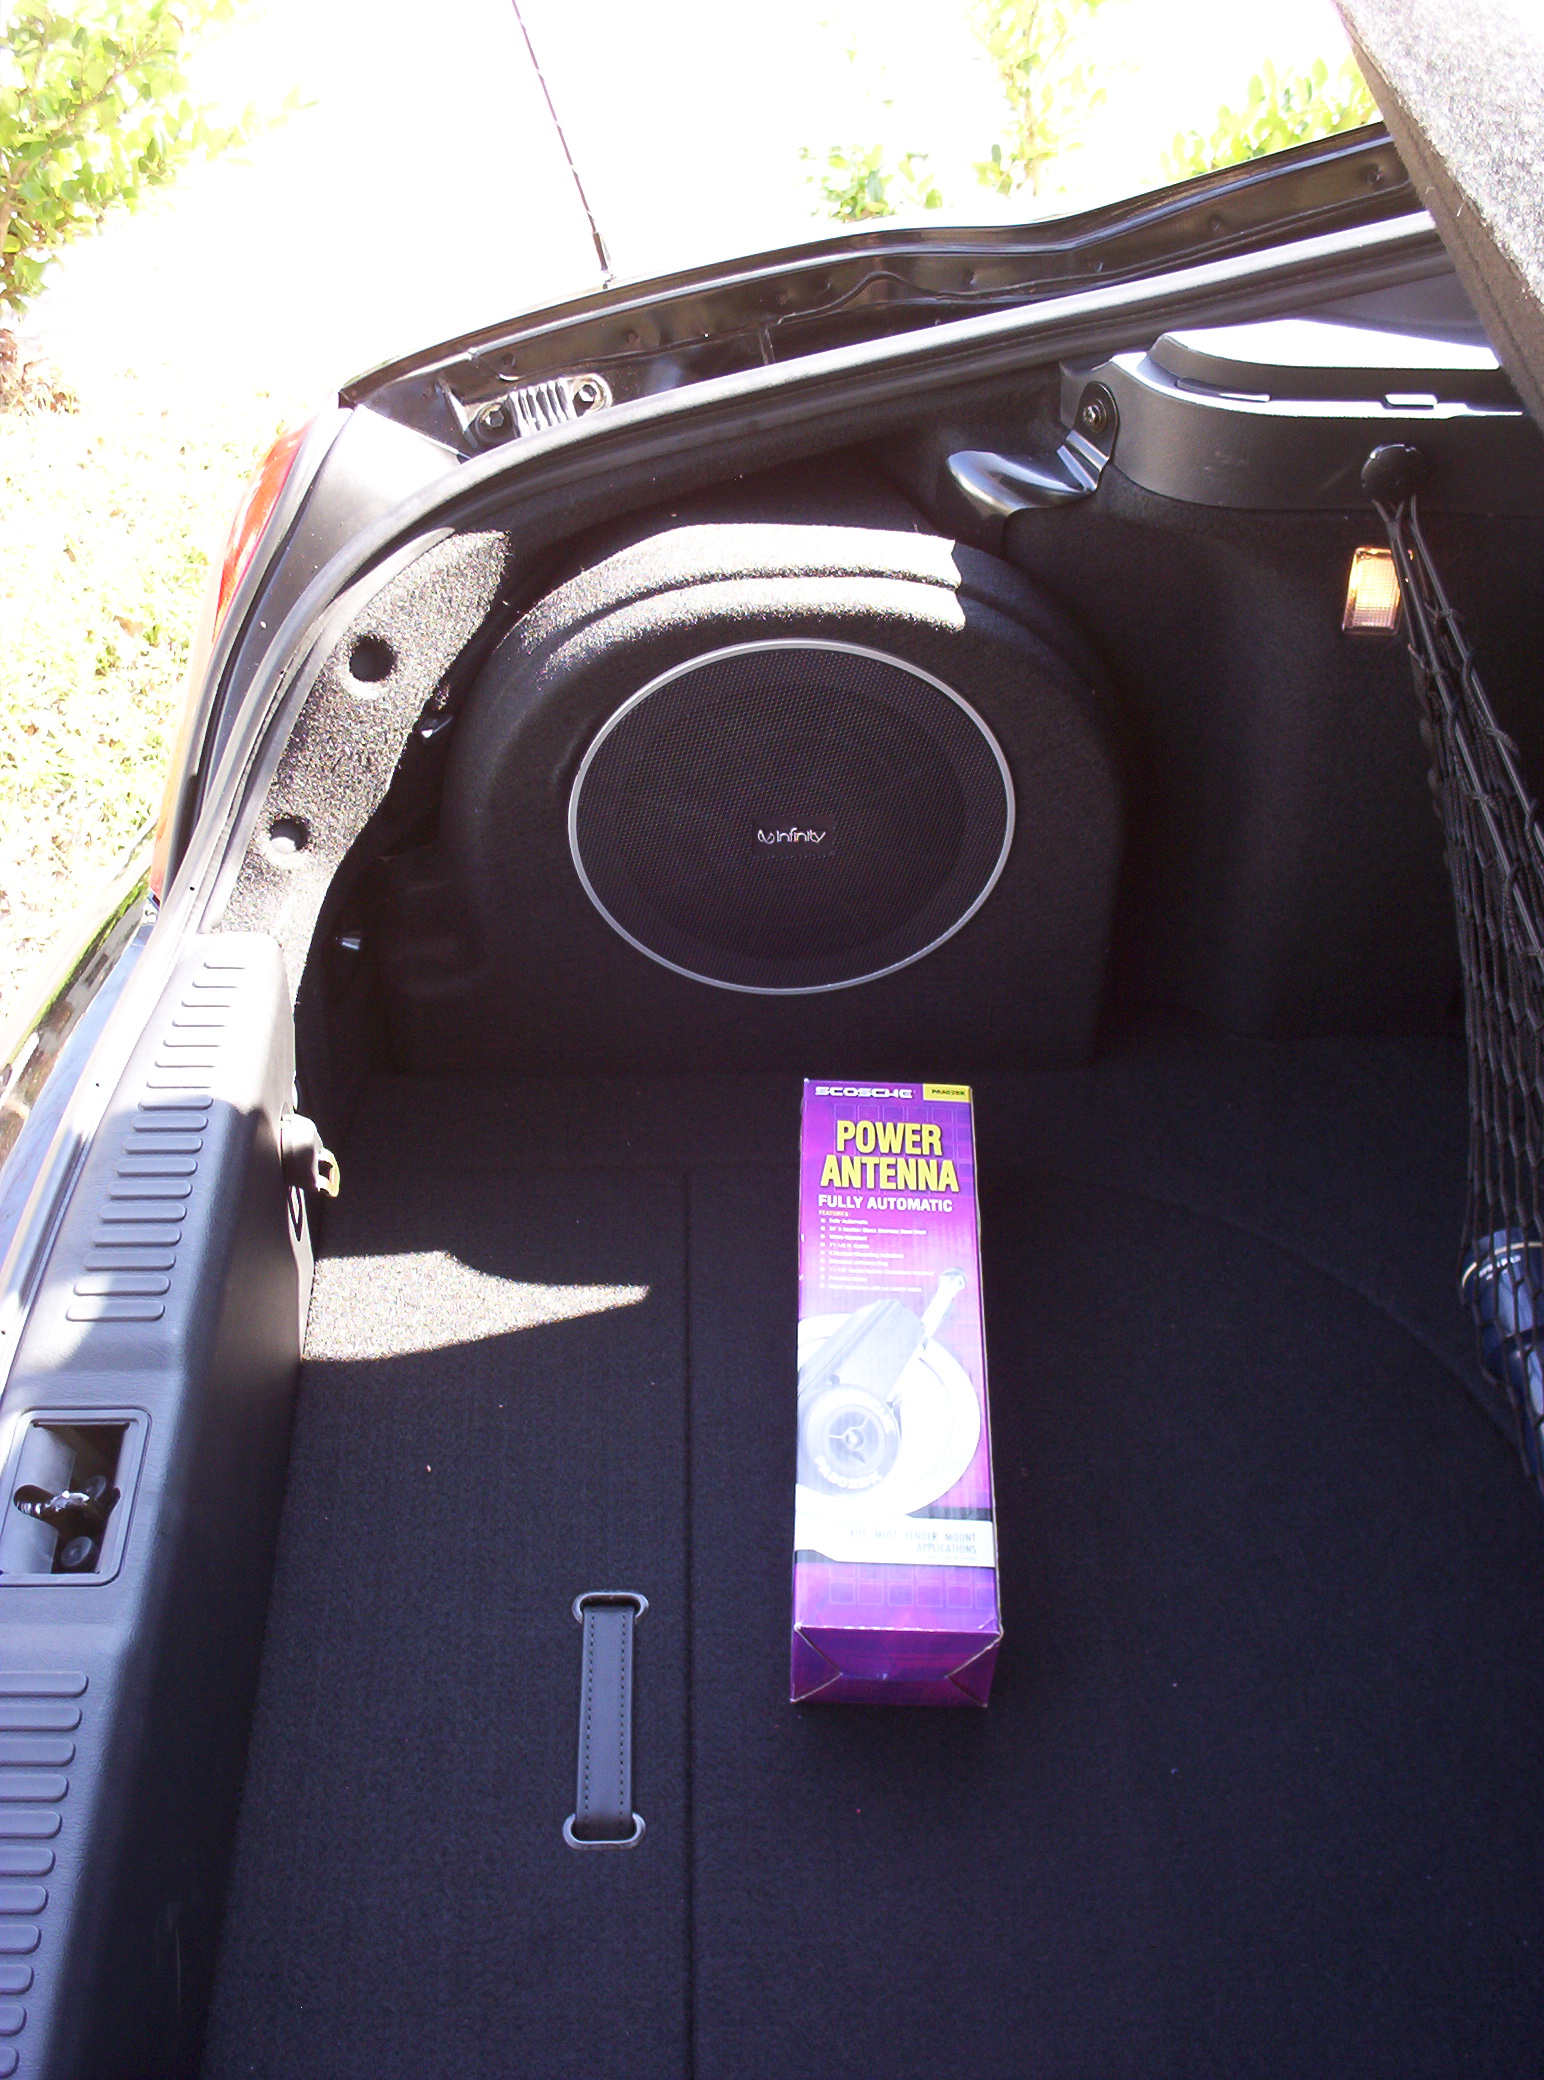
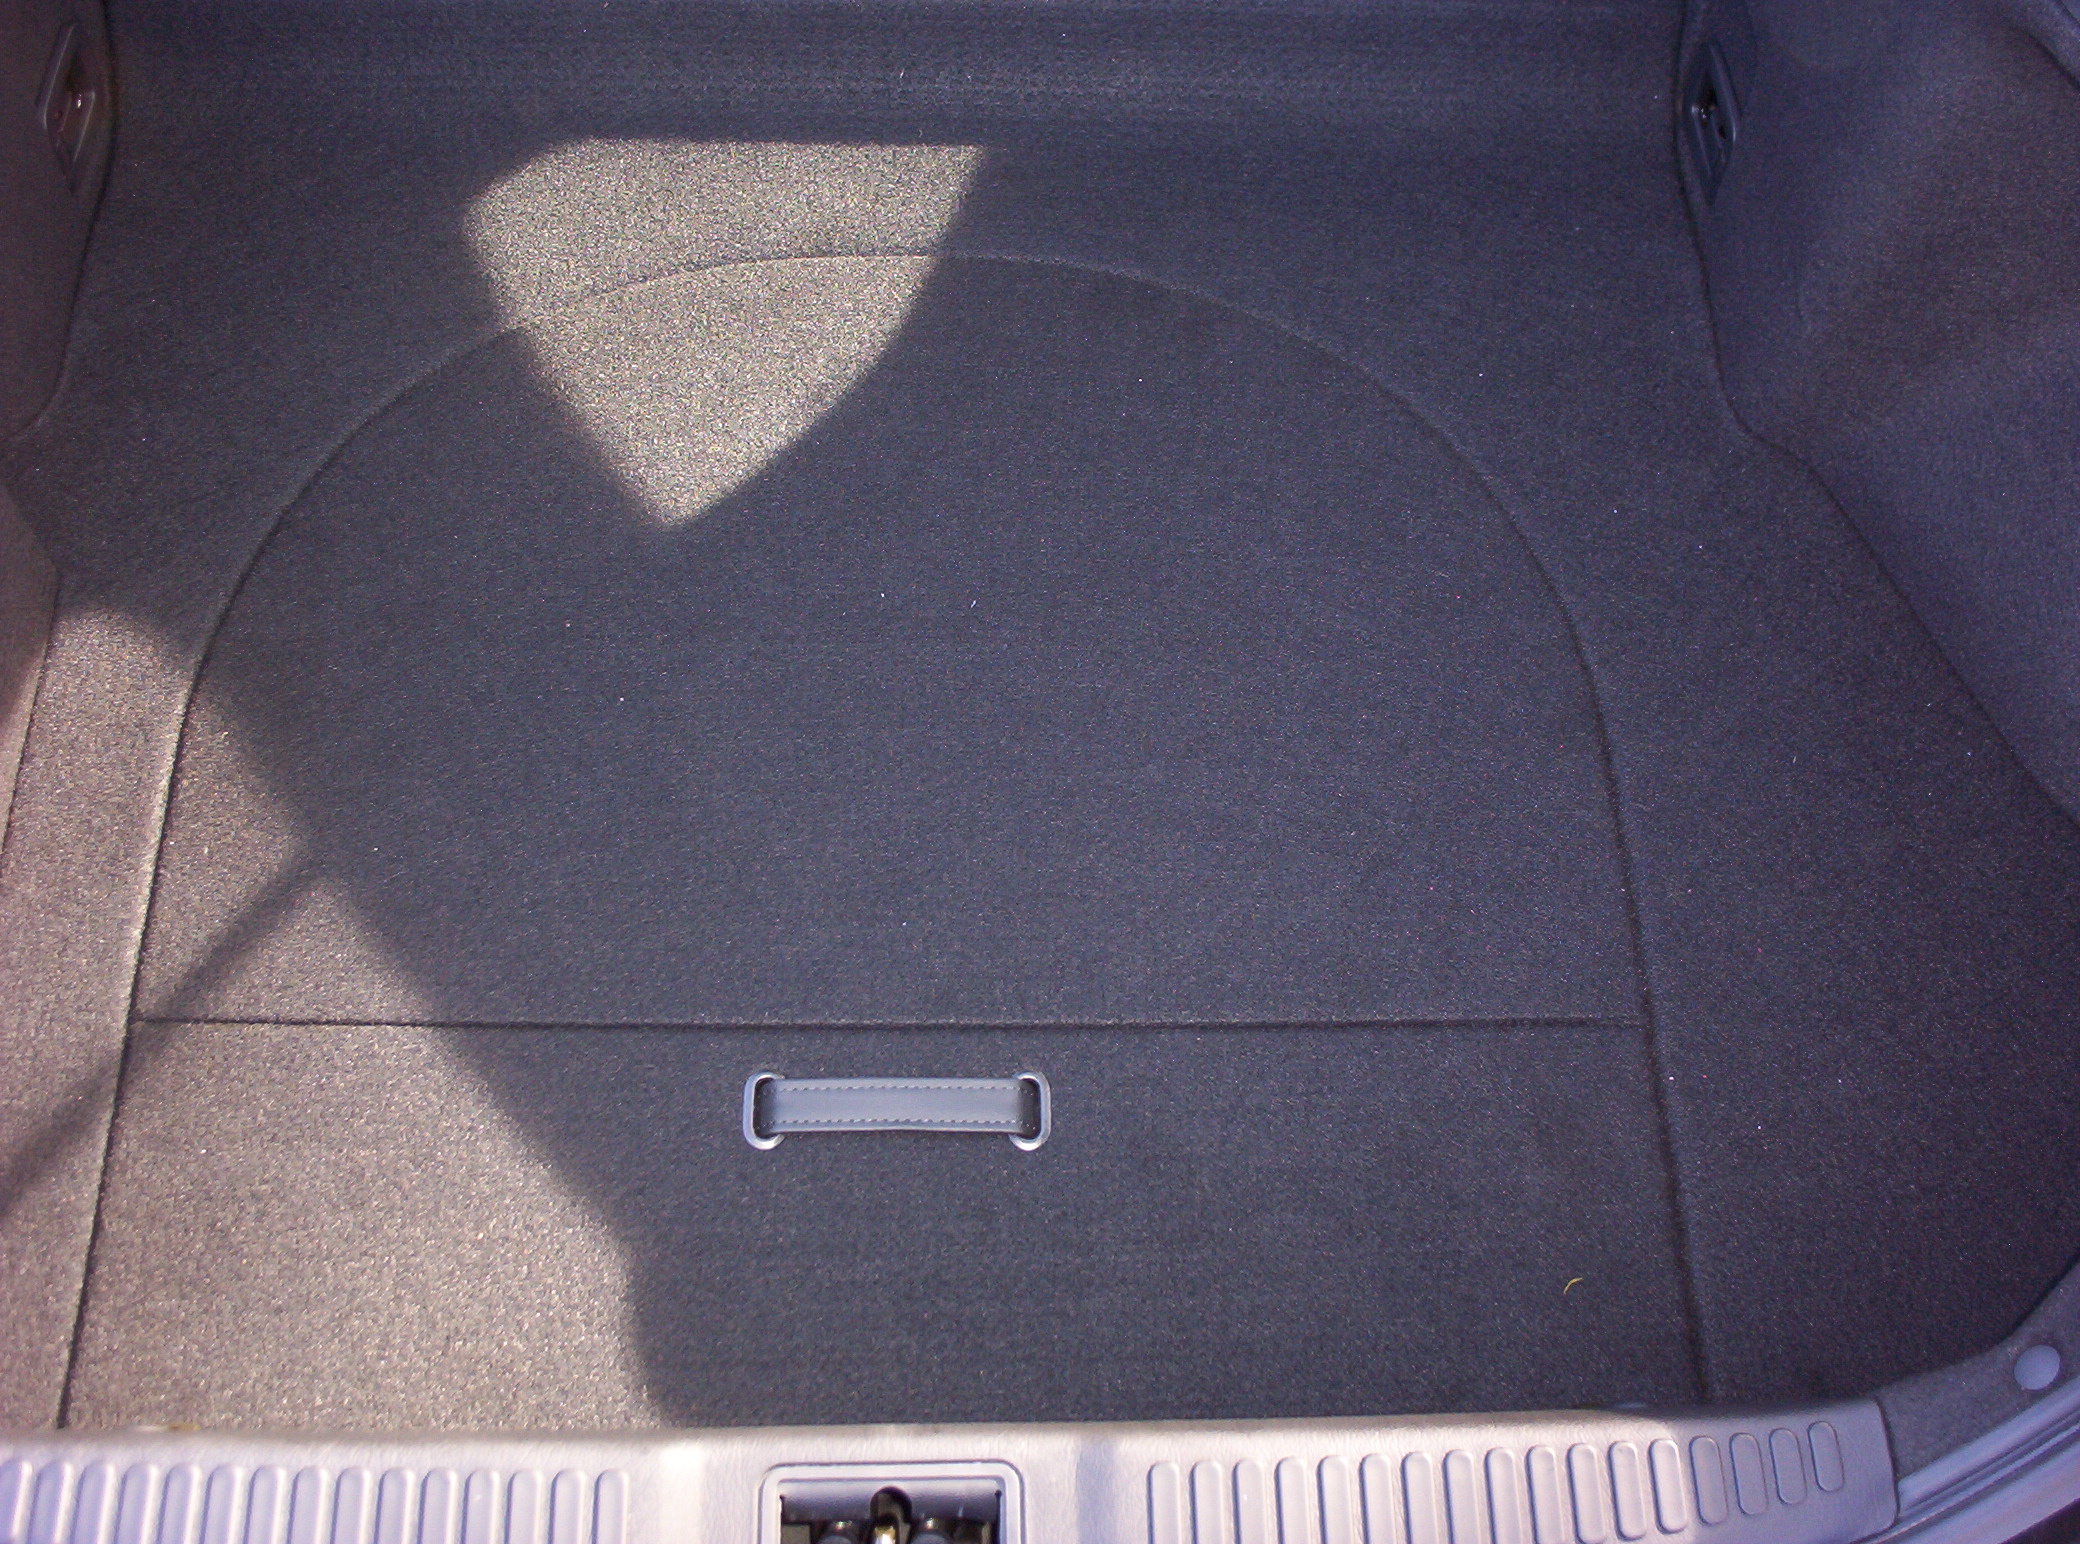
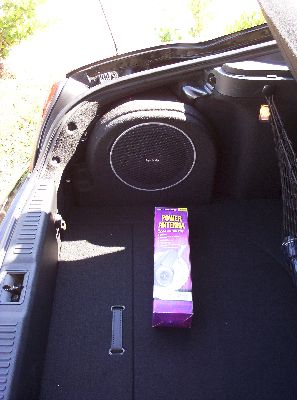
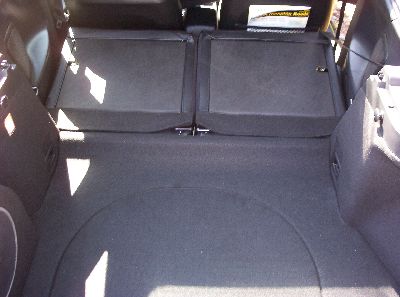
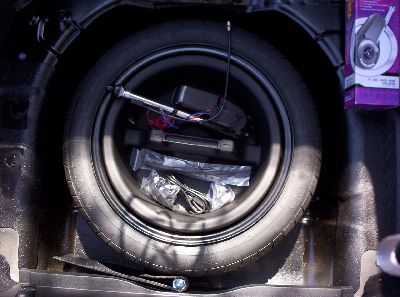
First, start with an empty trunk, and the new antenna. I bought this one at Circuit City’s automotive department. Remember Circuit City? My car is black, so I got a black one. You can’t buy the one I used anymore, but here is one you can use instead. Amazon will tell you it does not fit a Tiburon, but it does. My original Circuit City antenna died a few years ago, and I replaced it with this one.

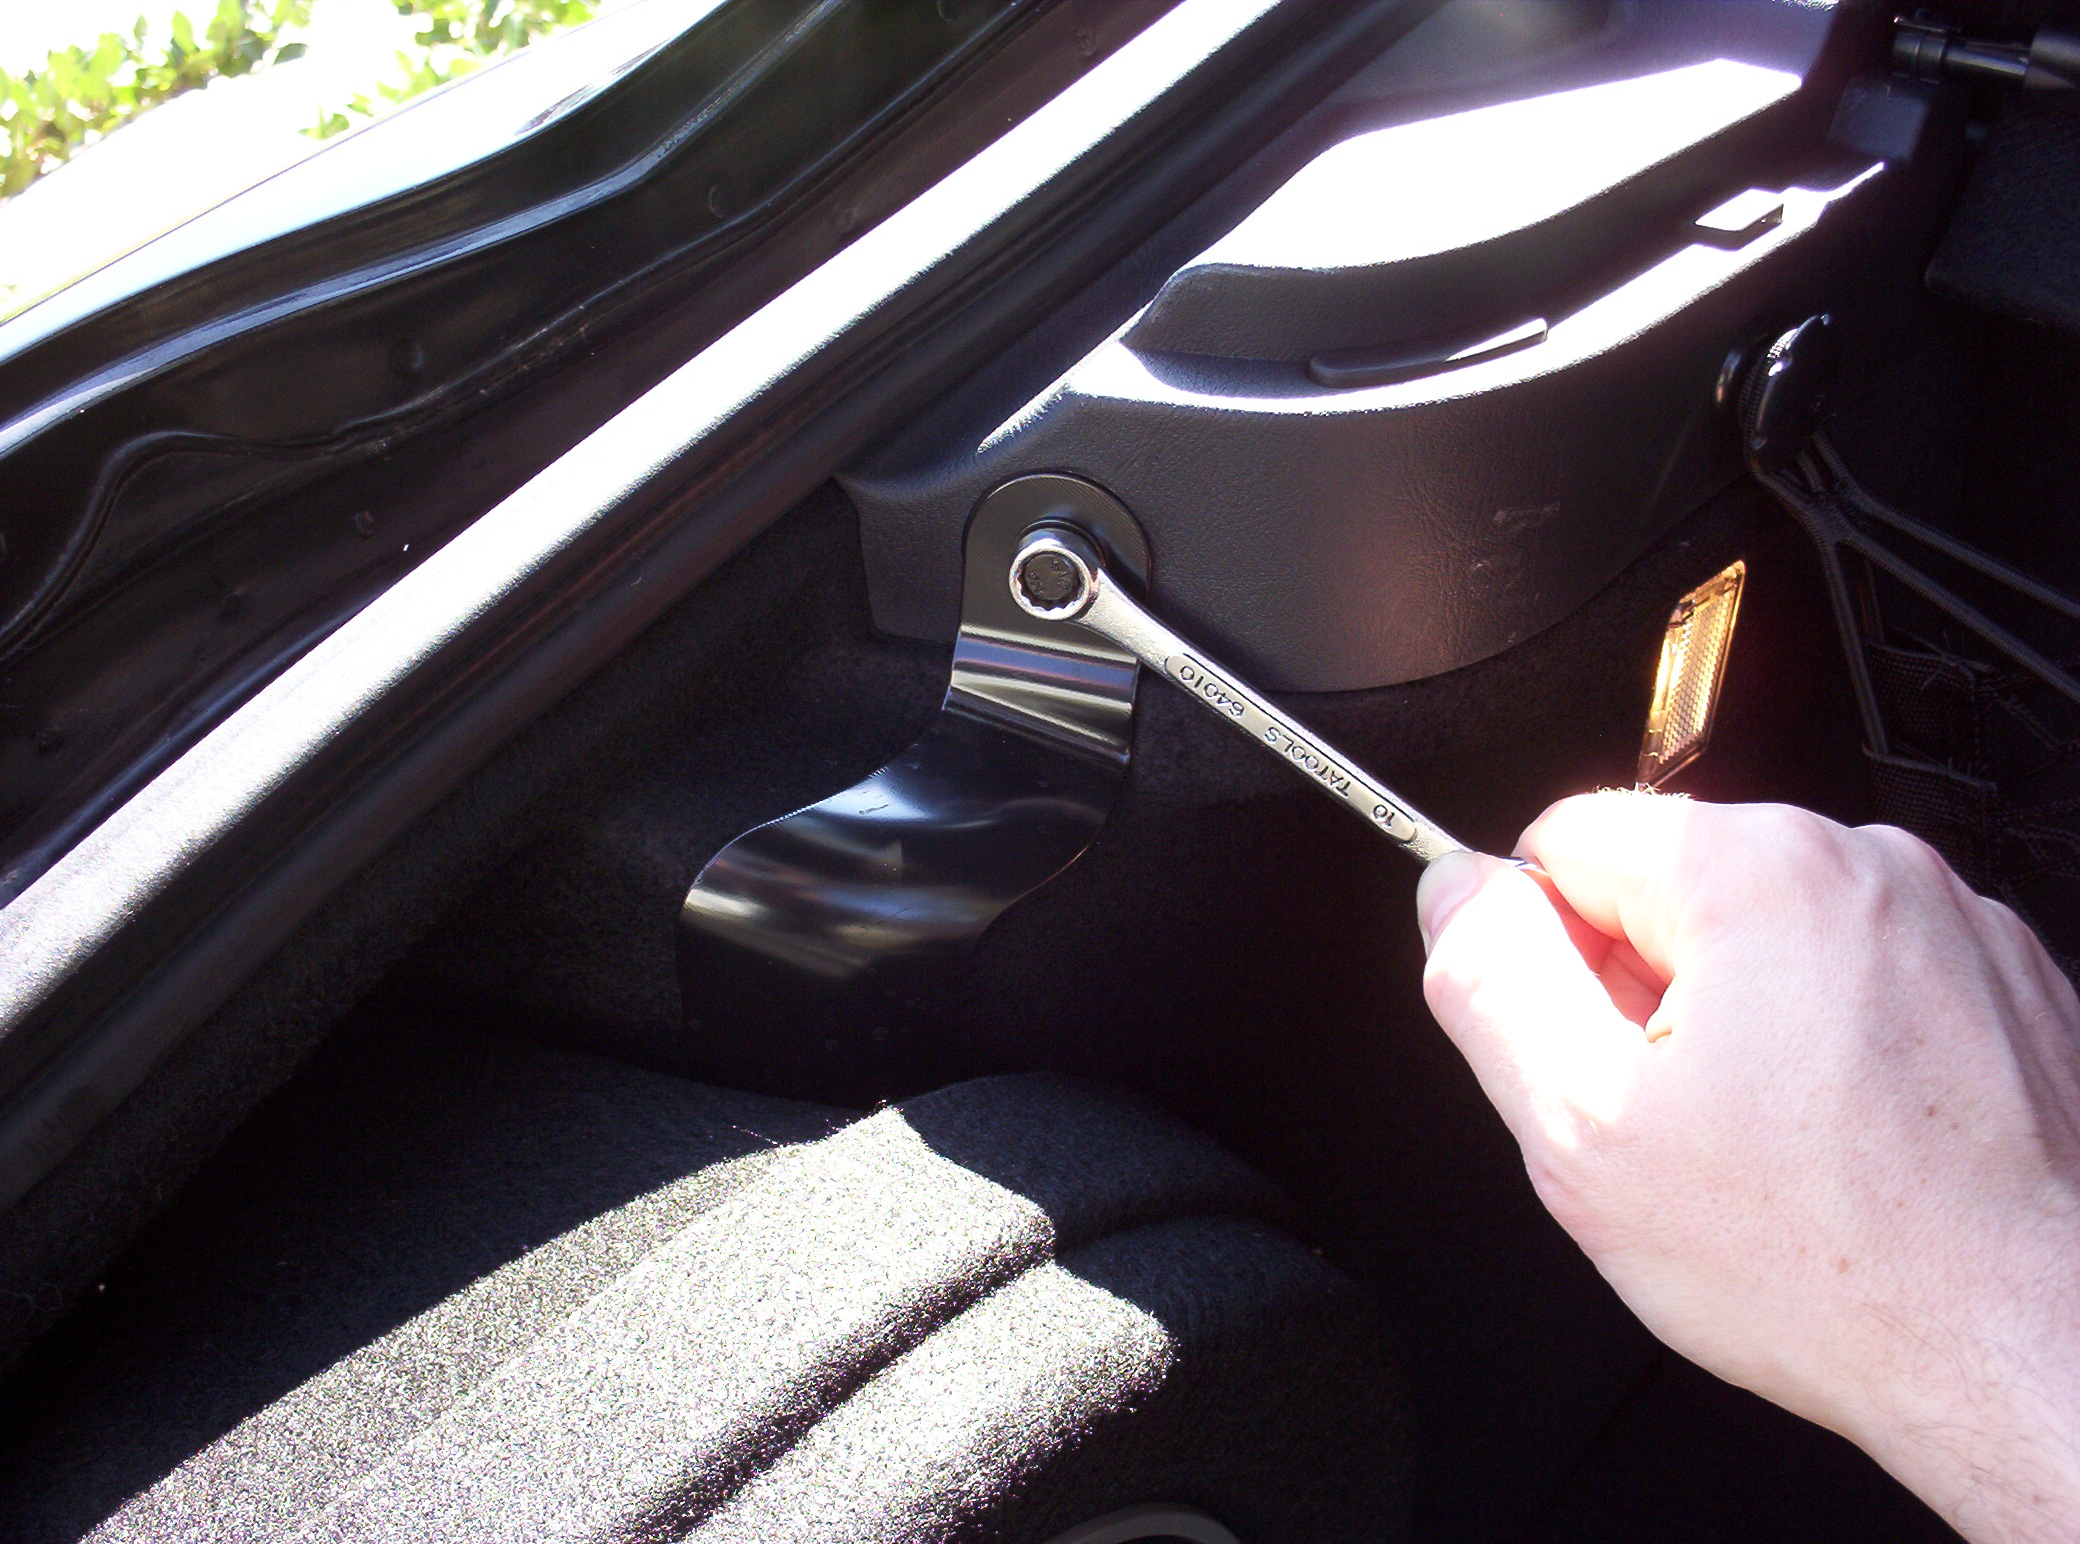
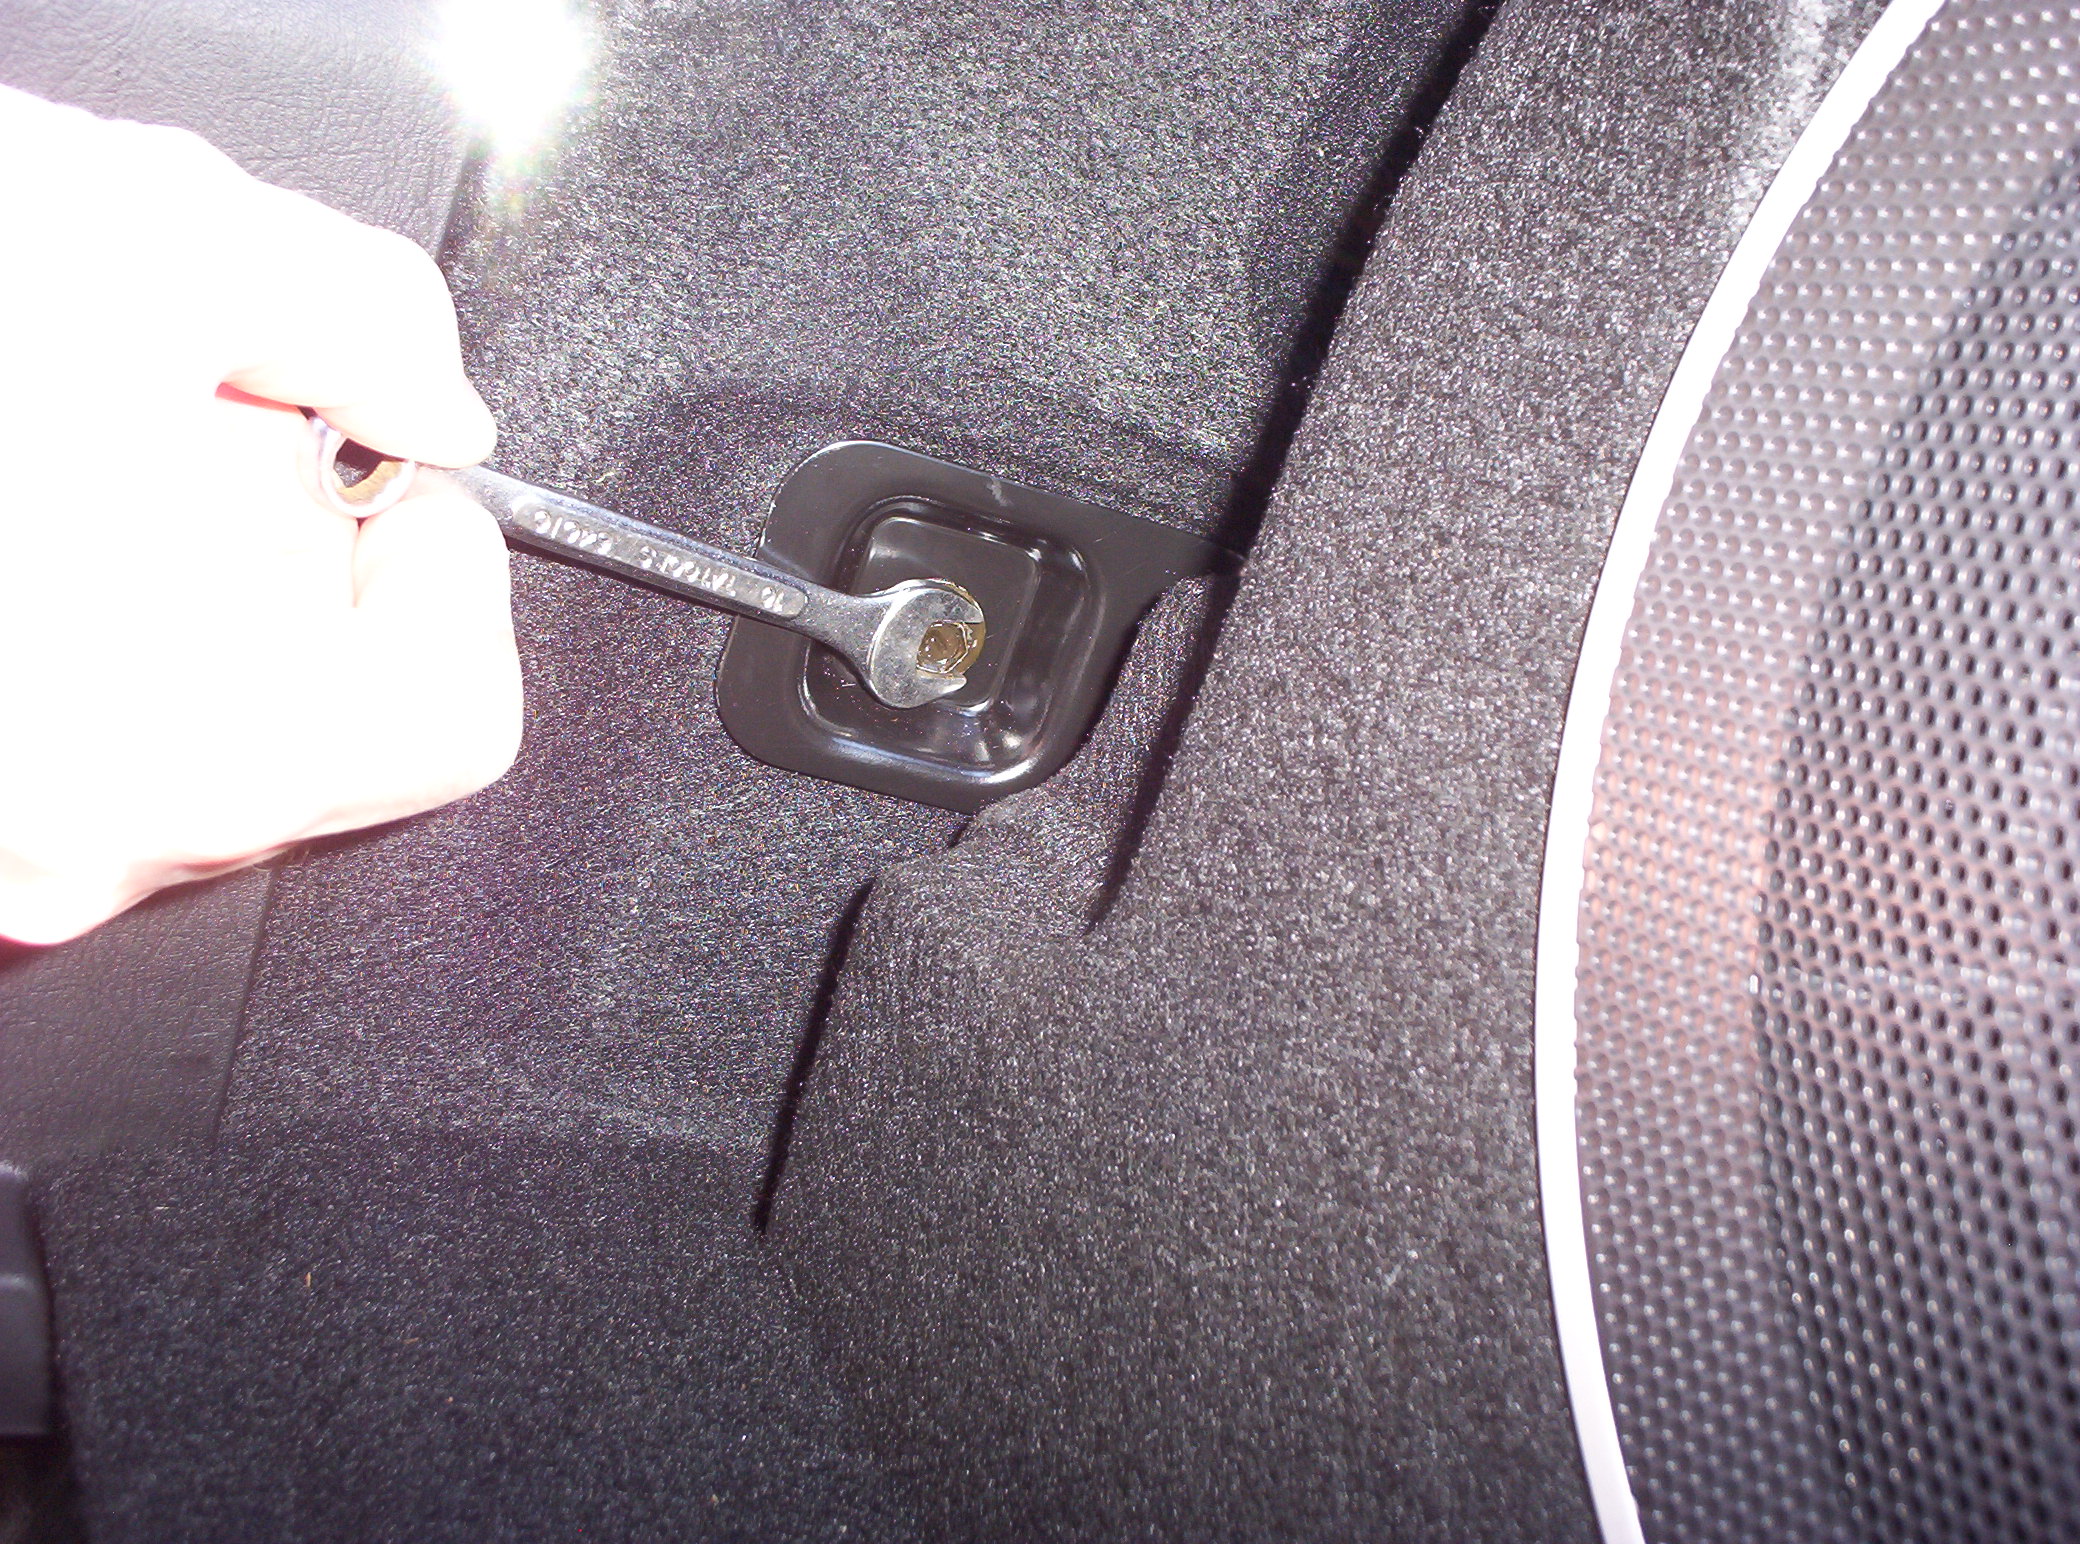
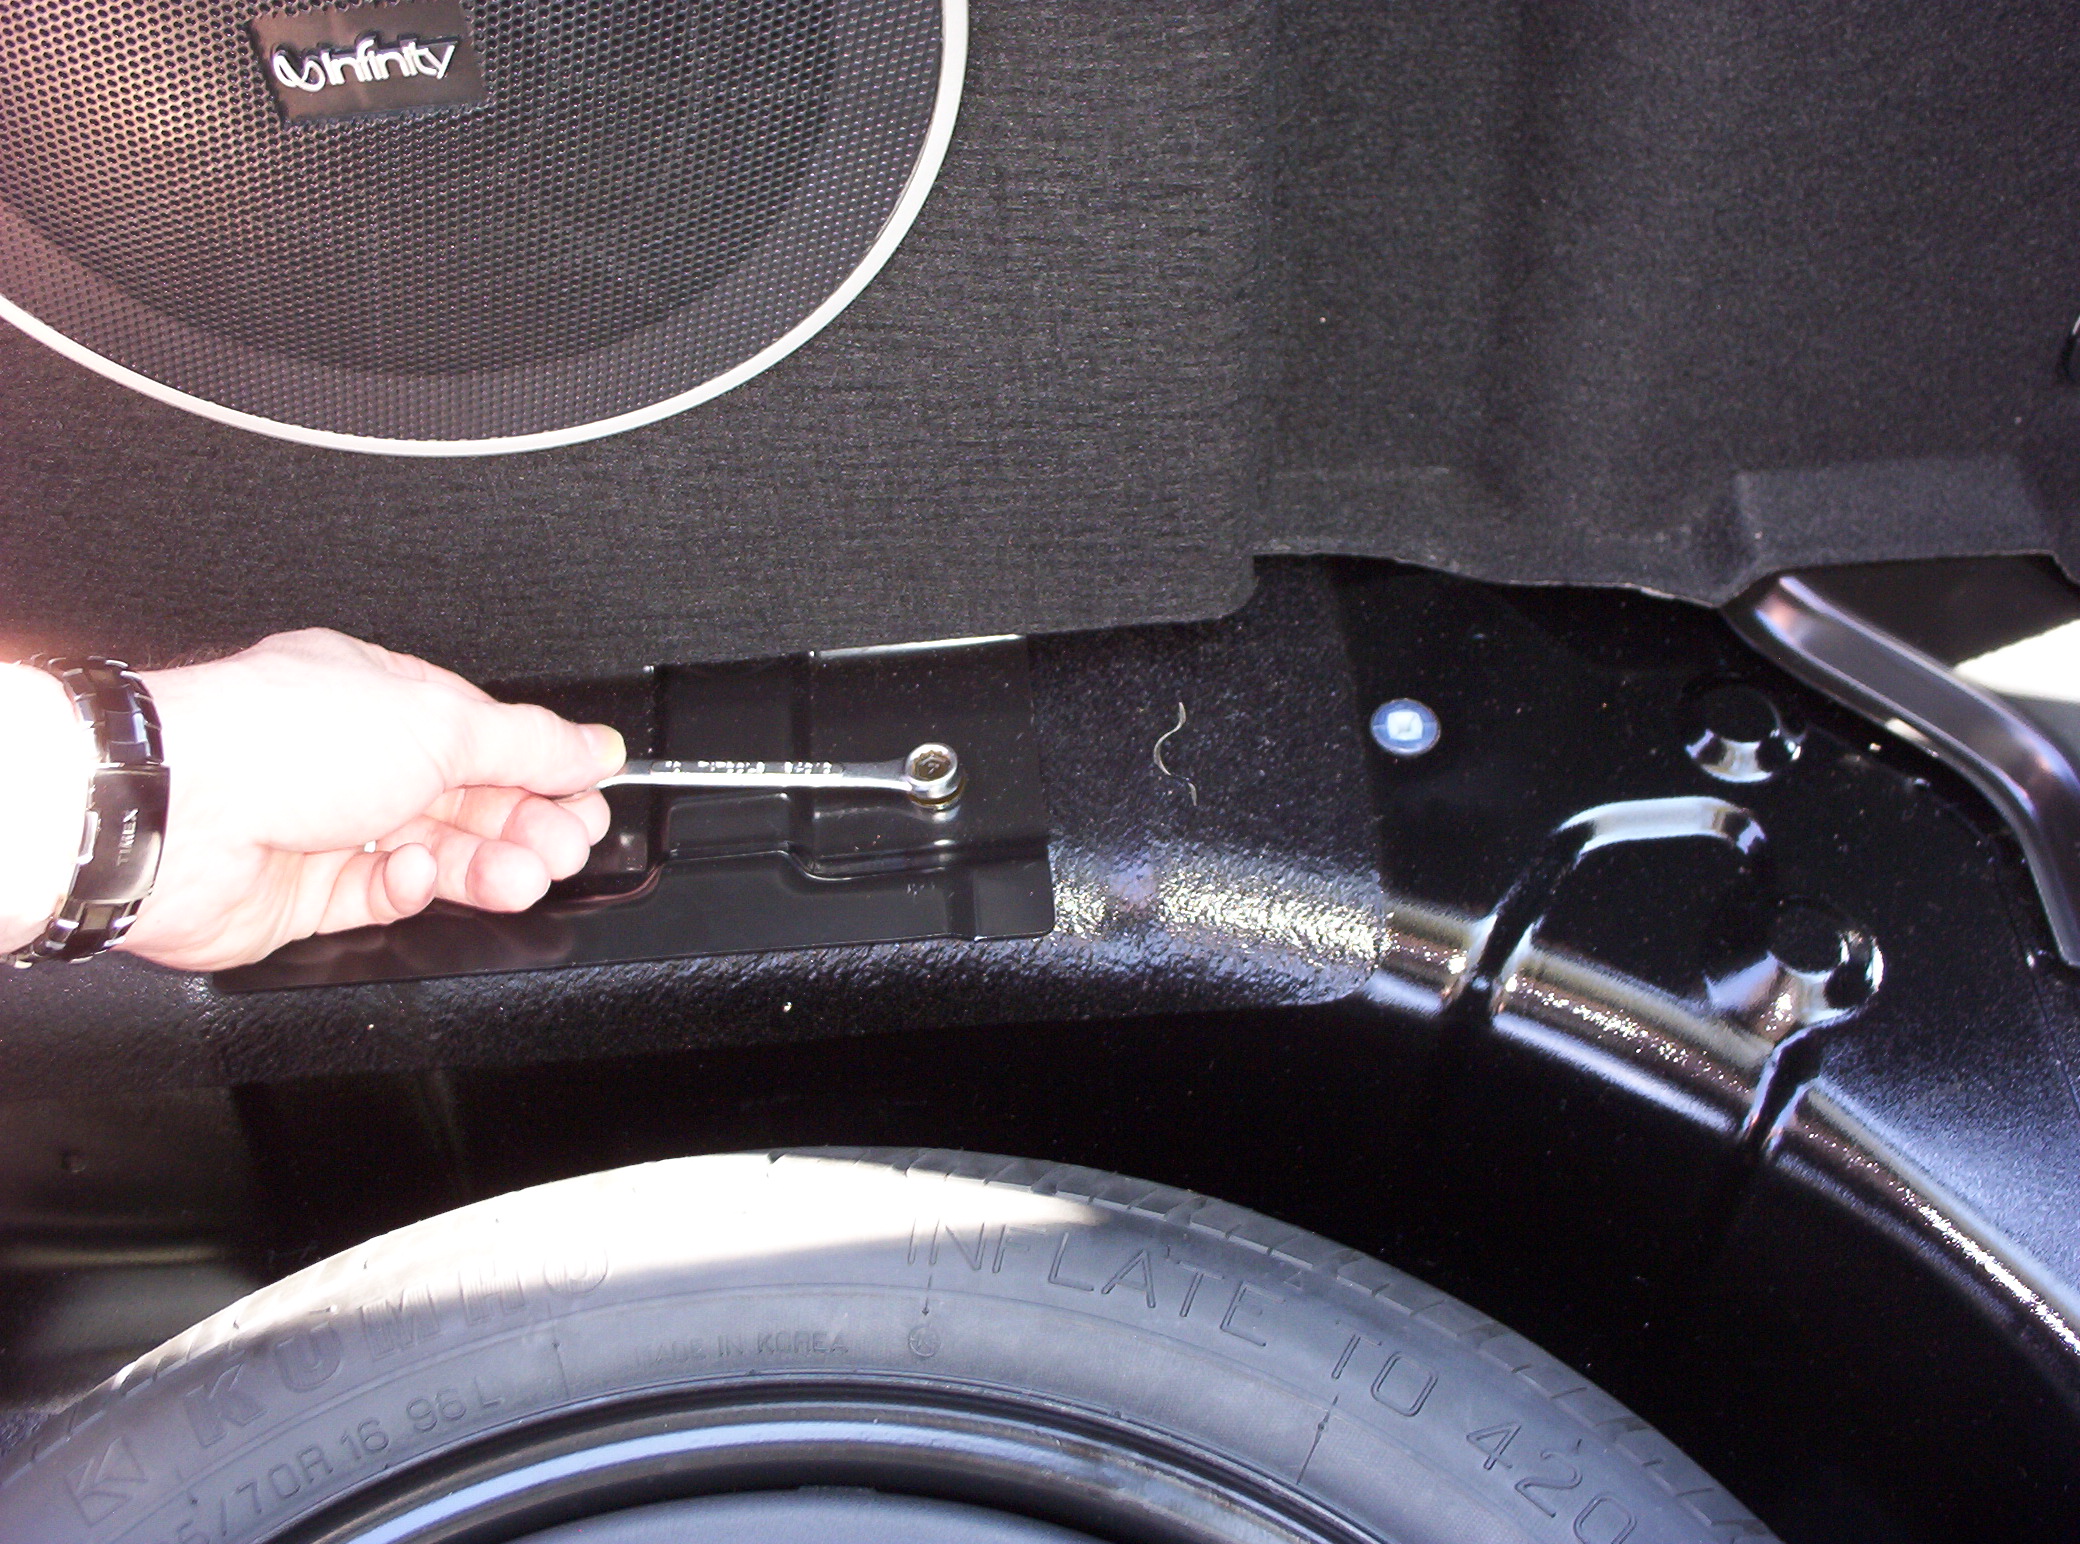
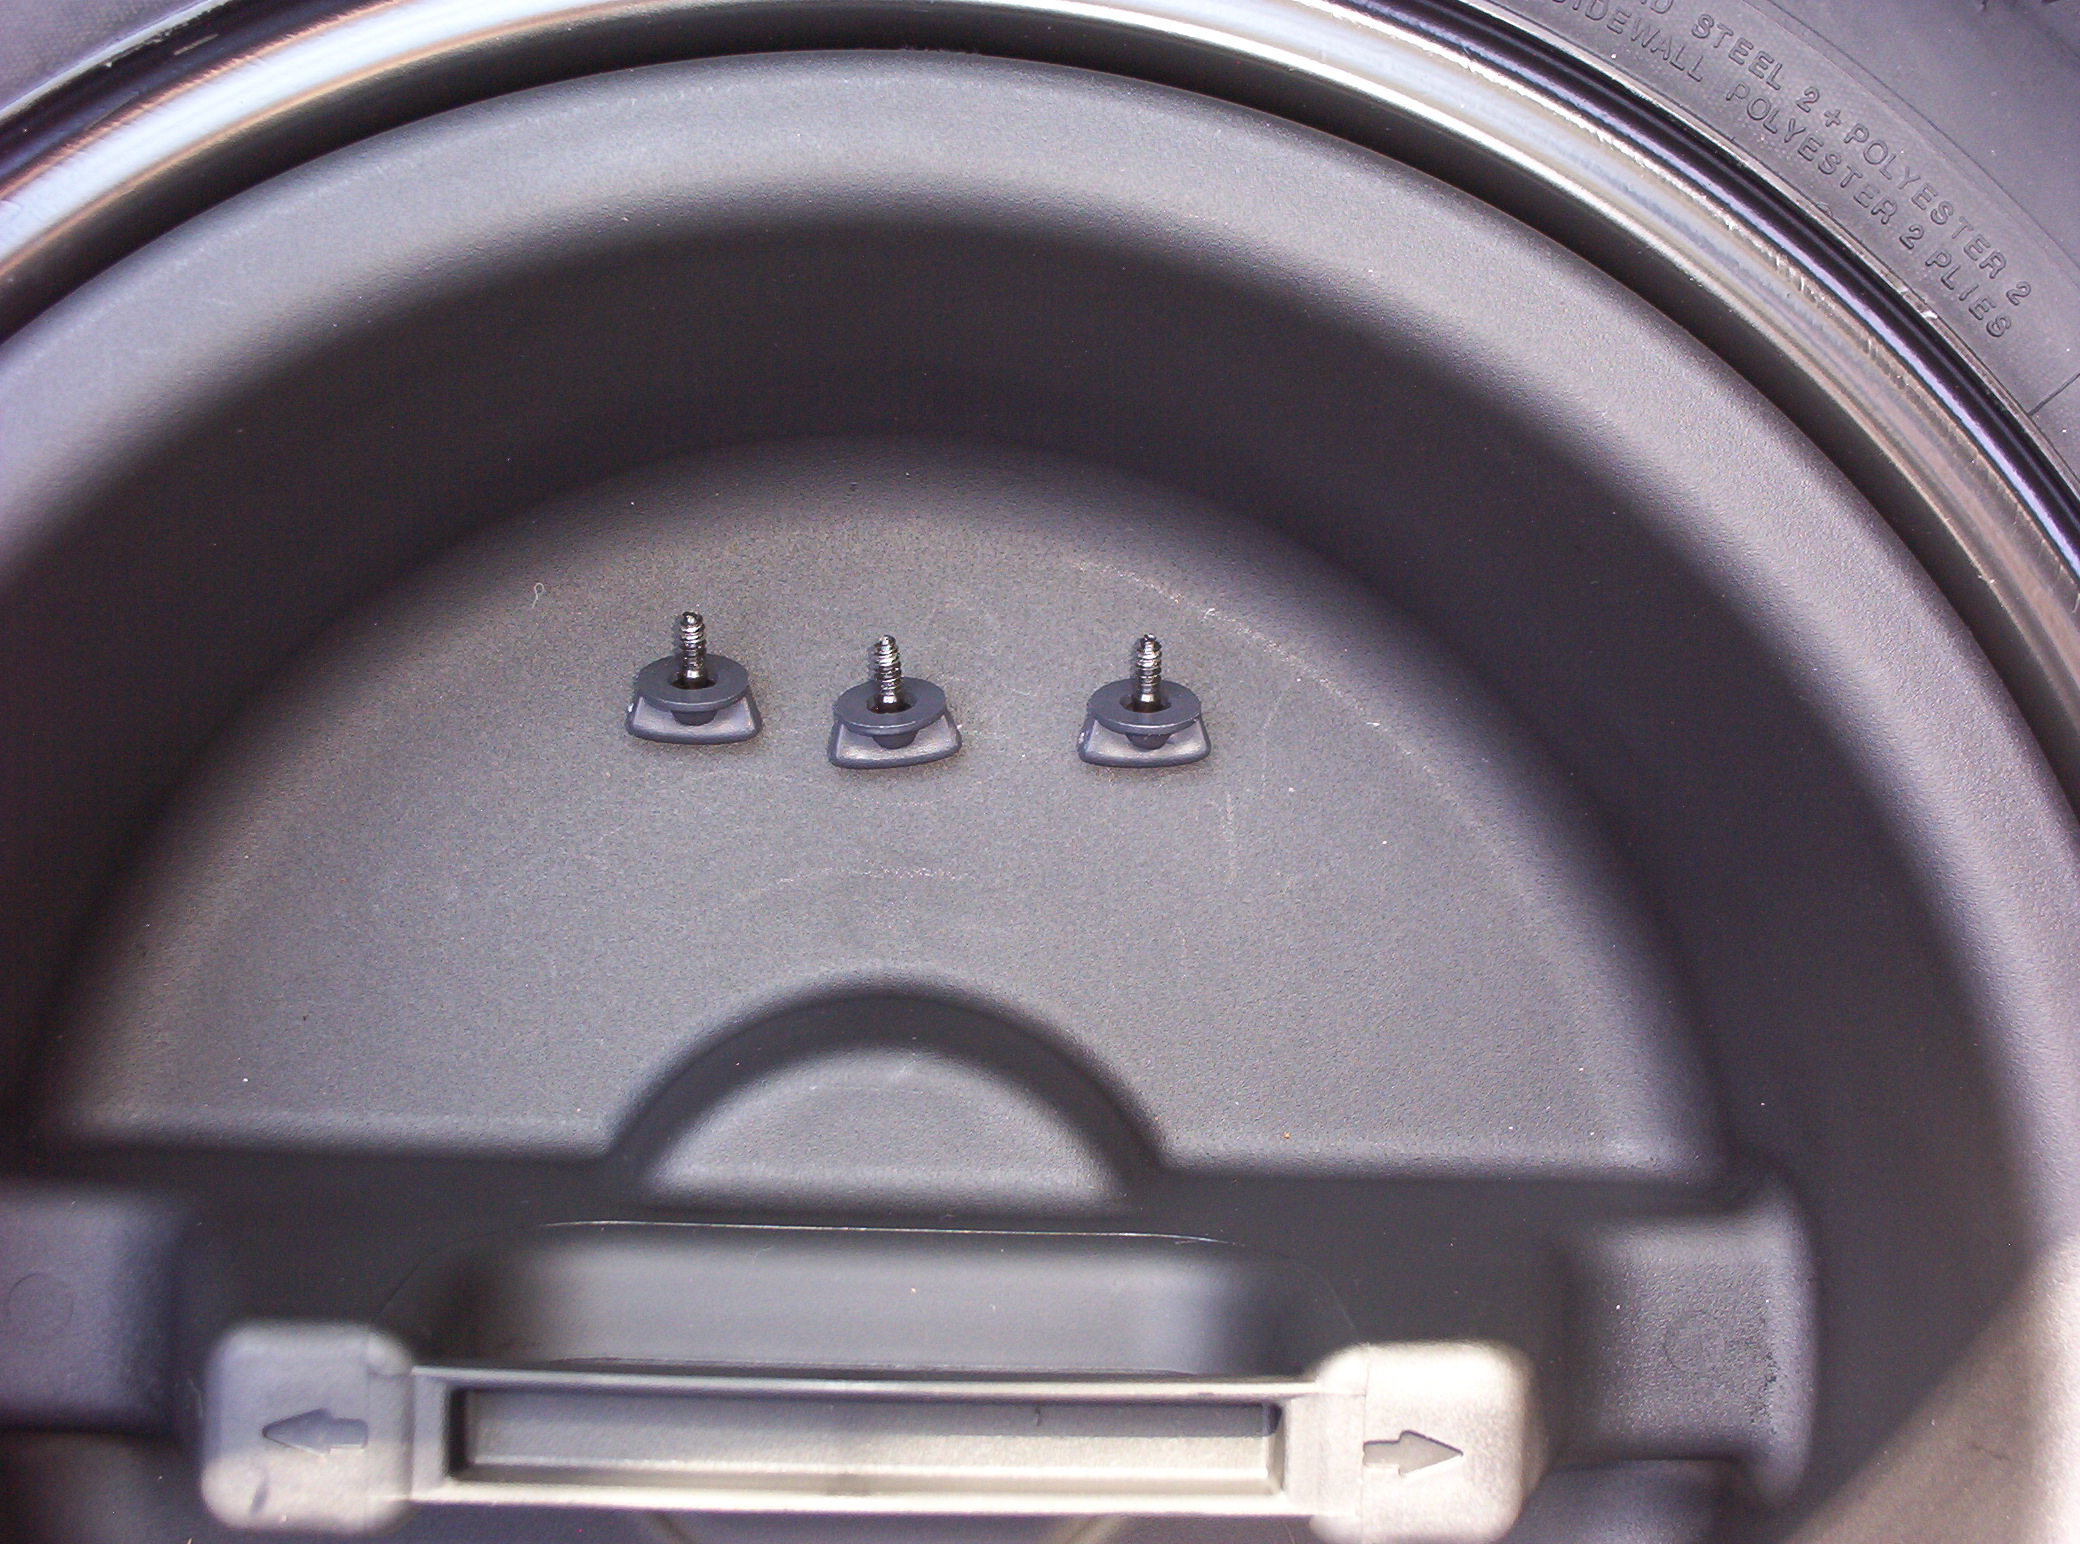
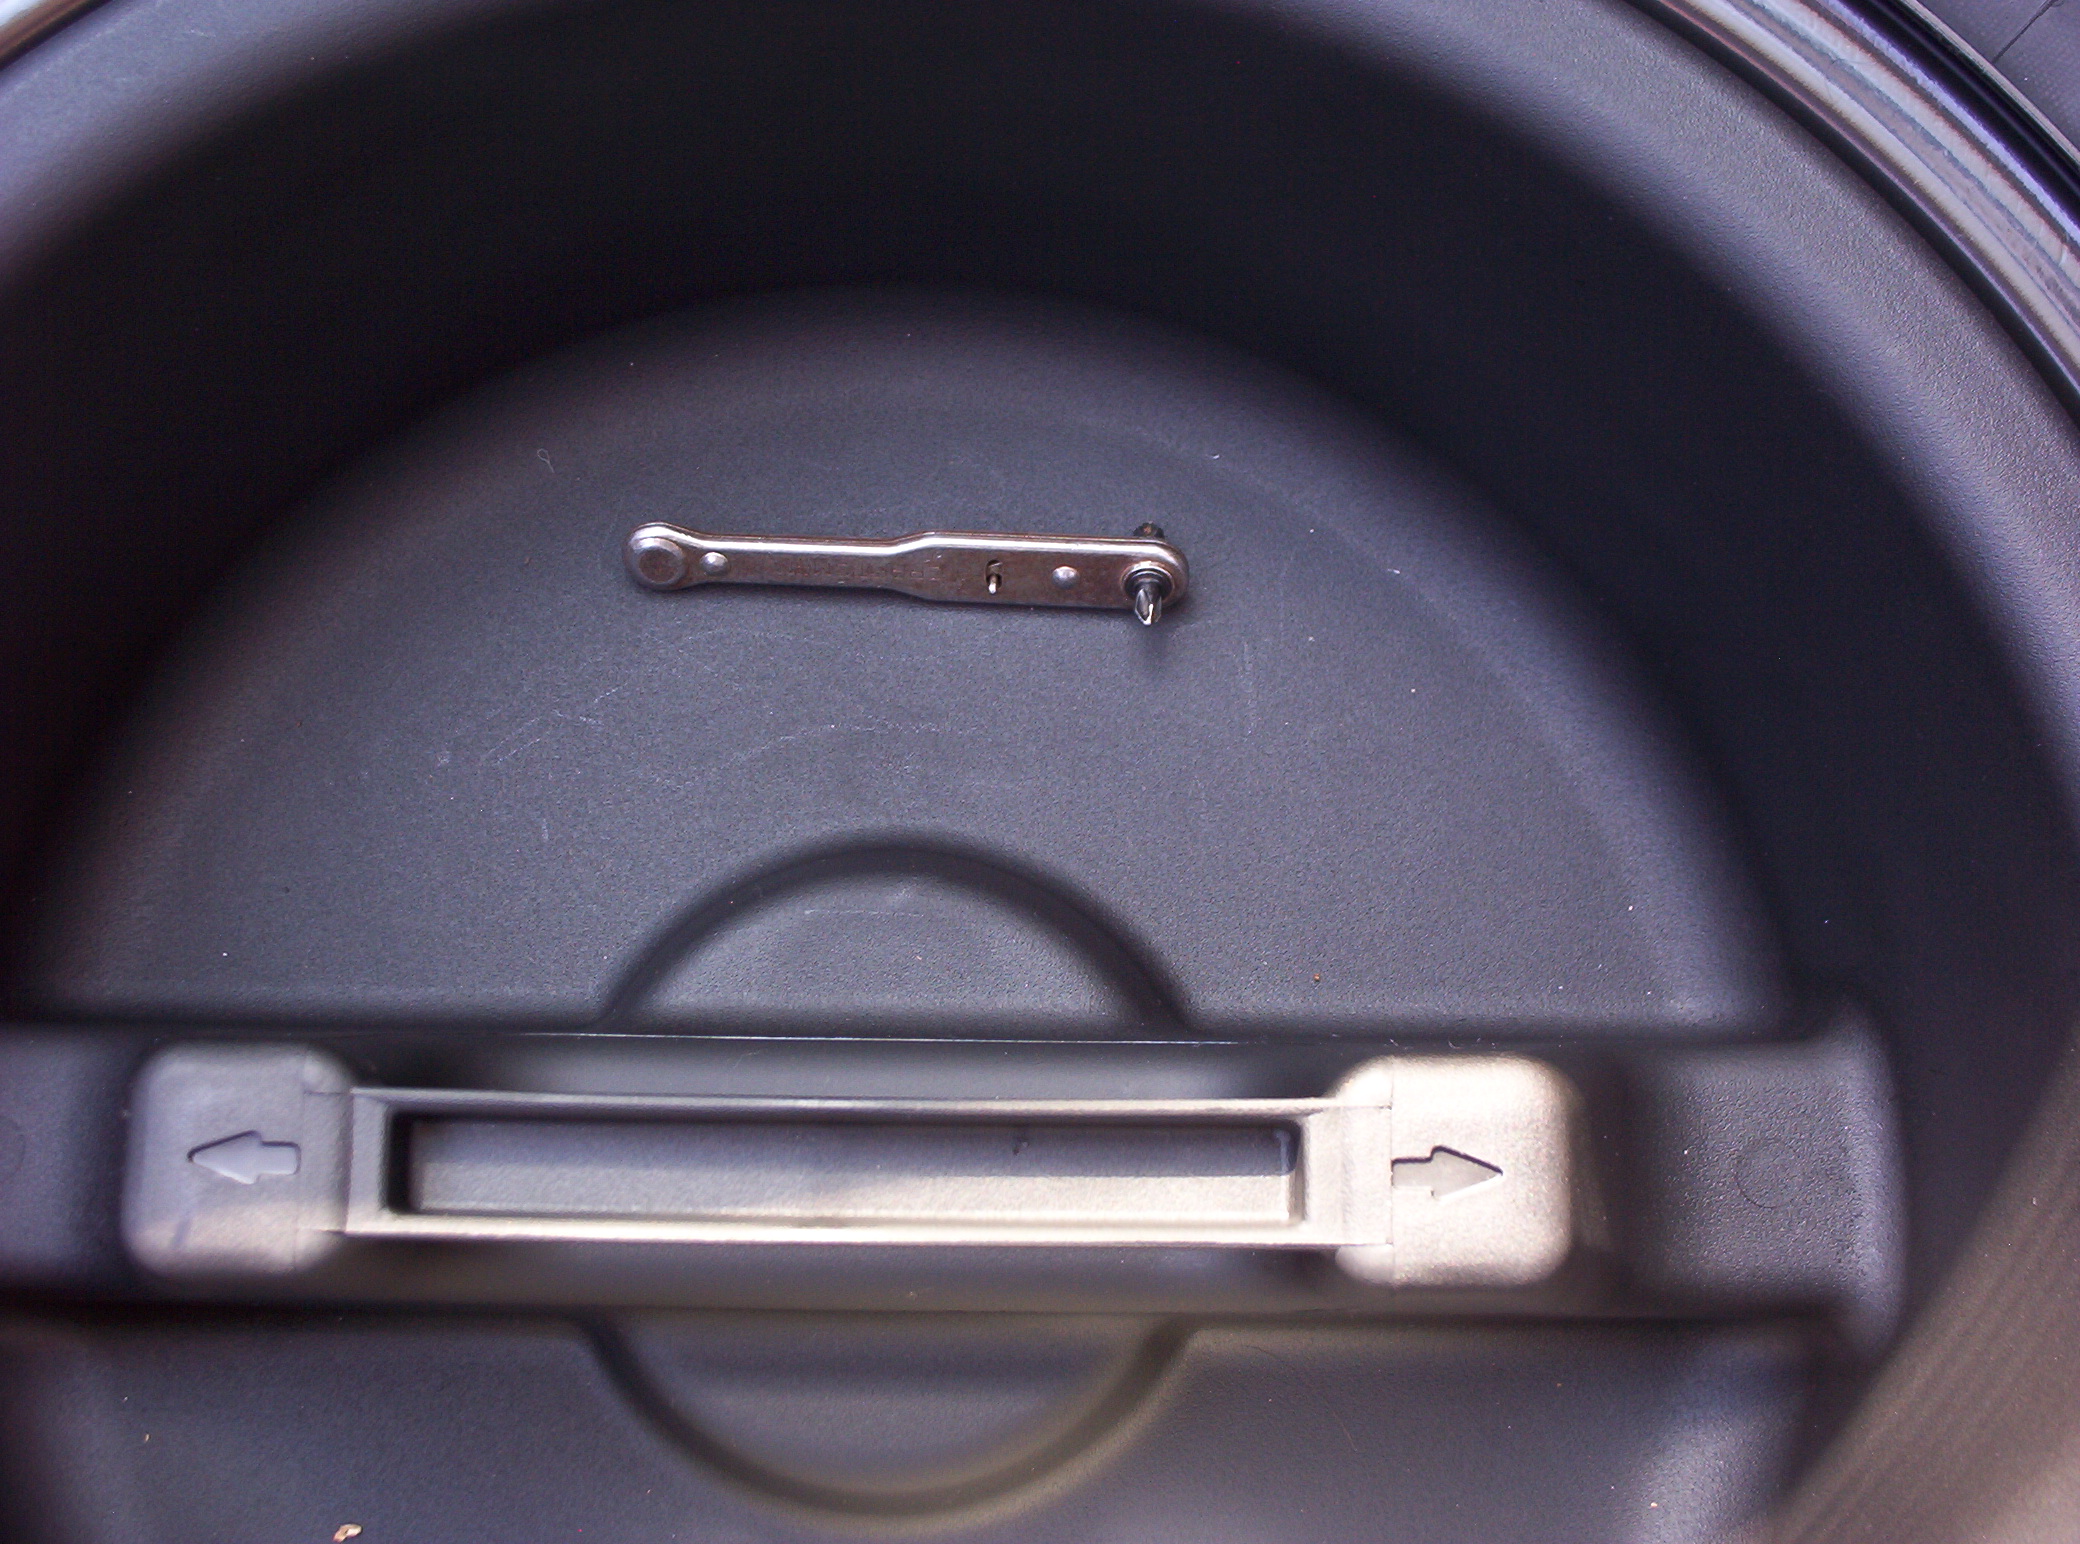
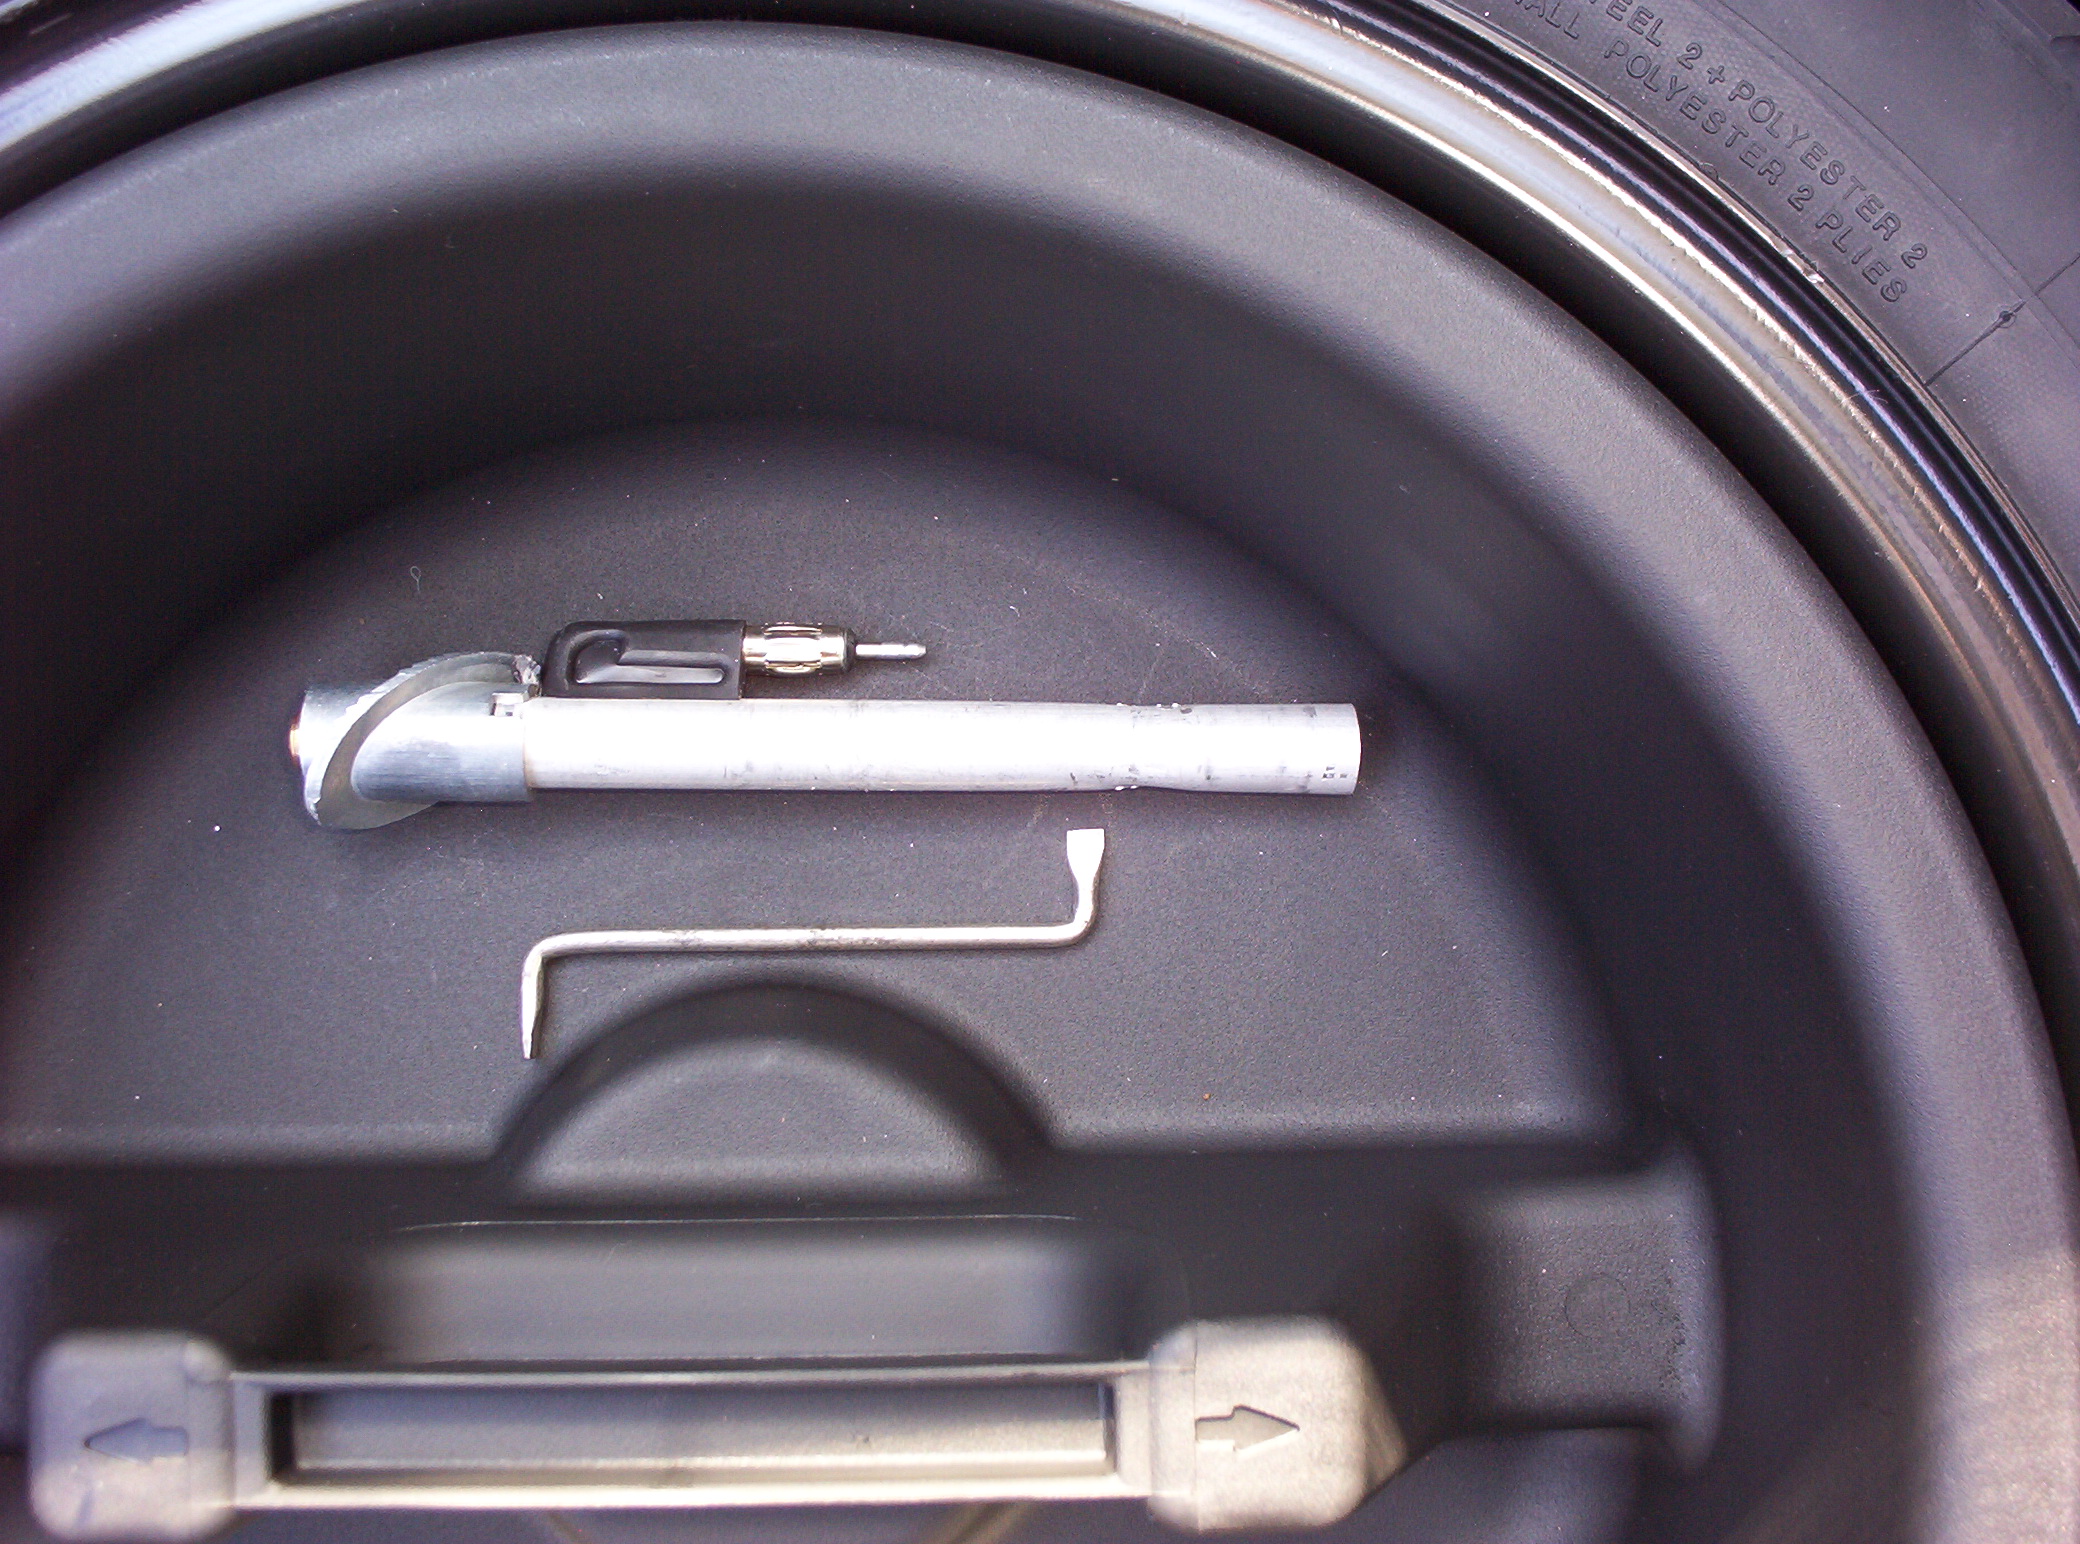
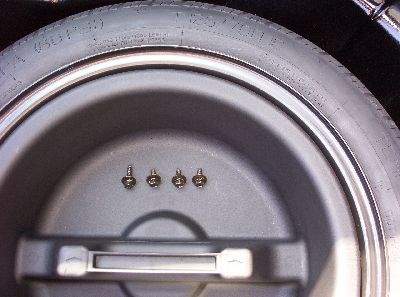
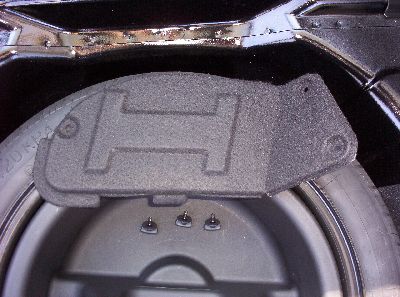
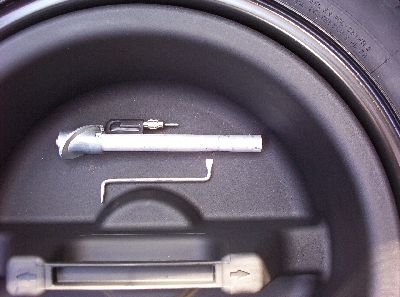
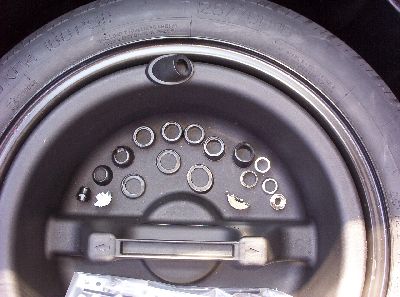
Use the 10mm wrench to remove the rear speaker enclosure. There are four bolts. Set them aside and keep them together. Make sure you remember where each bolt came from, because they aren’t all the same length. I put all of the hardware in the little round tray thing that sits on the spare tire. Very nice of Hyundai to provide a place to put things like this. This is the first bolt.

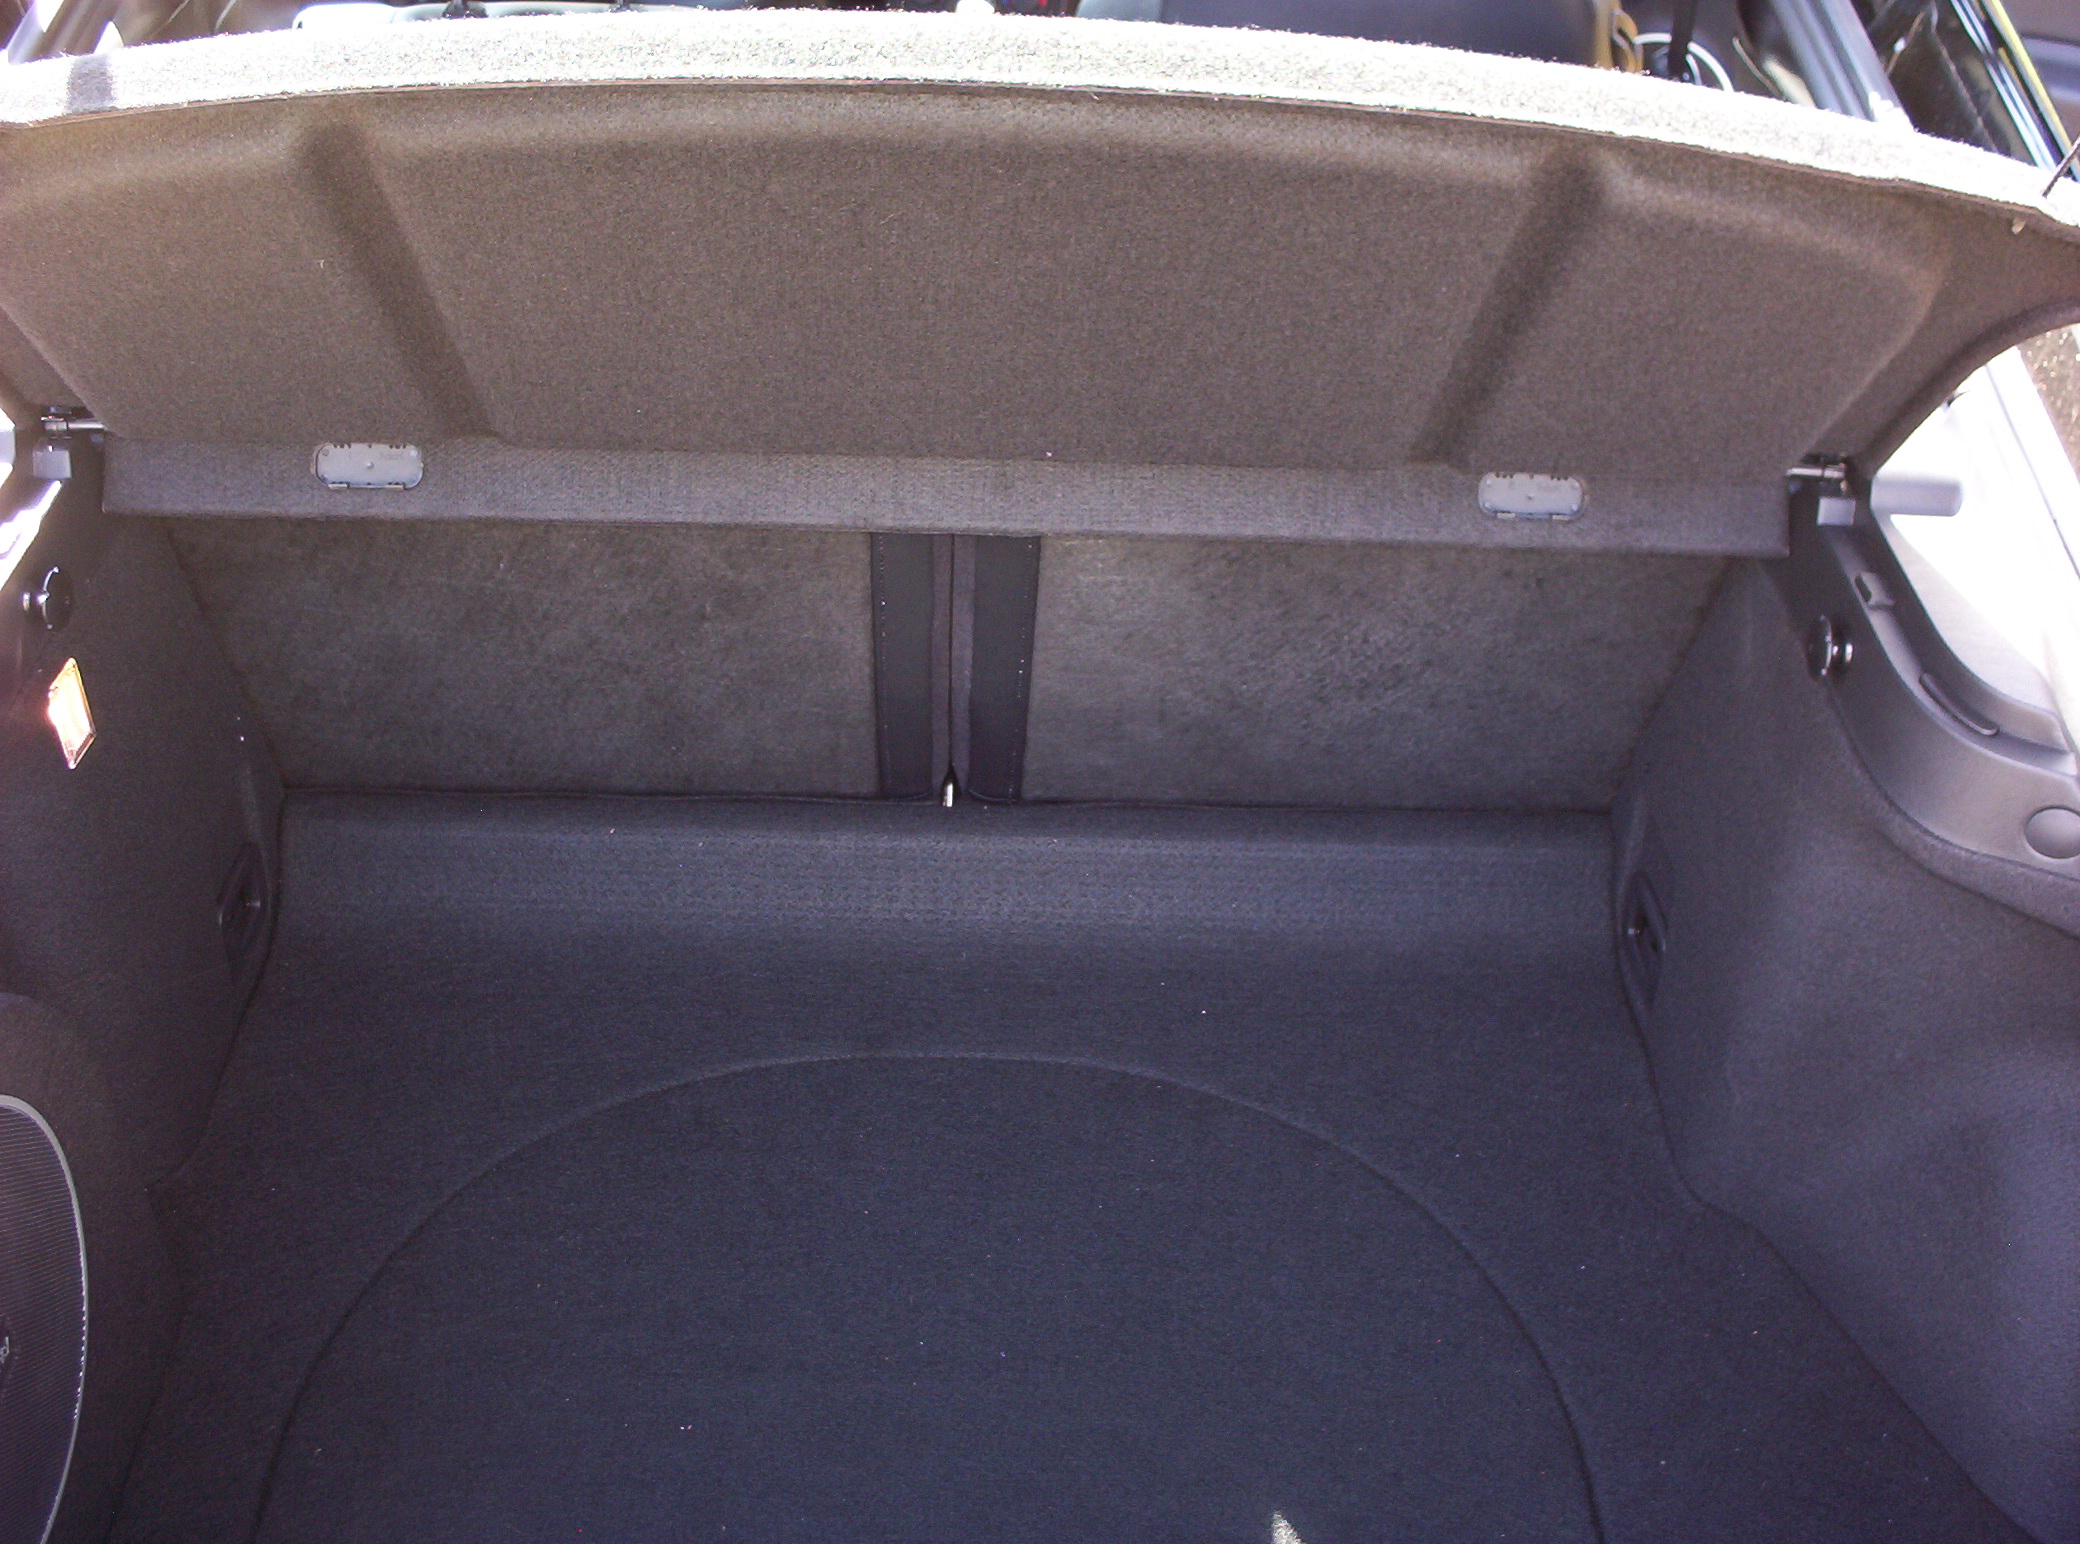
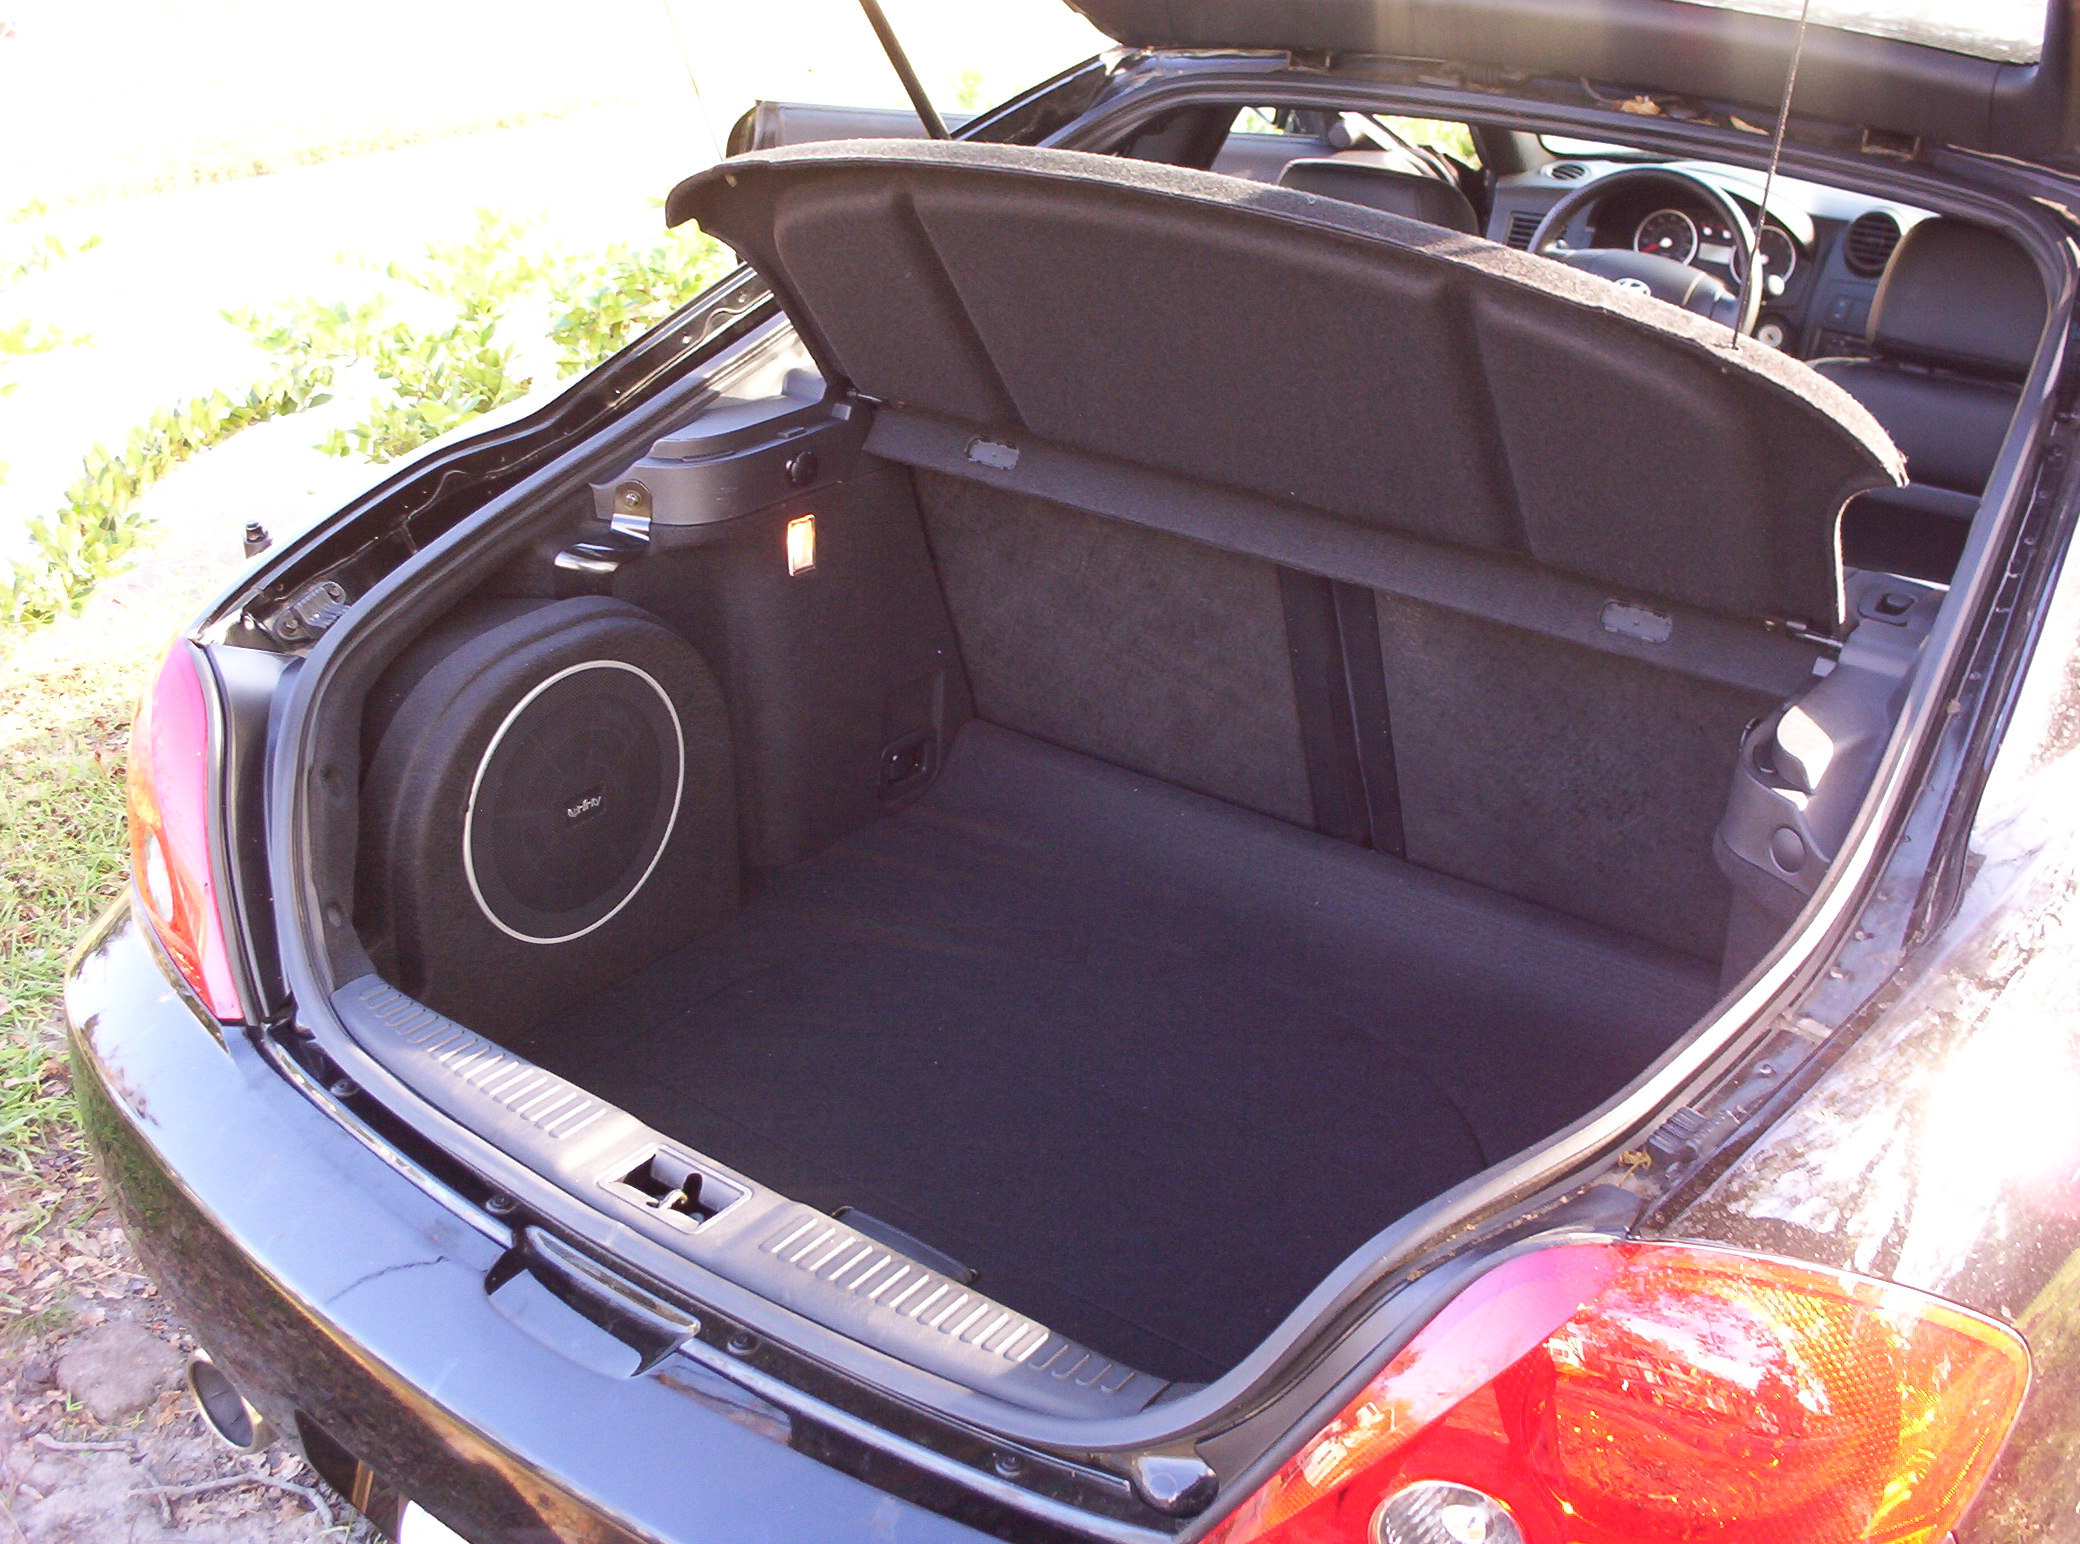
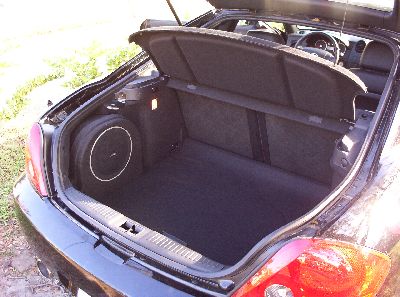
It still amazes me how roomy the Tiburon’s trunk area is. It’s twice the size of any similar car I have seen, including the new Genesis coupe and the new Camaro.
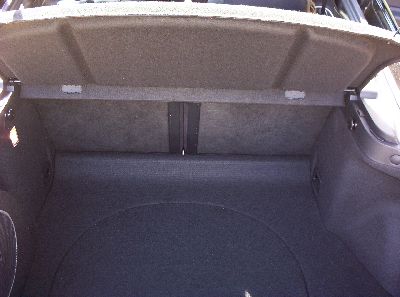
To get to everything, you need to remove the cargo cover…

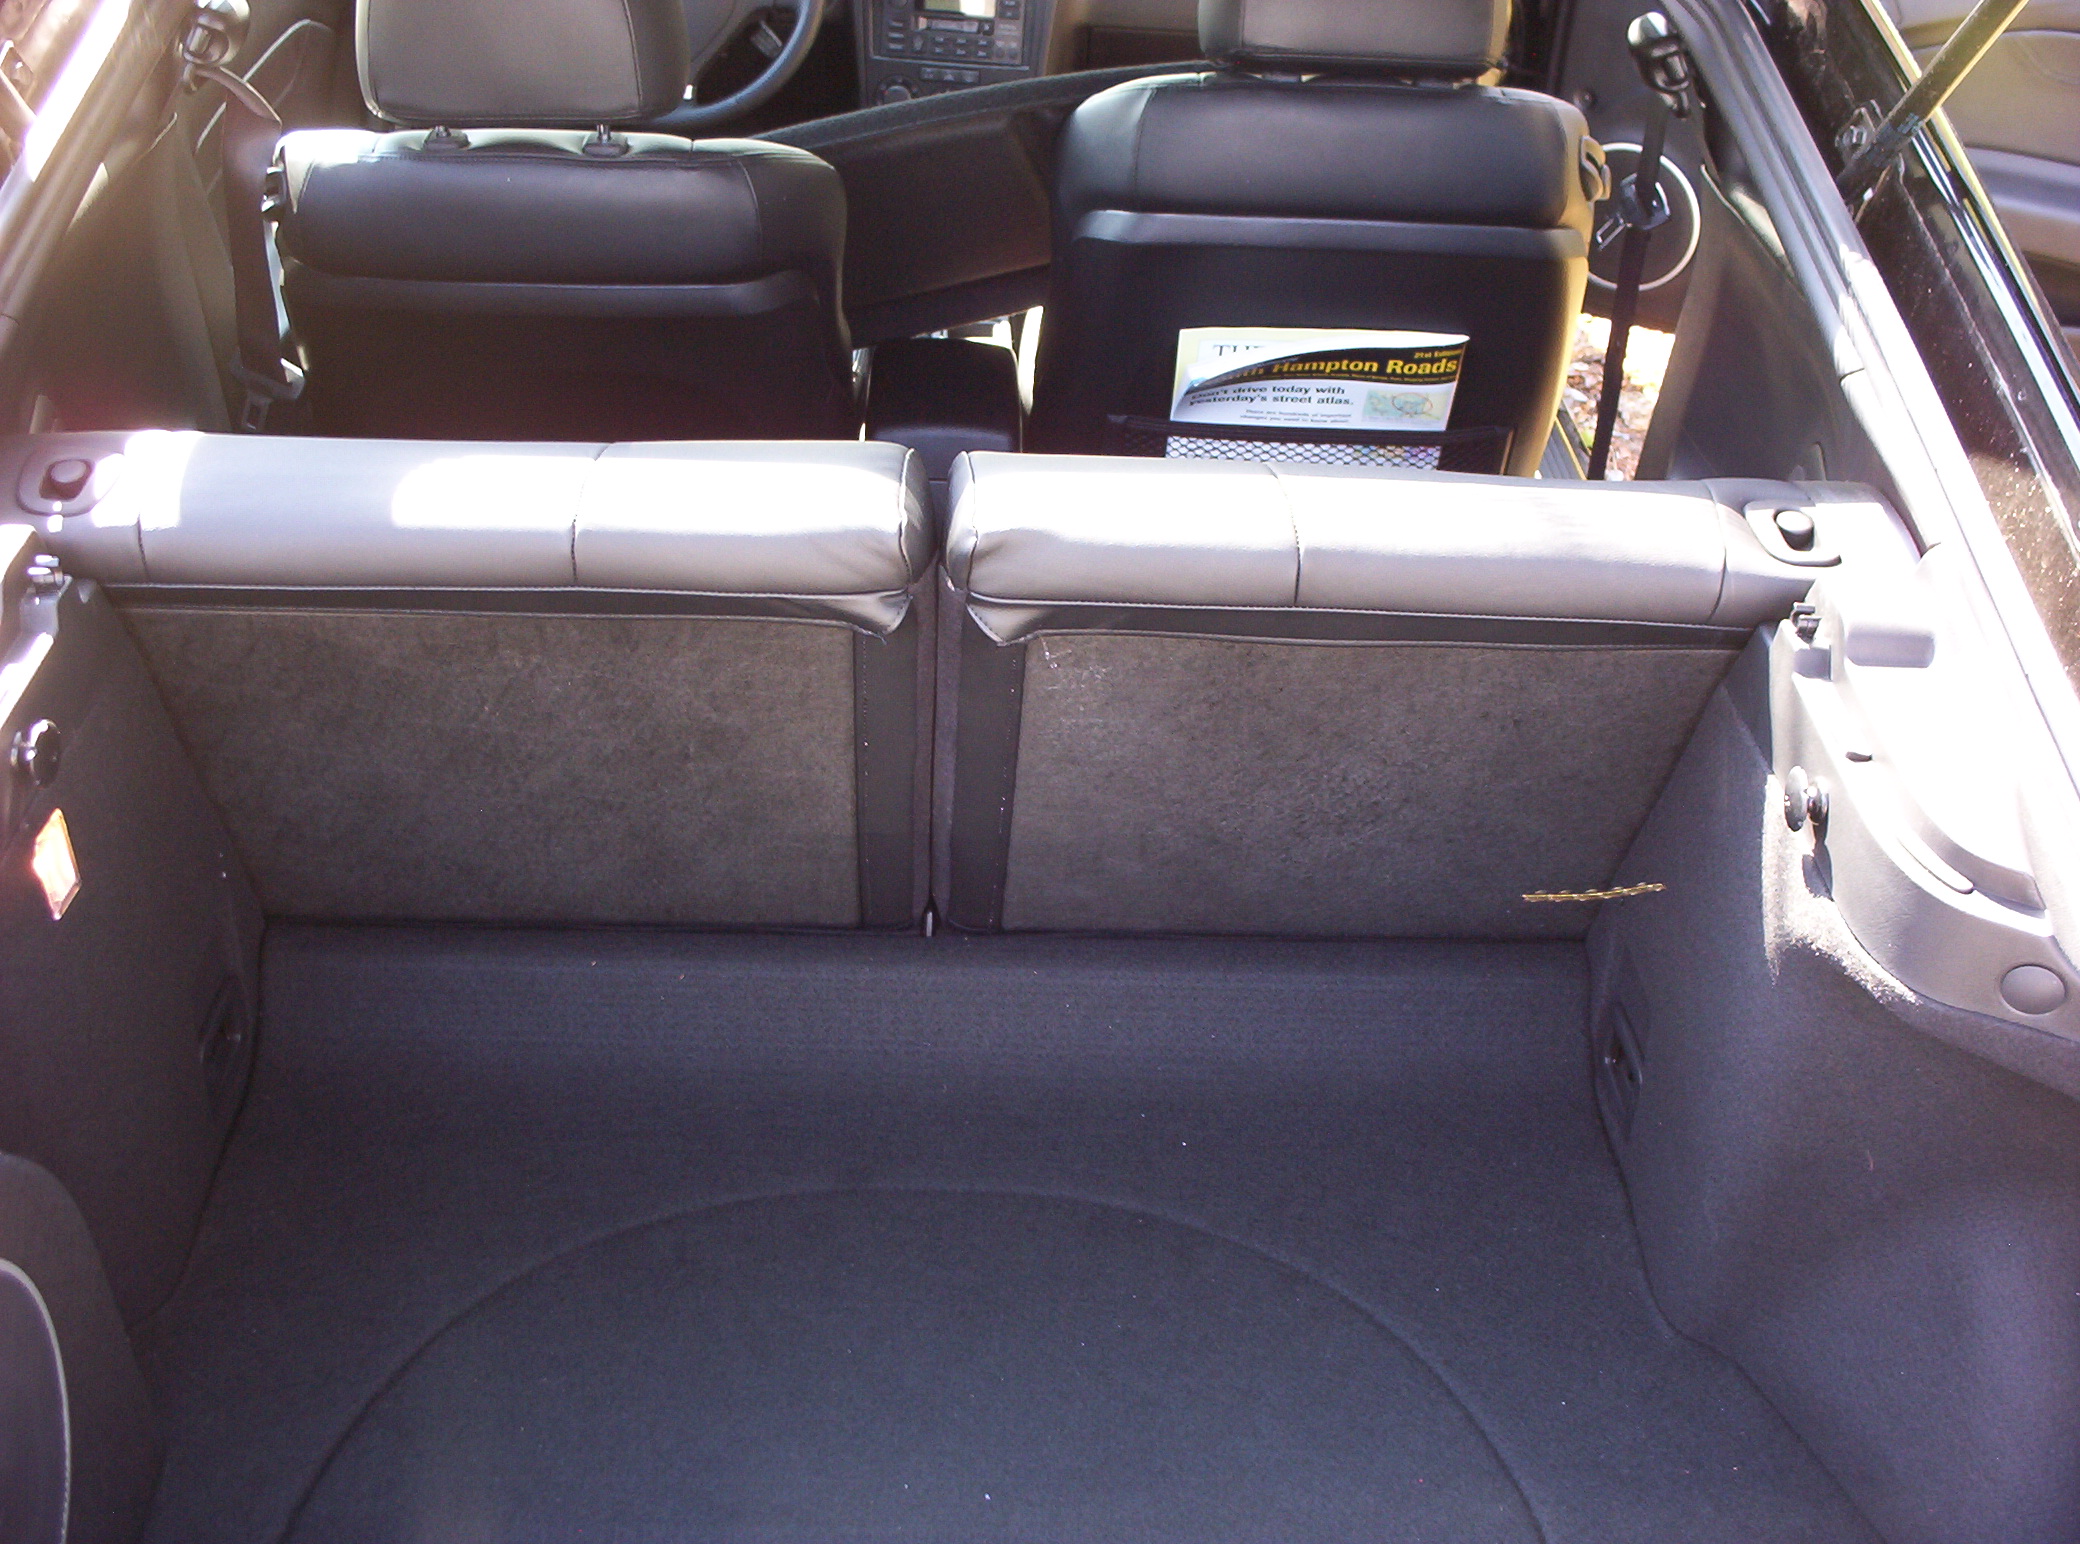
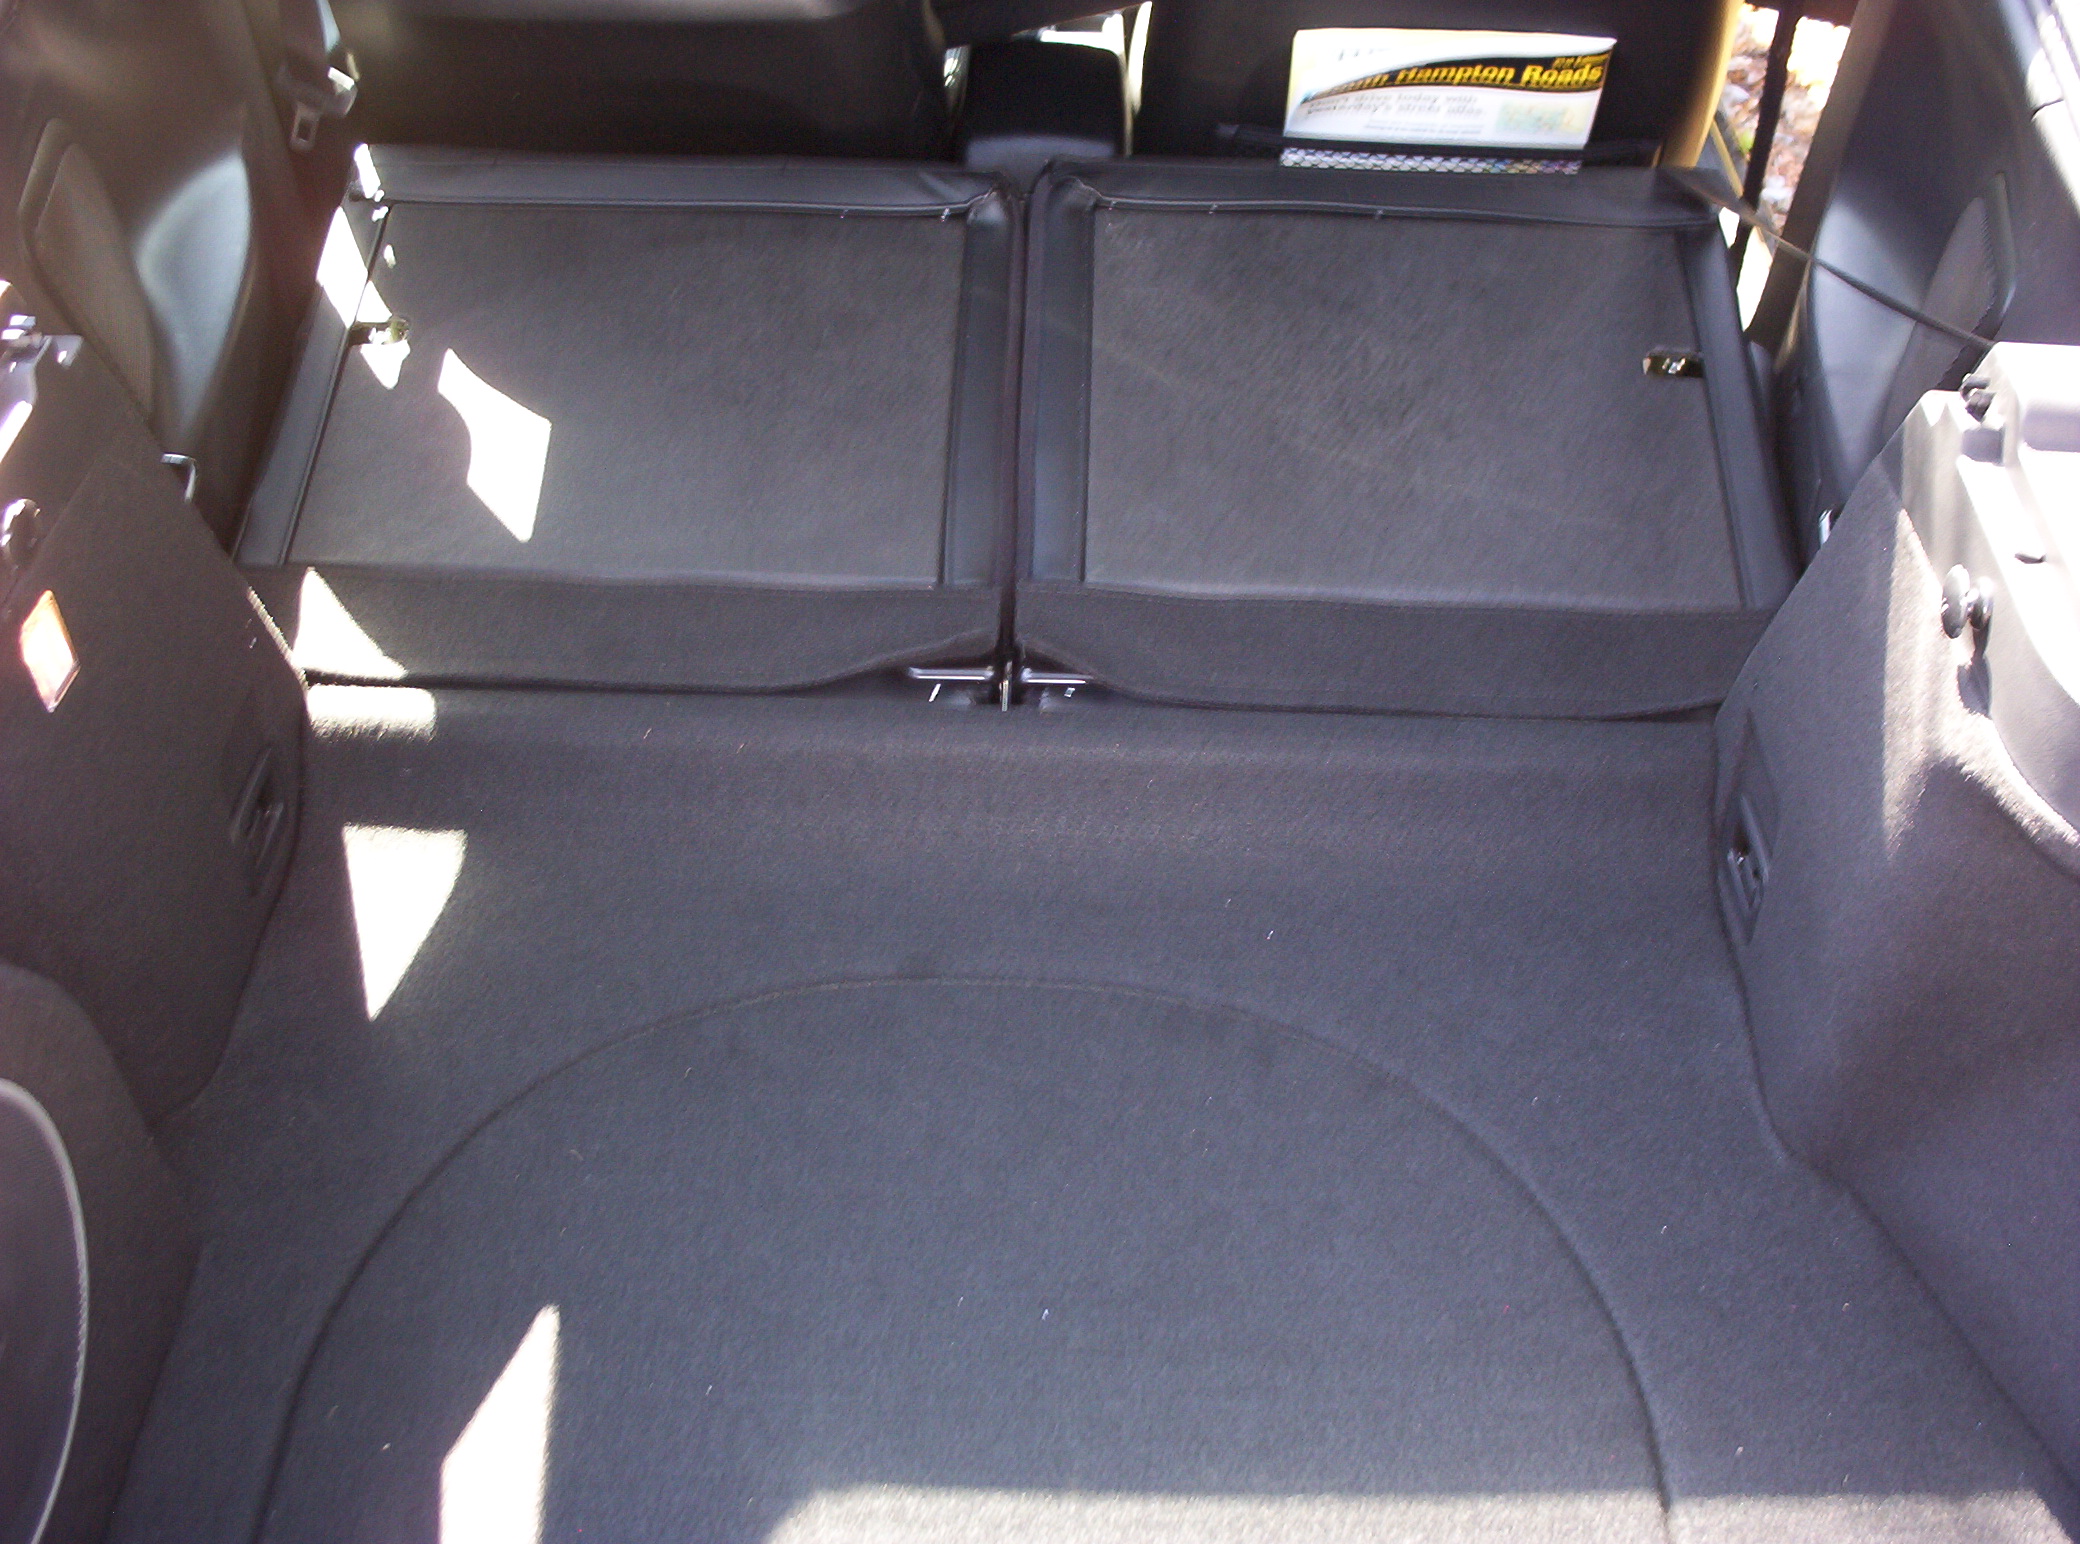
… put the back seats down…
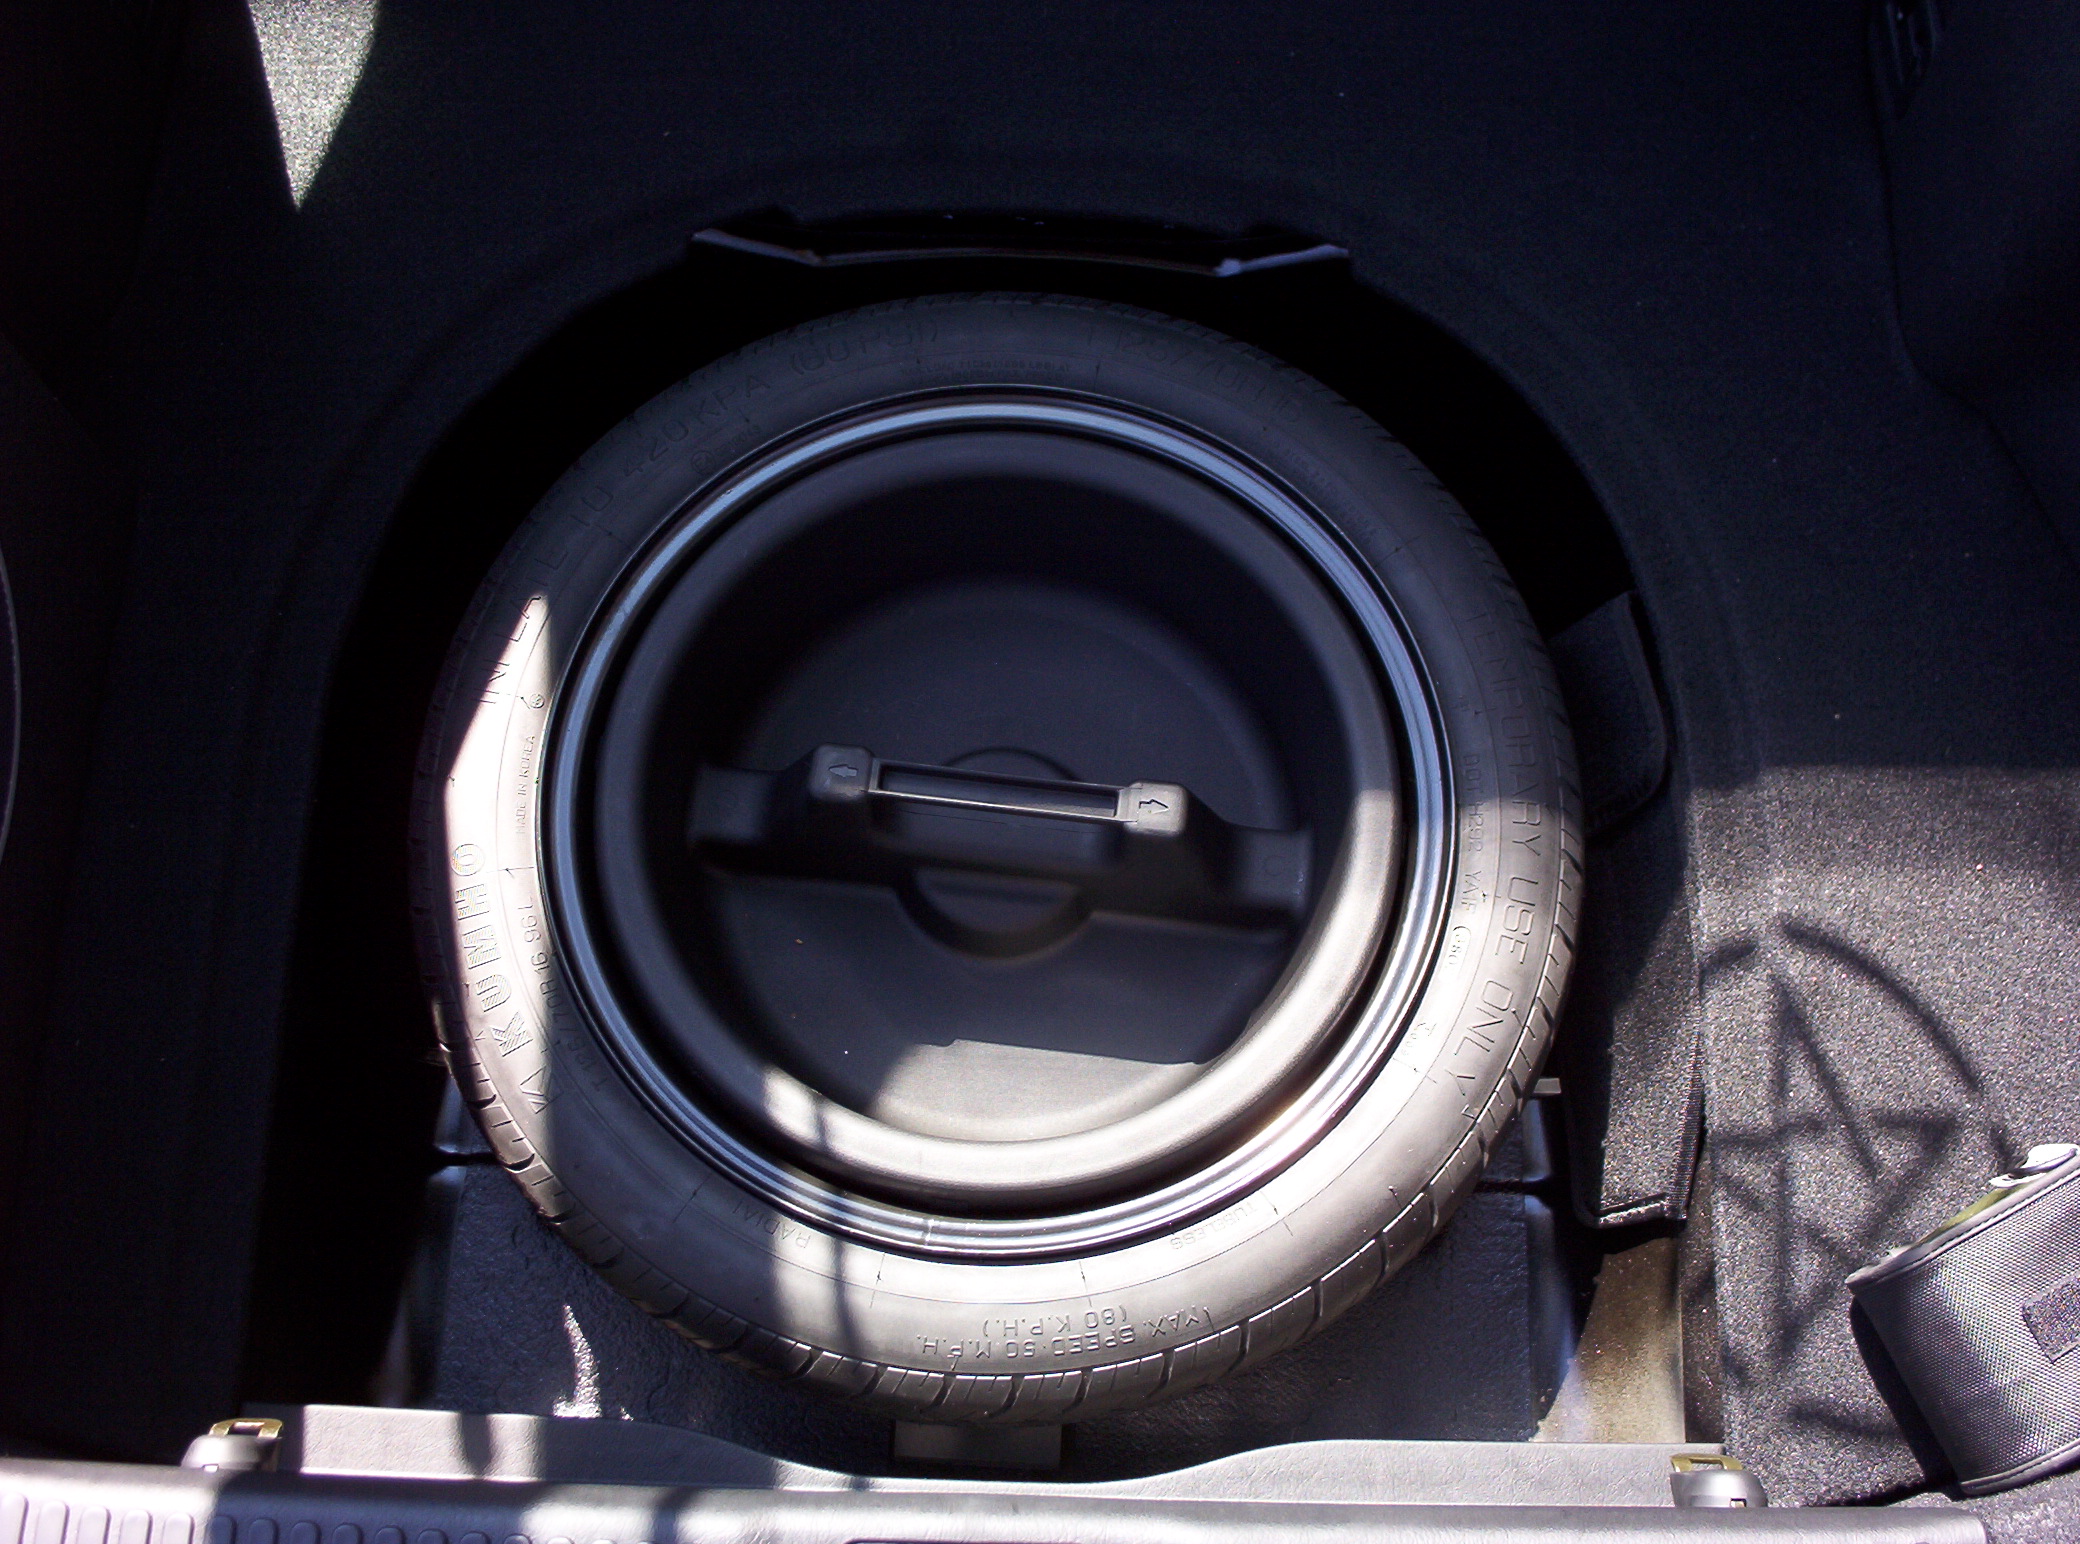
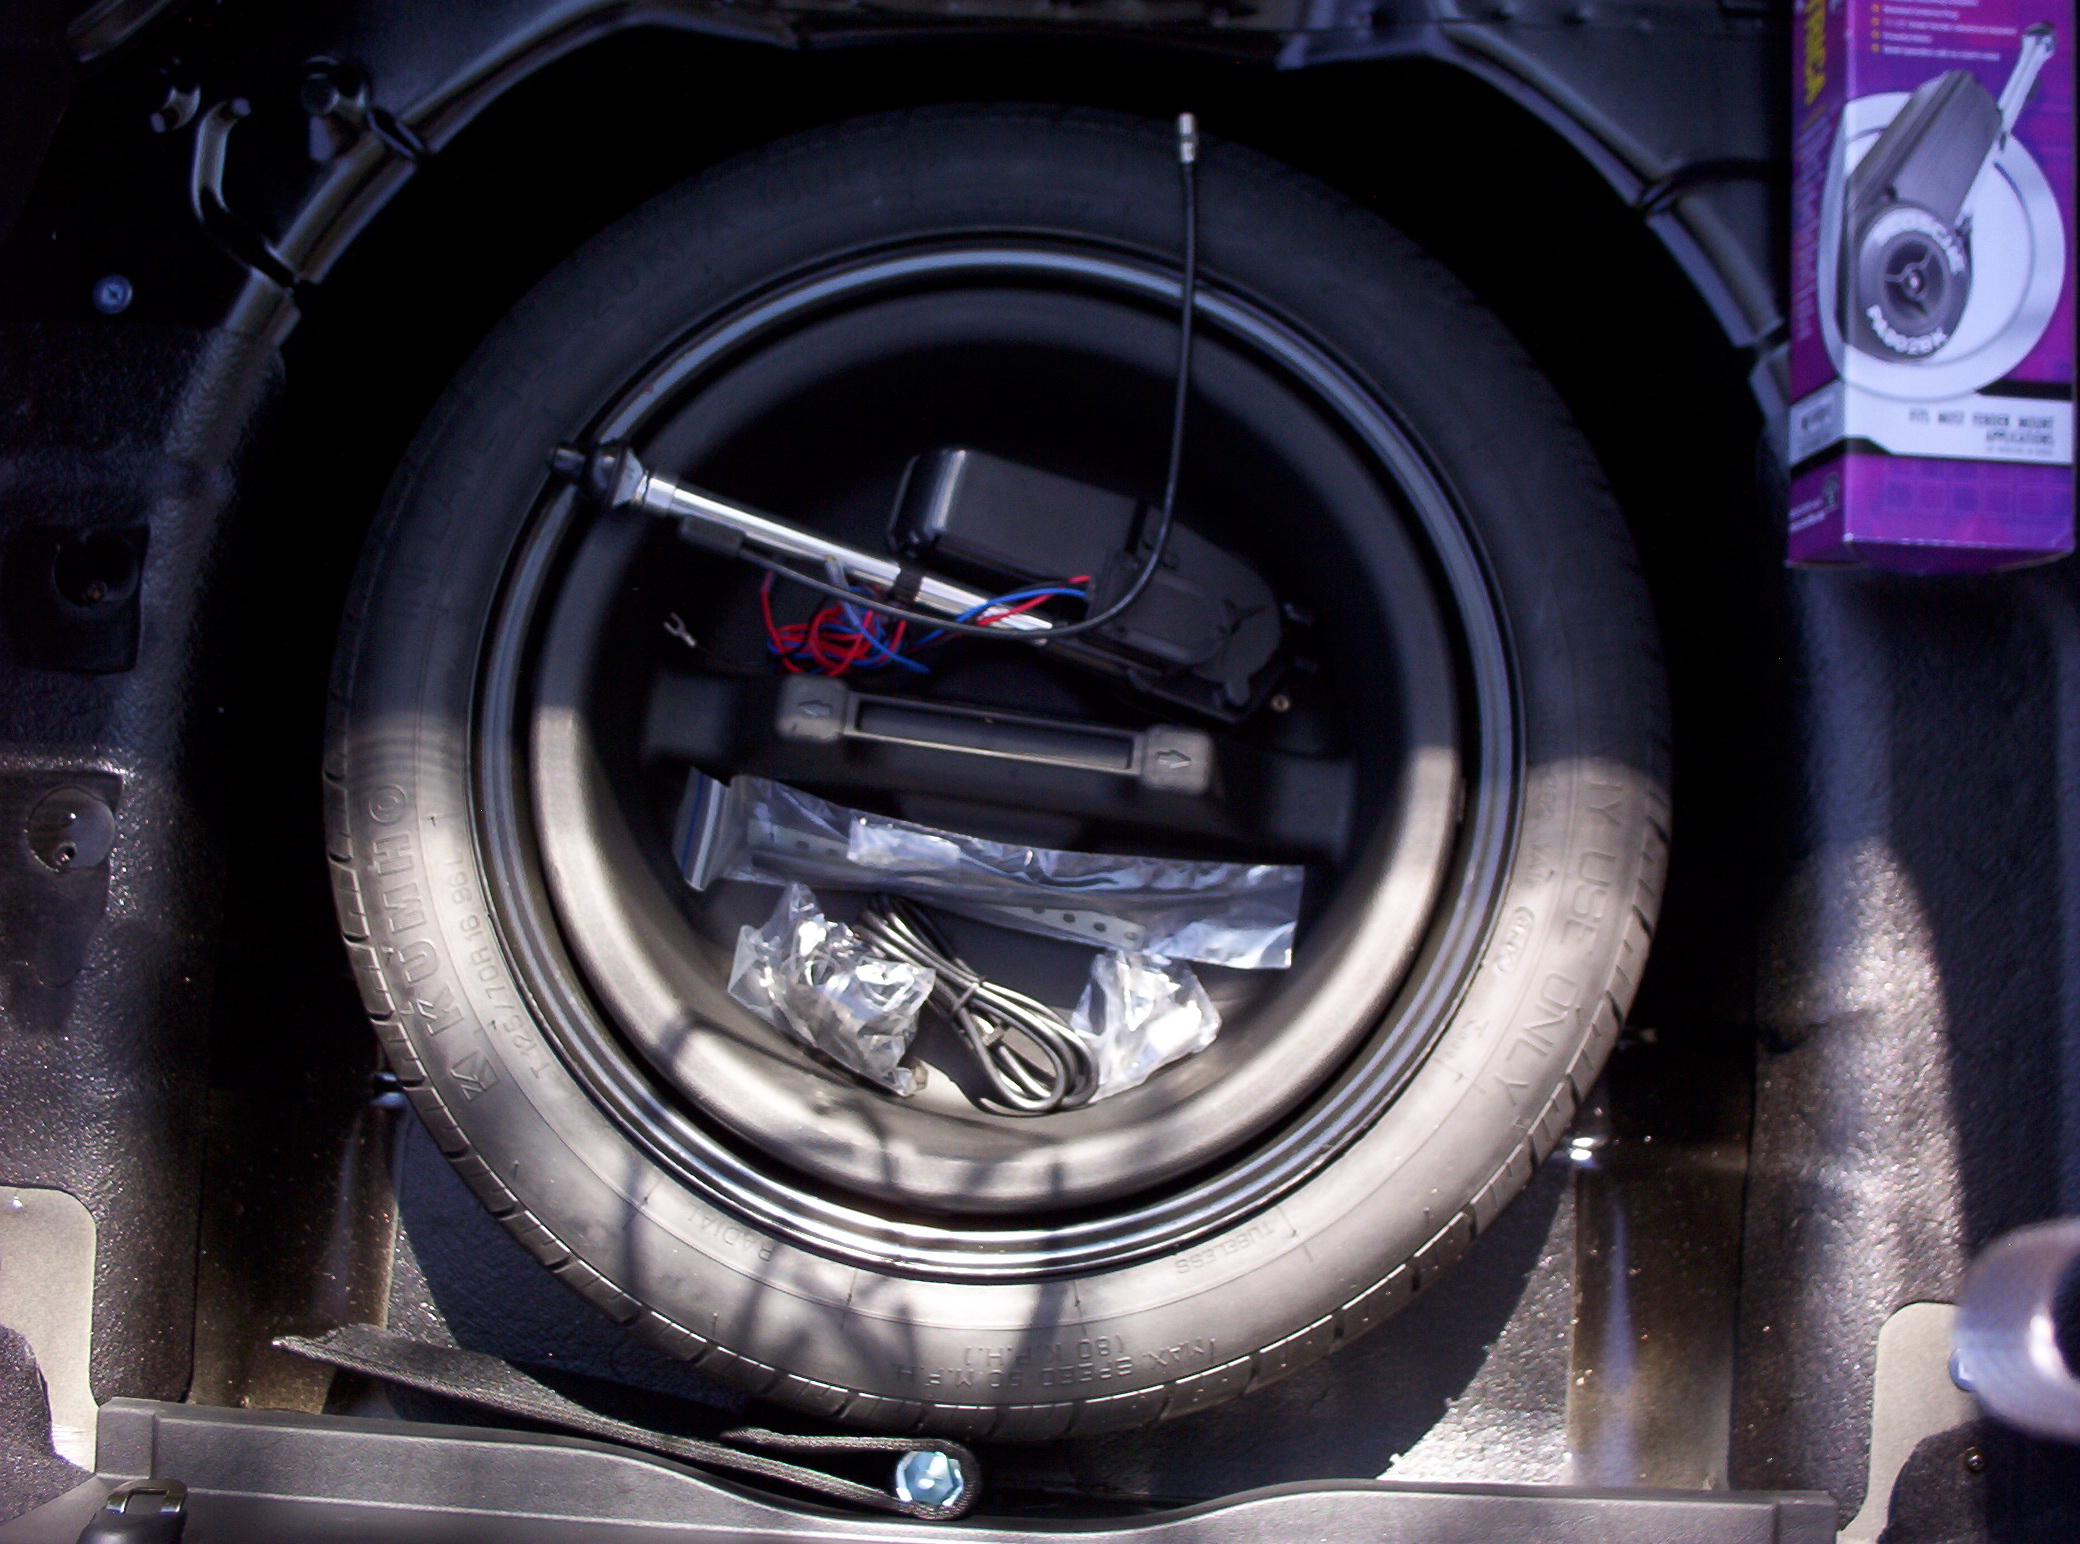
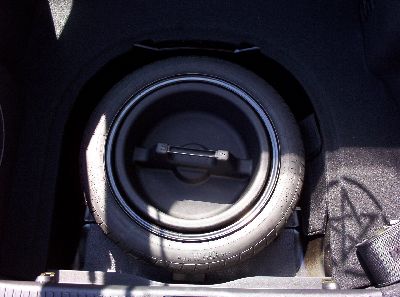
… and remove the cover from the spare tire.
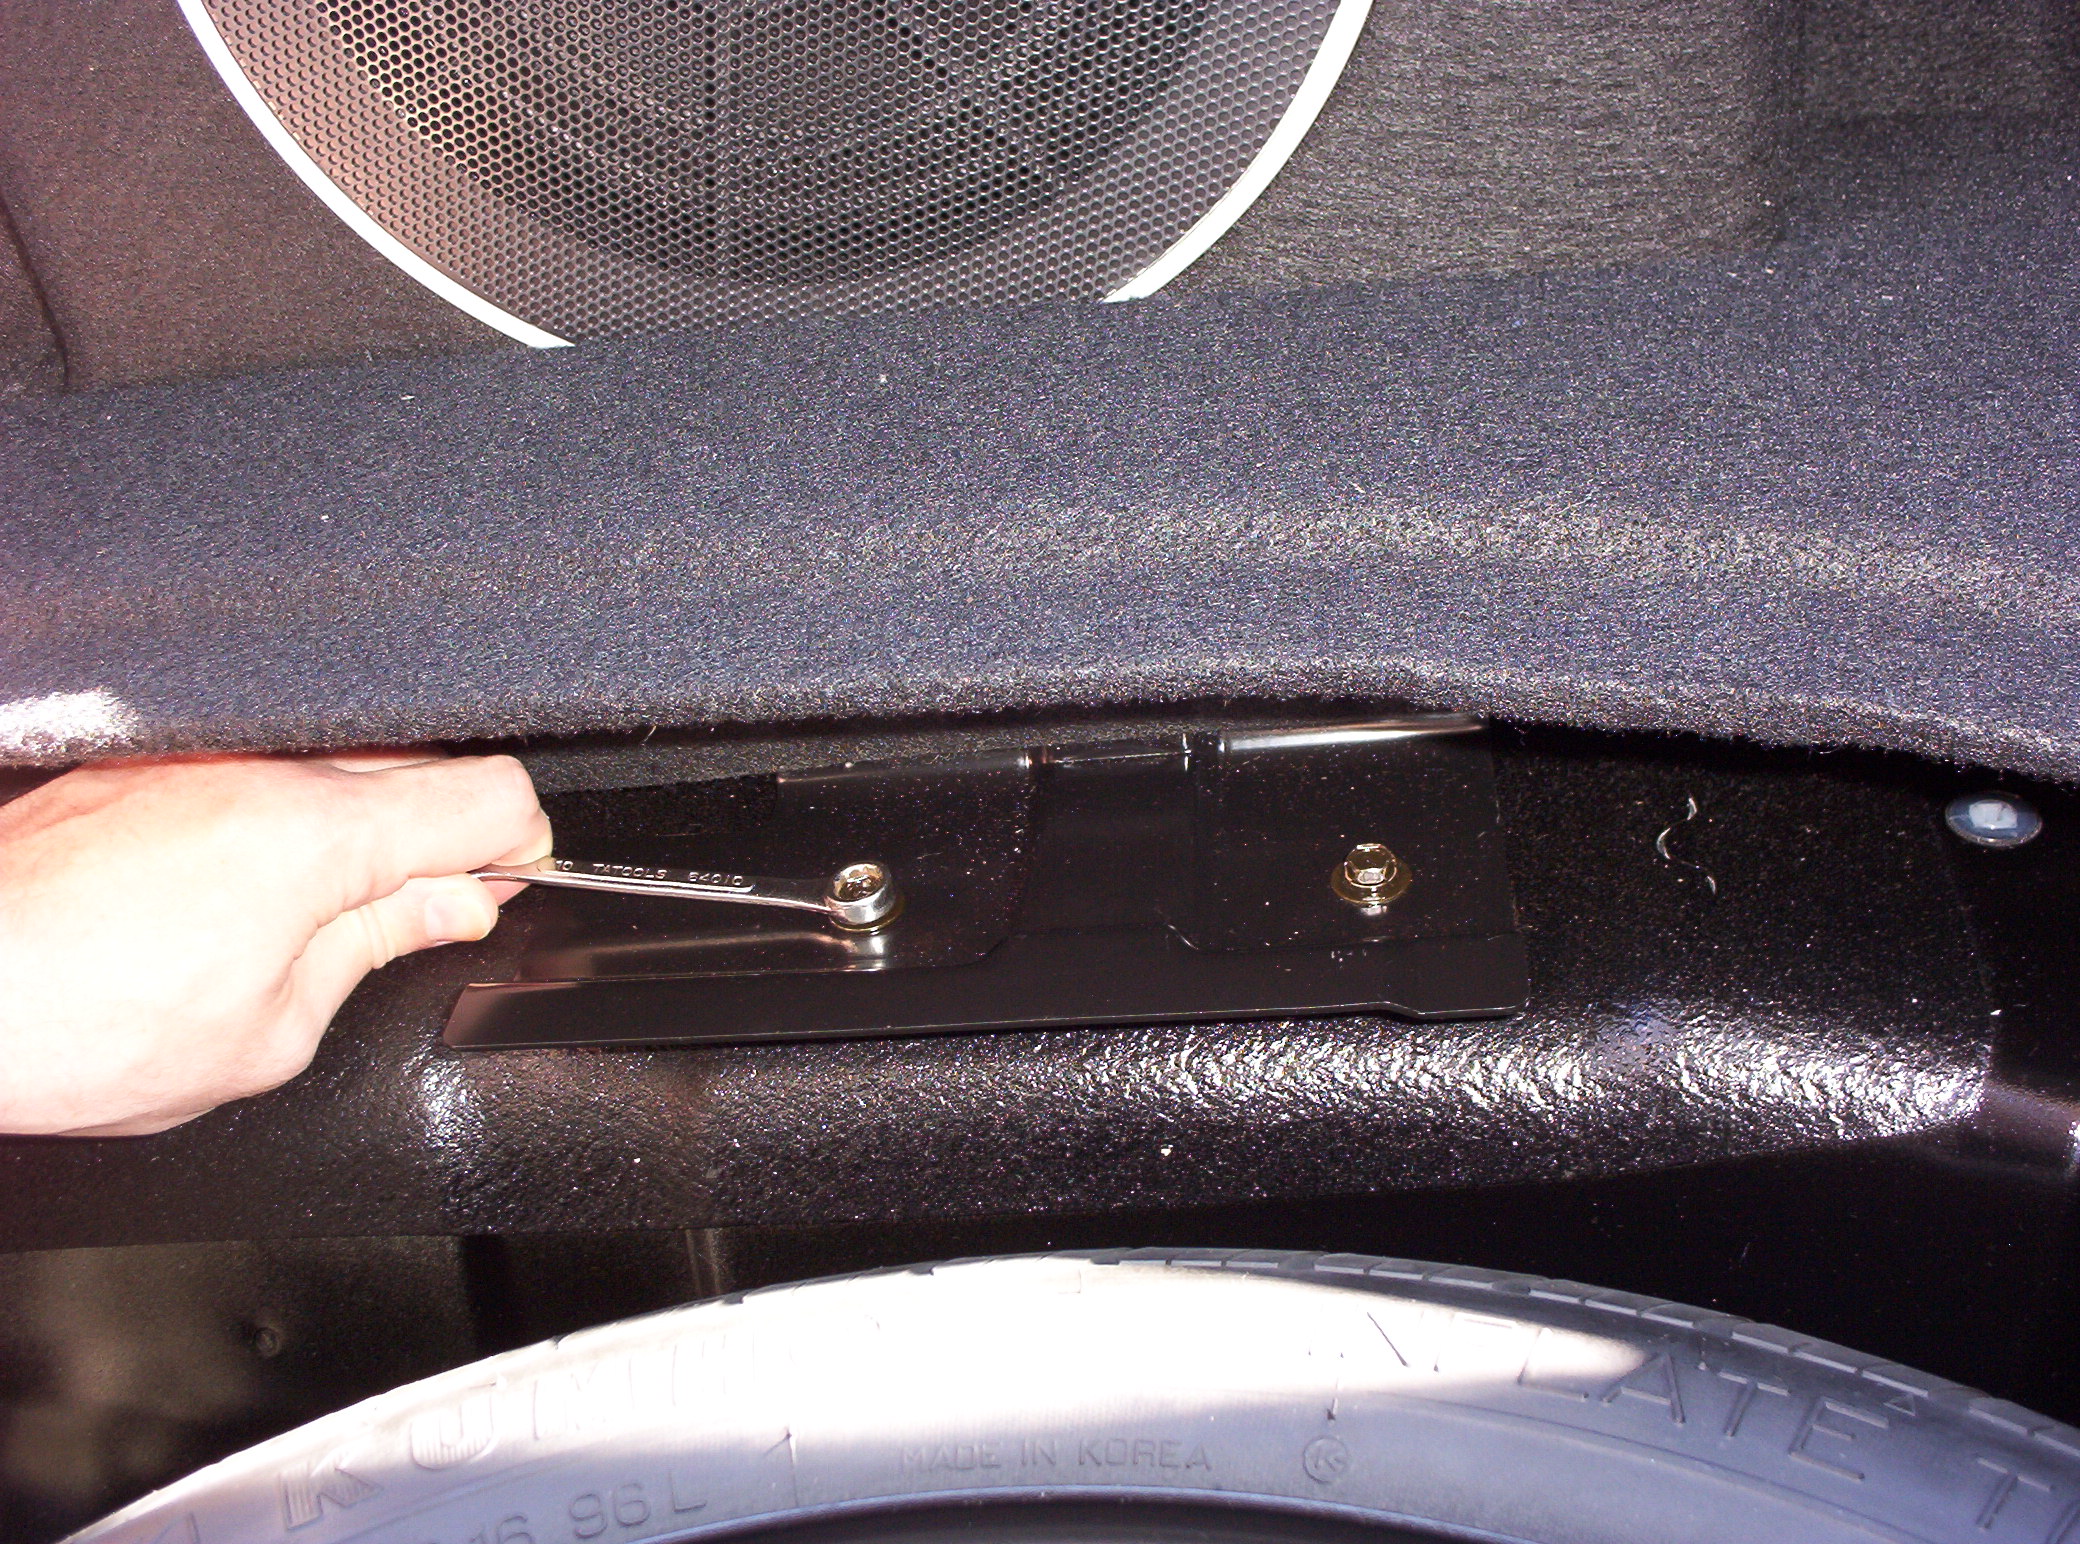
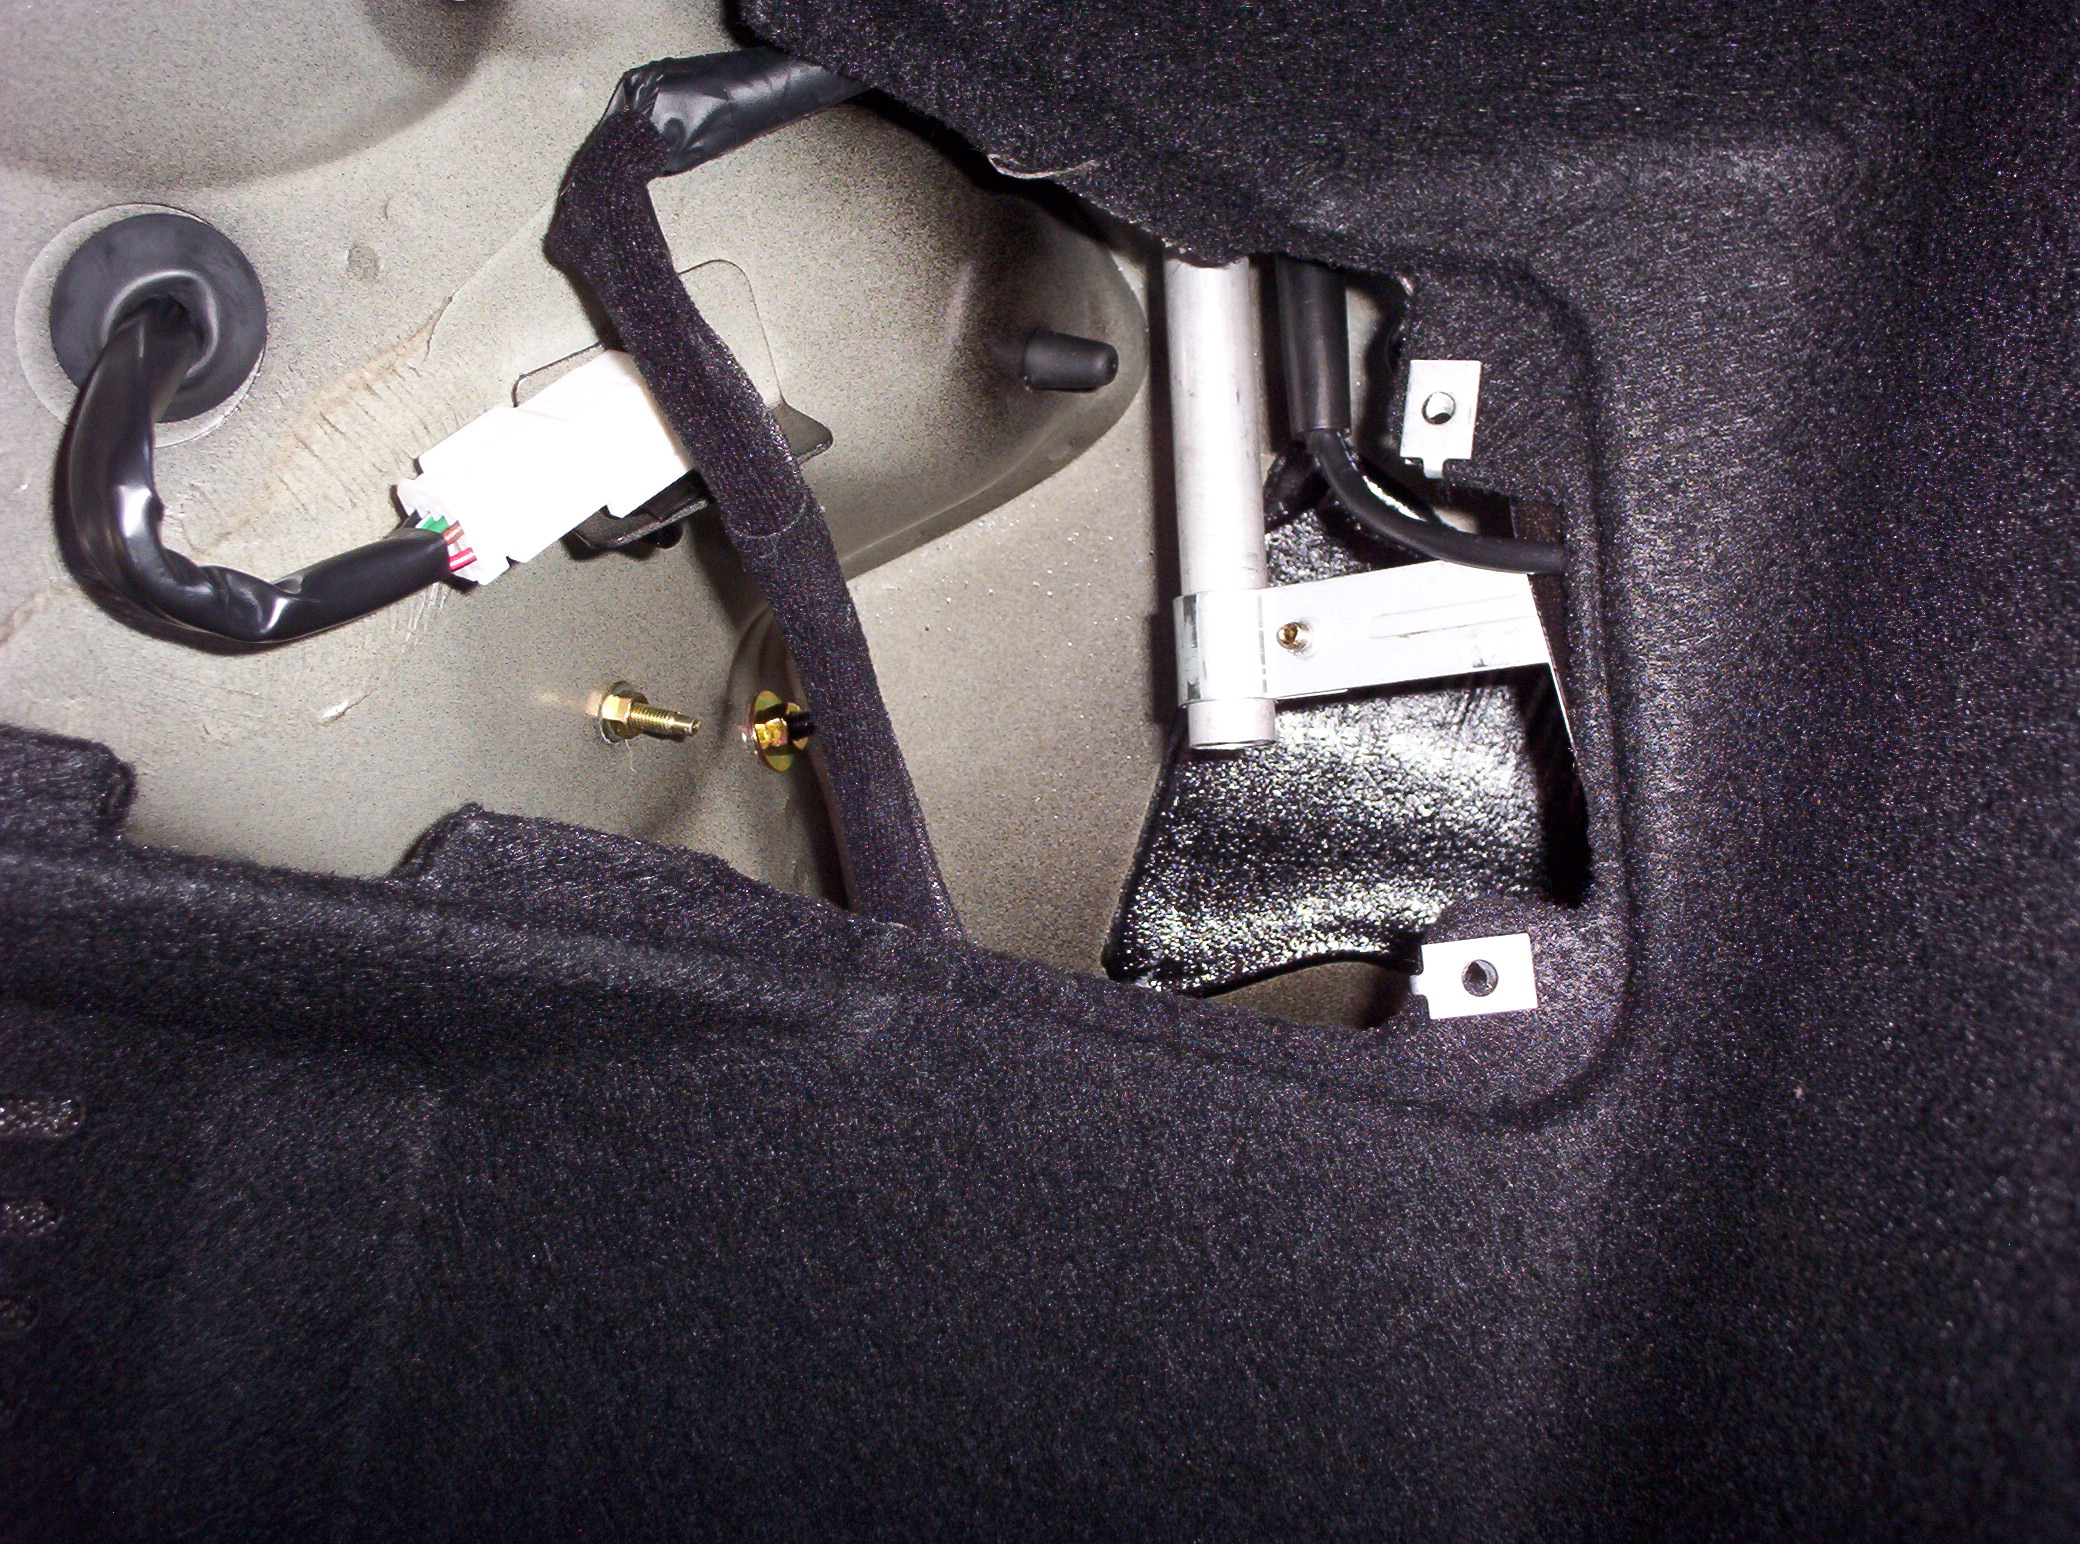
This is the second 10mm bolt.
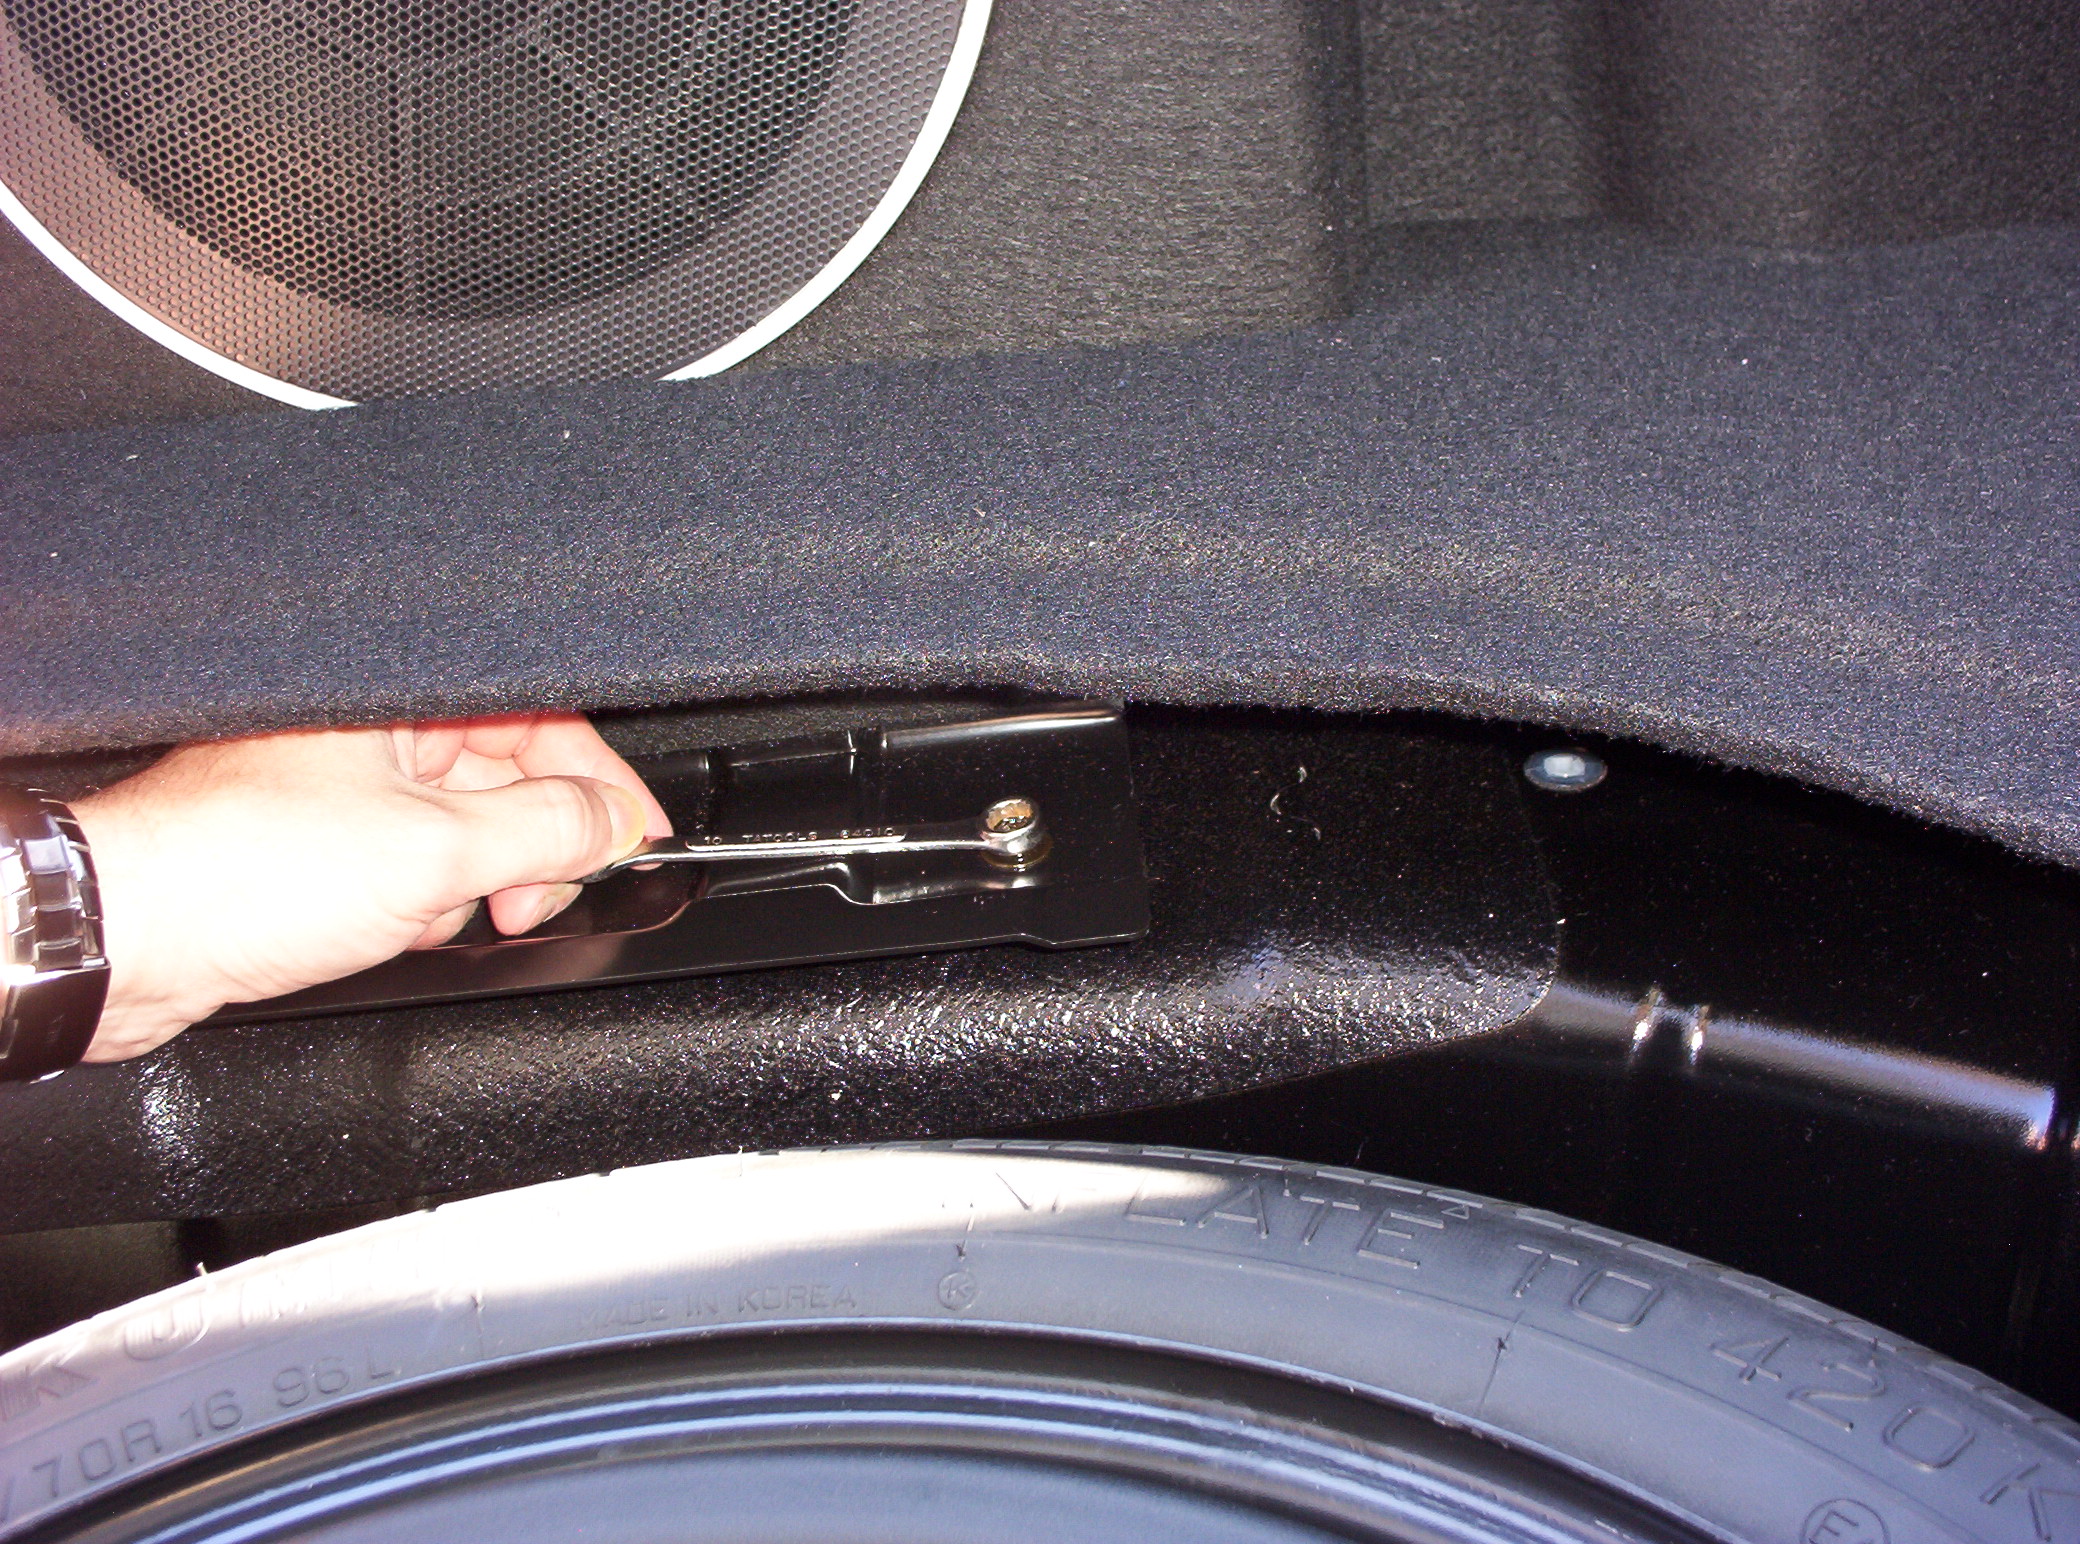
And this is the third 10mm bolt (wow, they really didn’t want that speaker to move, did they?). I thought I could get this done without taking out the cargo area floor. See how I am lifting it up on side to get to the third bolt? Remember that the car was brand new at the time. I didn’t know anything about it.
This is really annoying.
Yes, the floor has to go. There is just no way to remove the speaker with it in there. You need to take it out to run the wires, anyway.
There we go.
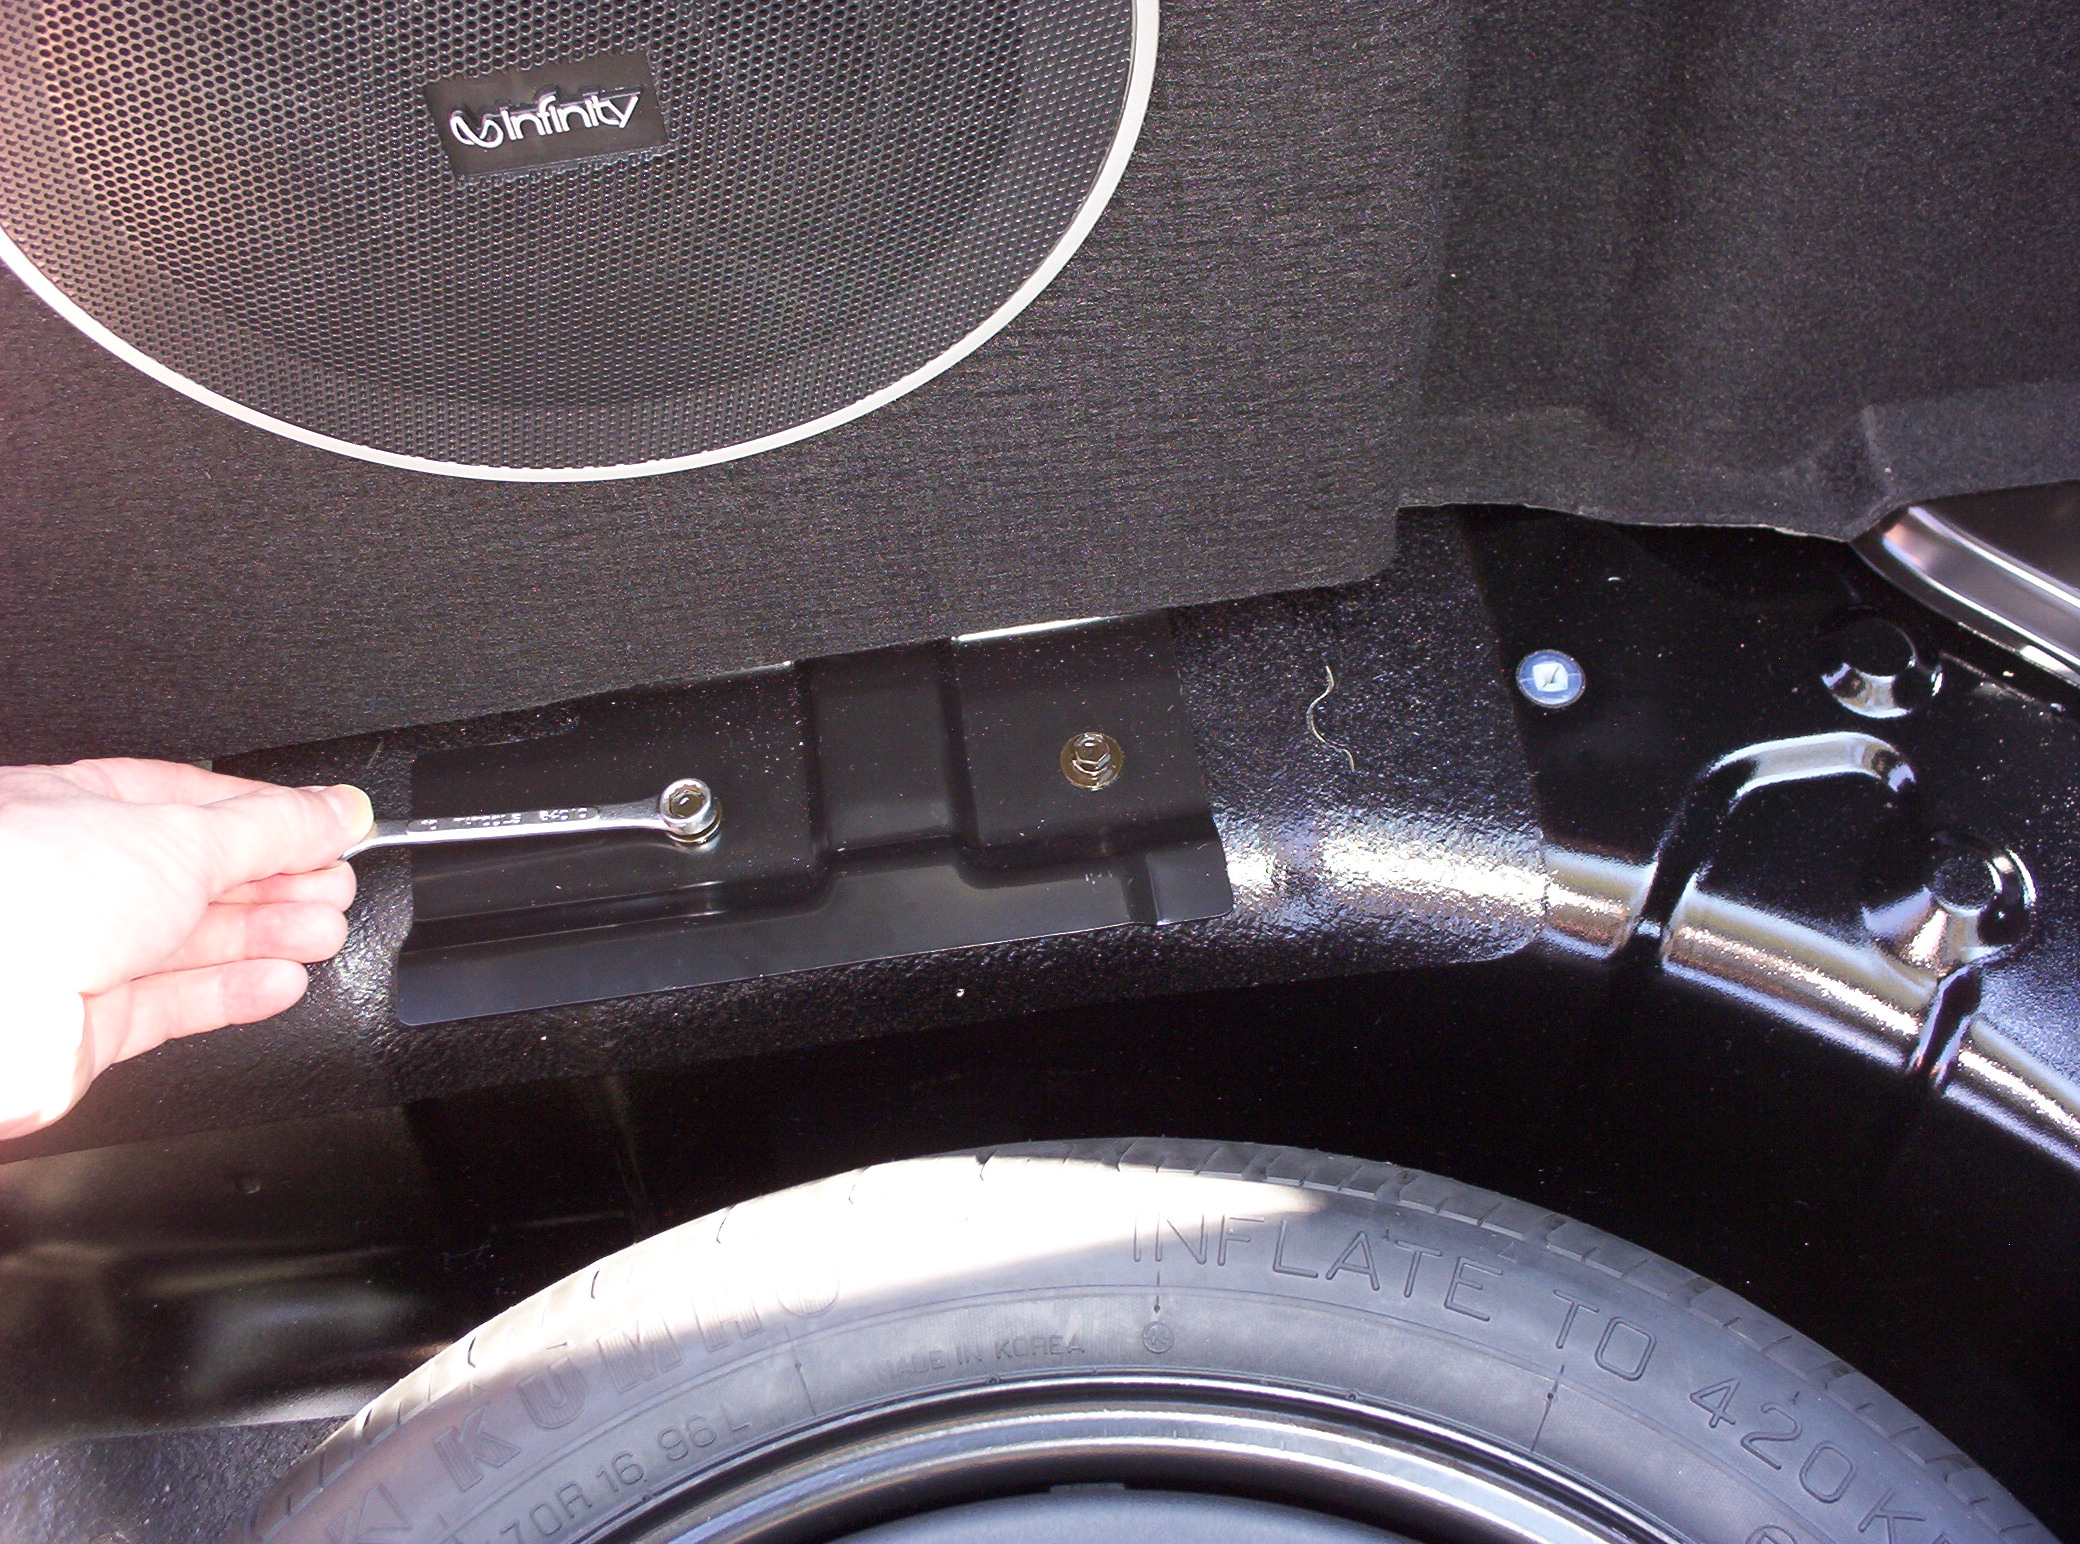
And the last one…
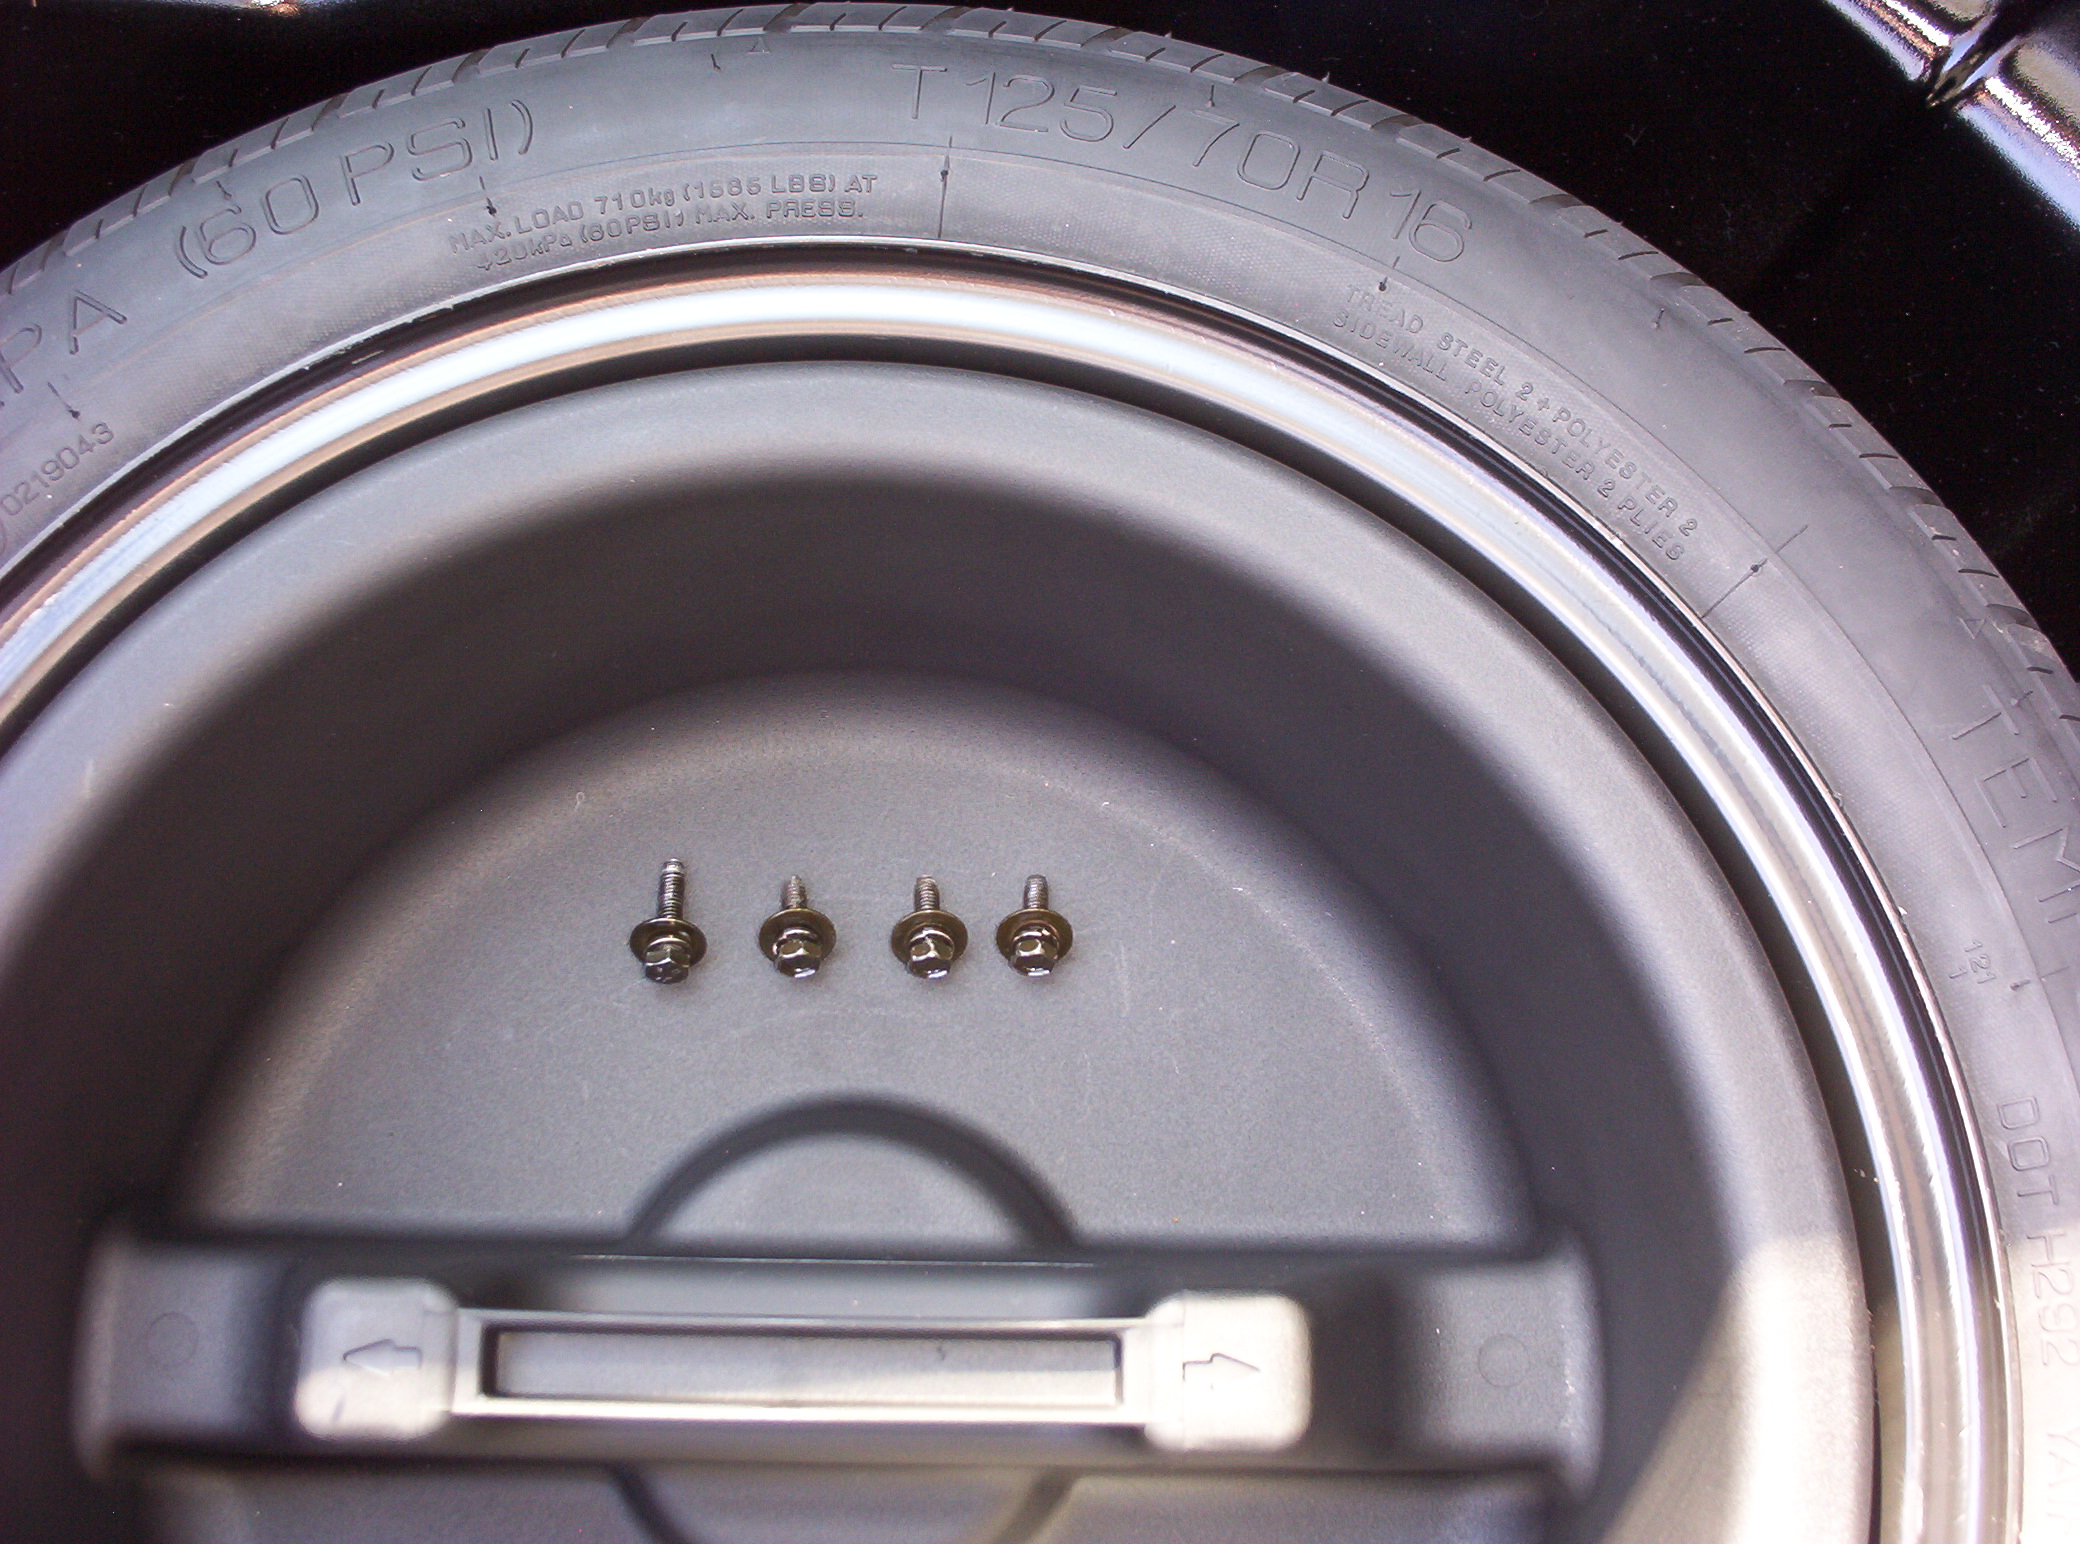
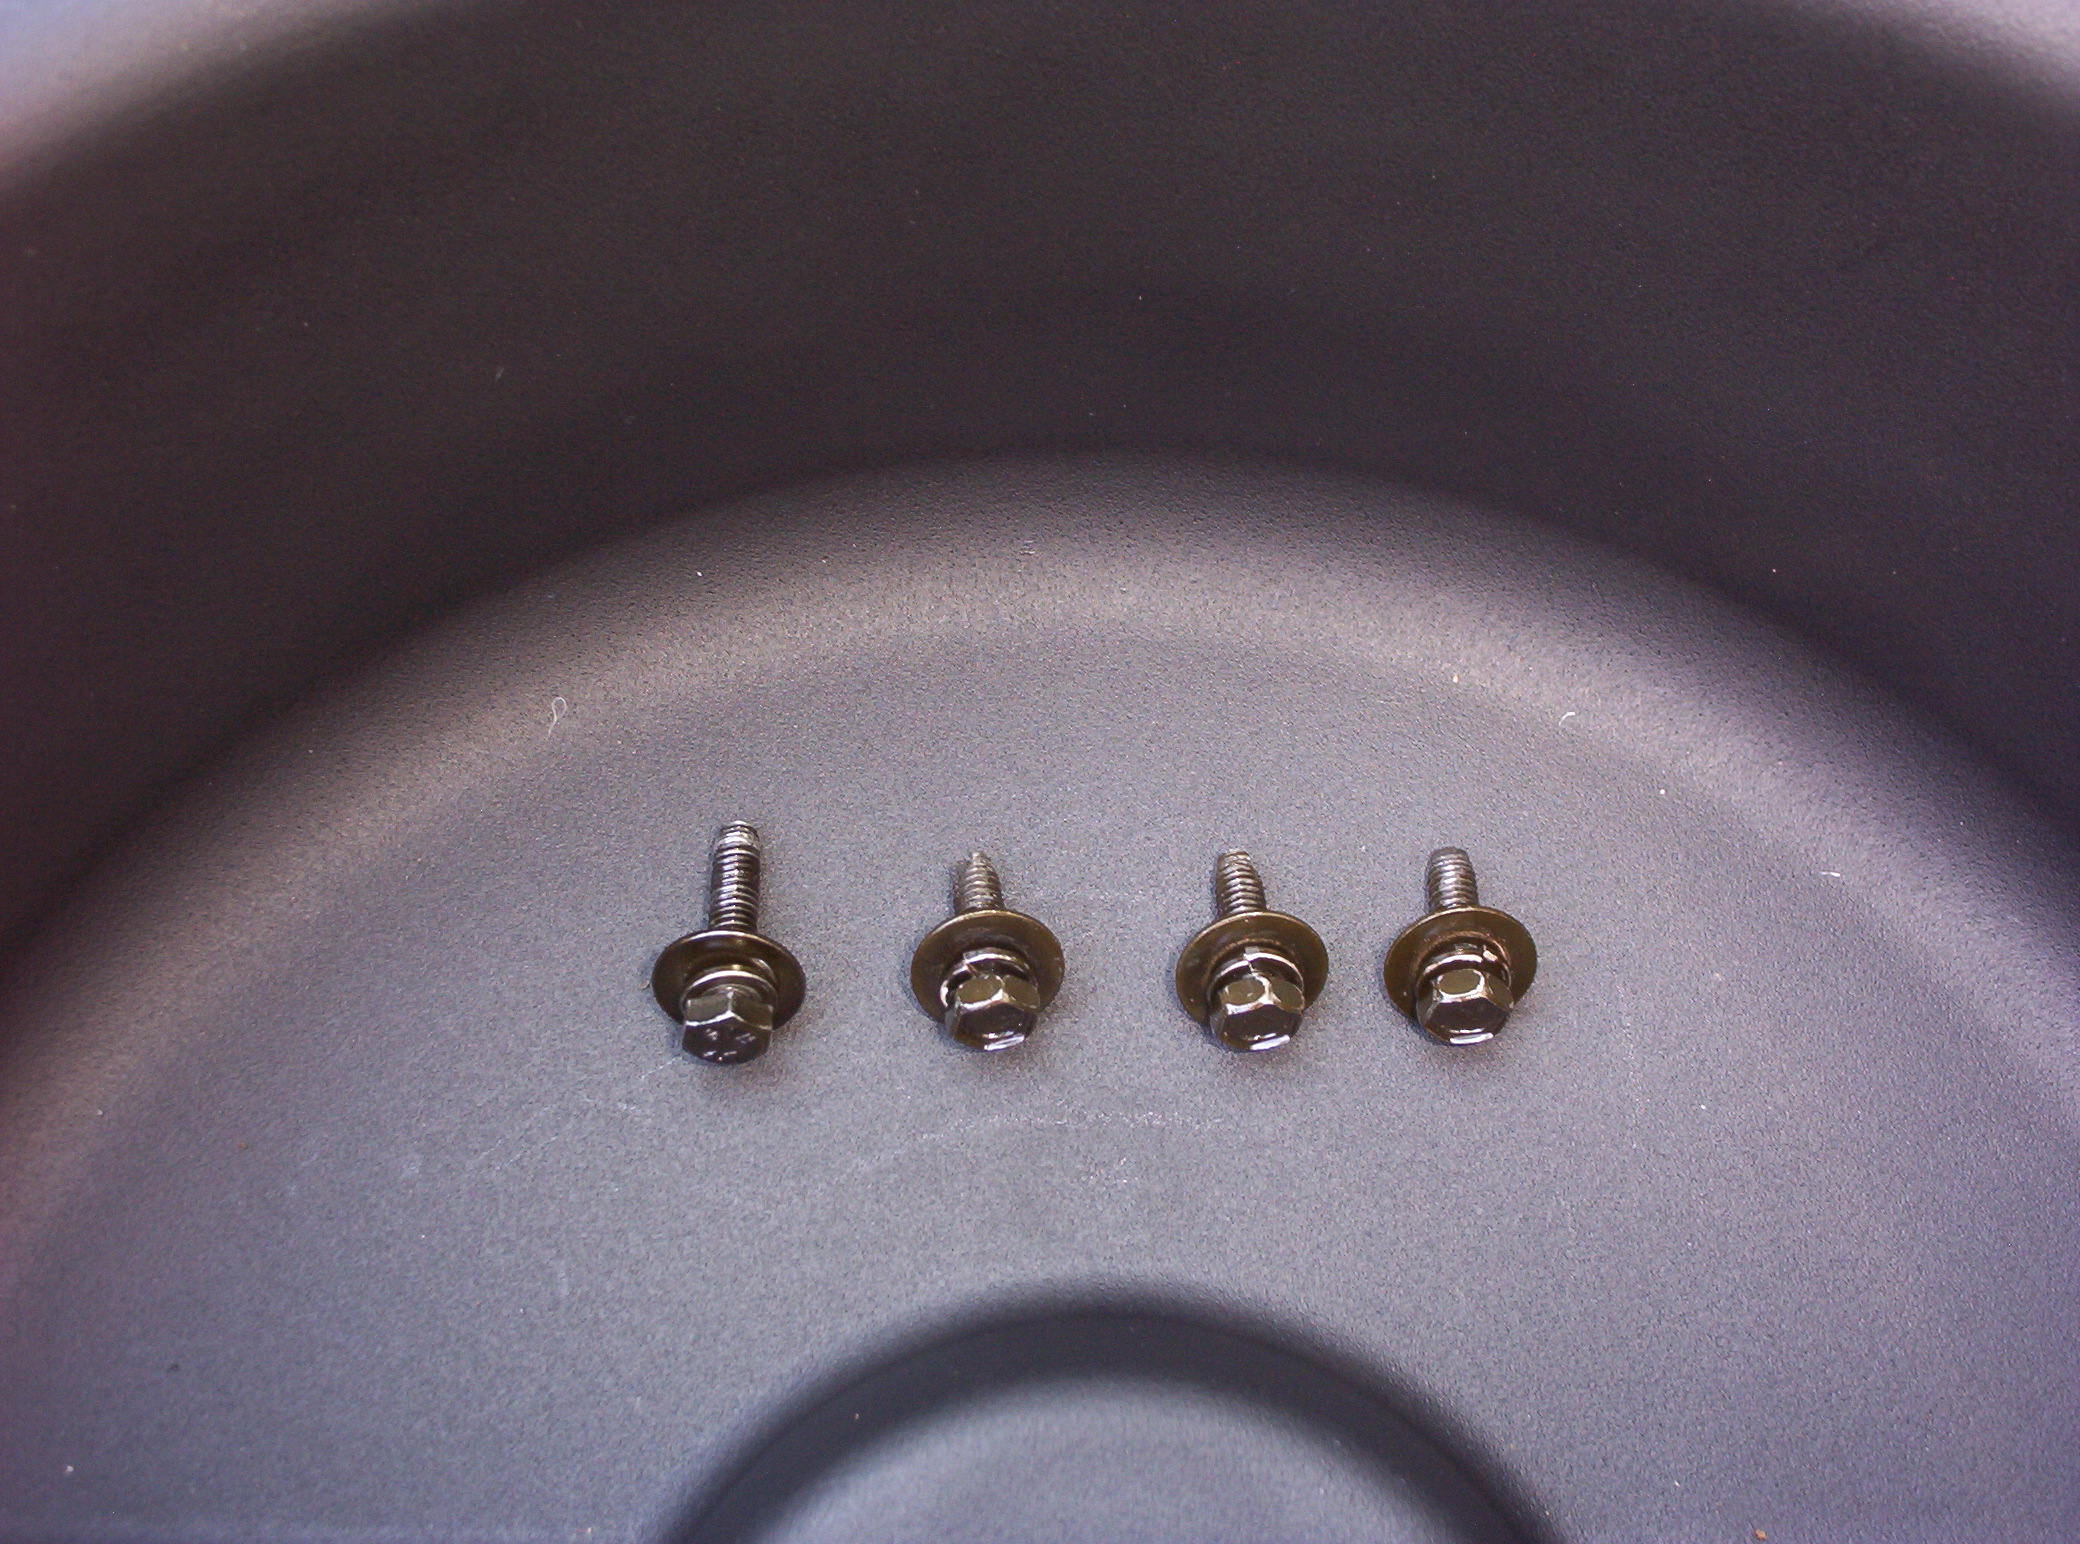
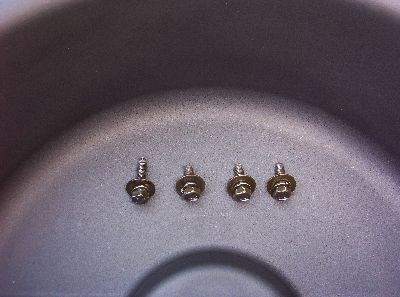
Make sure you remember where each bolt came from, because they aren’t all the same length. Tricky!
See? That one on the left is longer than the other three. If I recall correctly, it came from the topmost speaker bracket: the one on the curve of the wheel well.
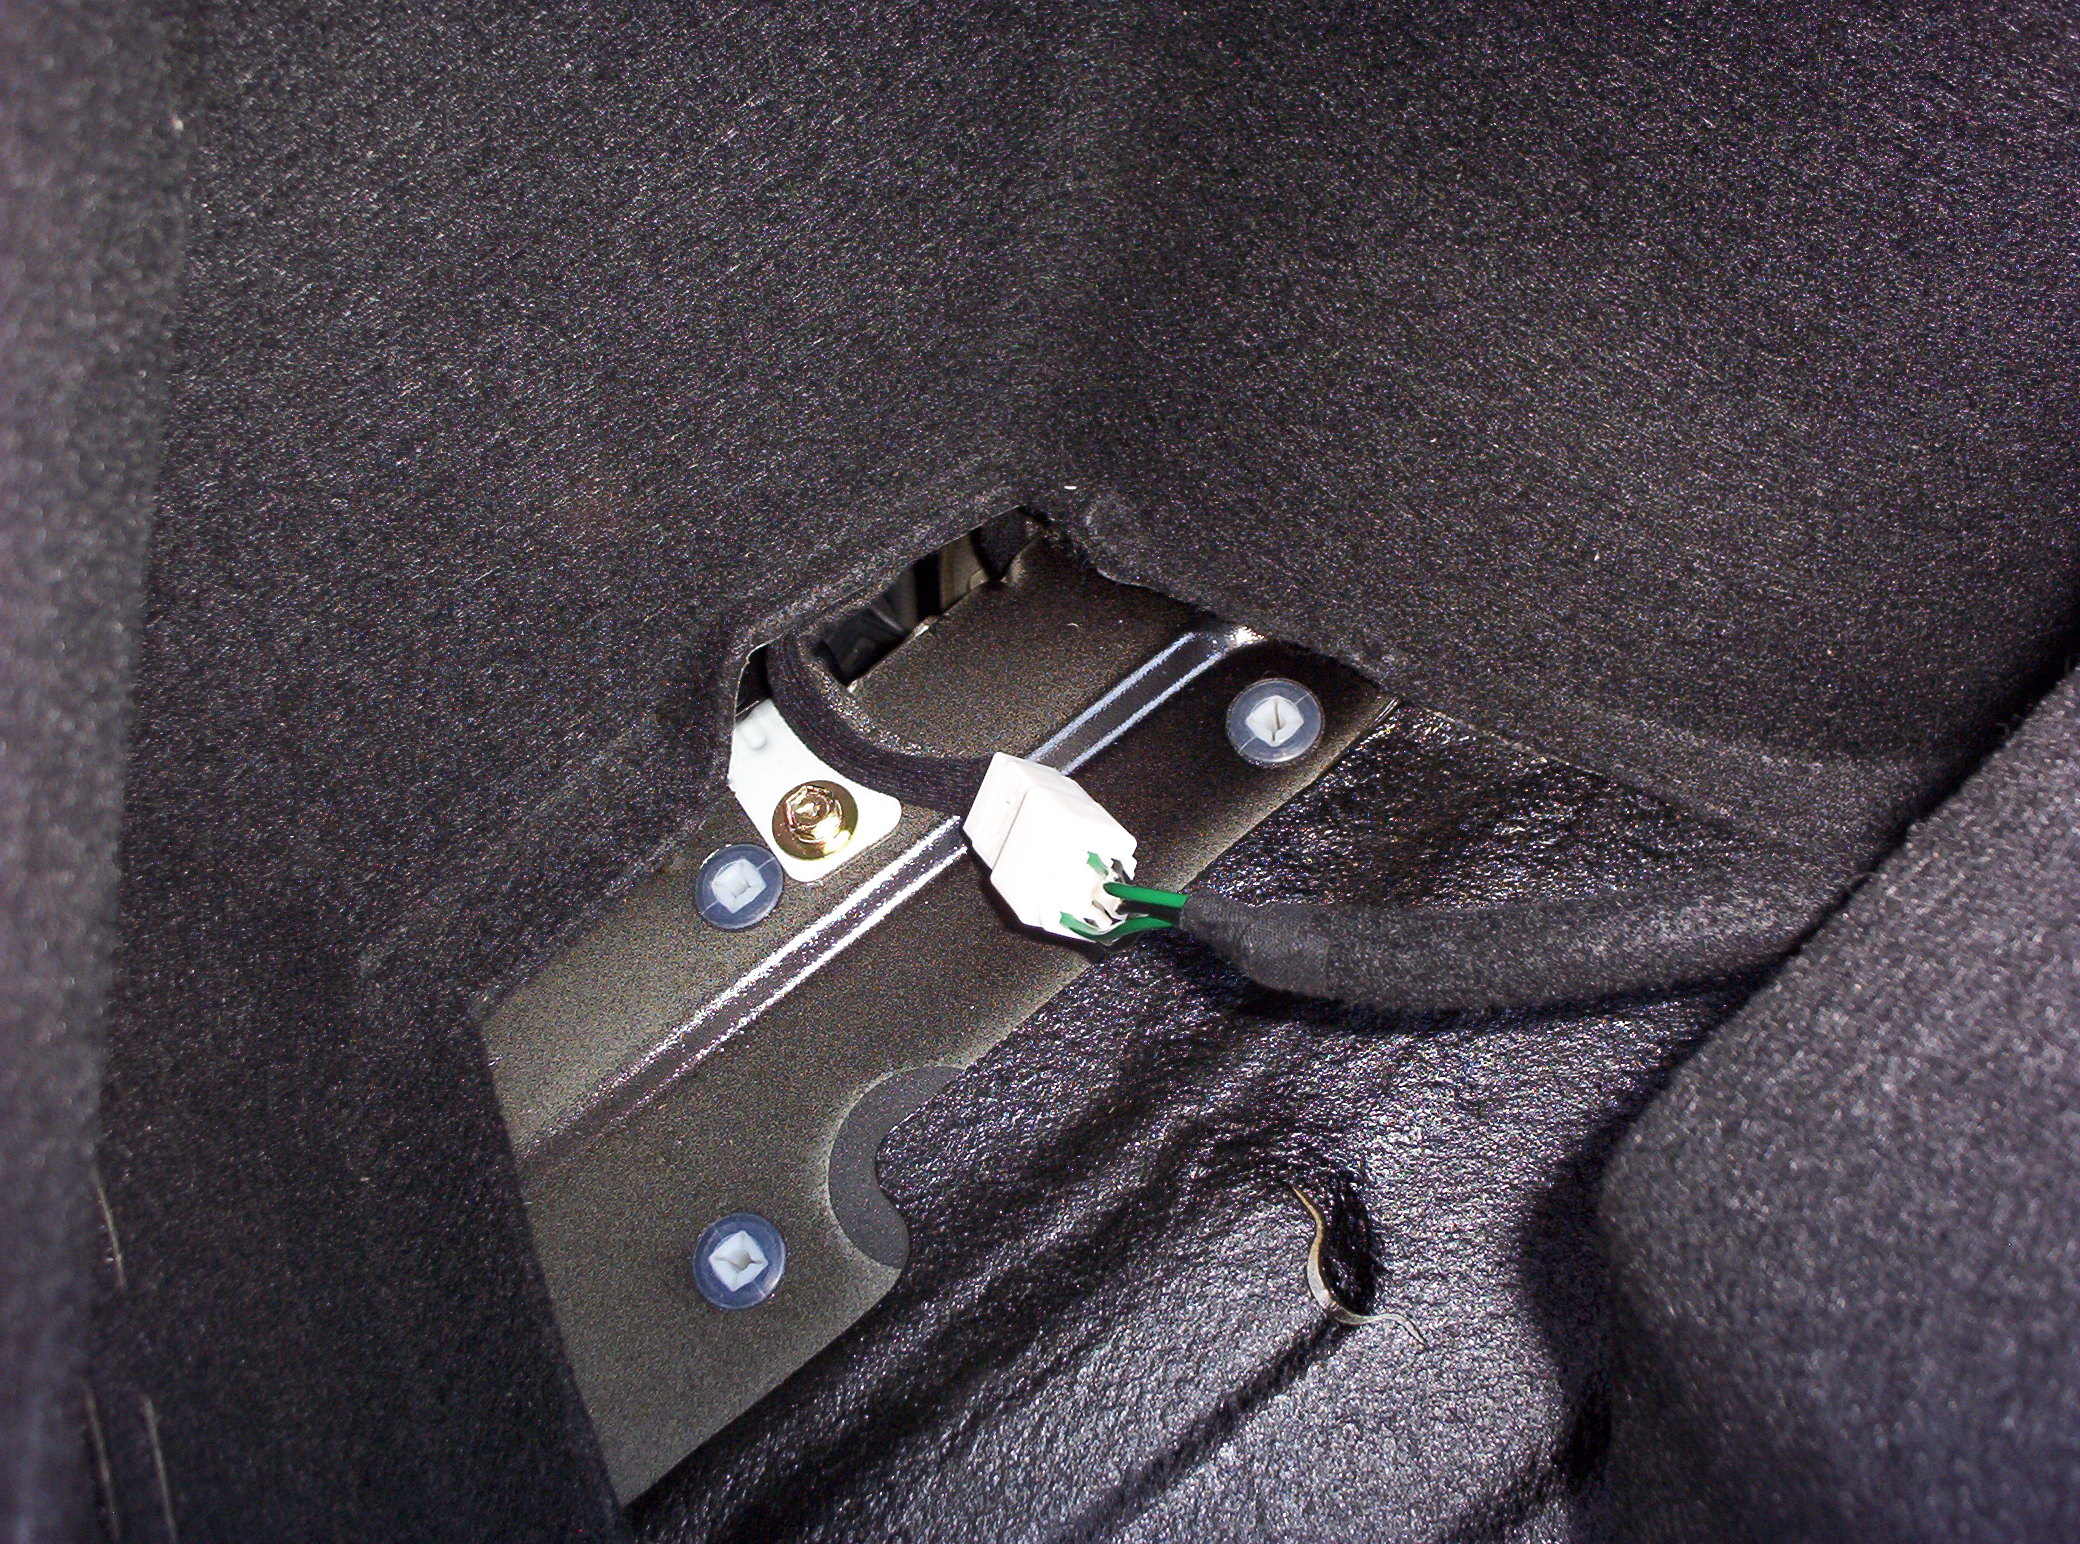
Pull the speaker enclosure out a little way…

… and then unplug it.
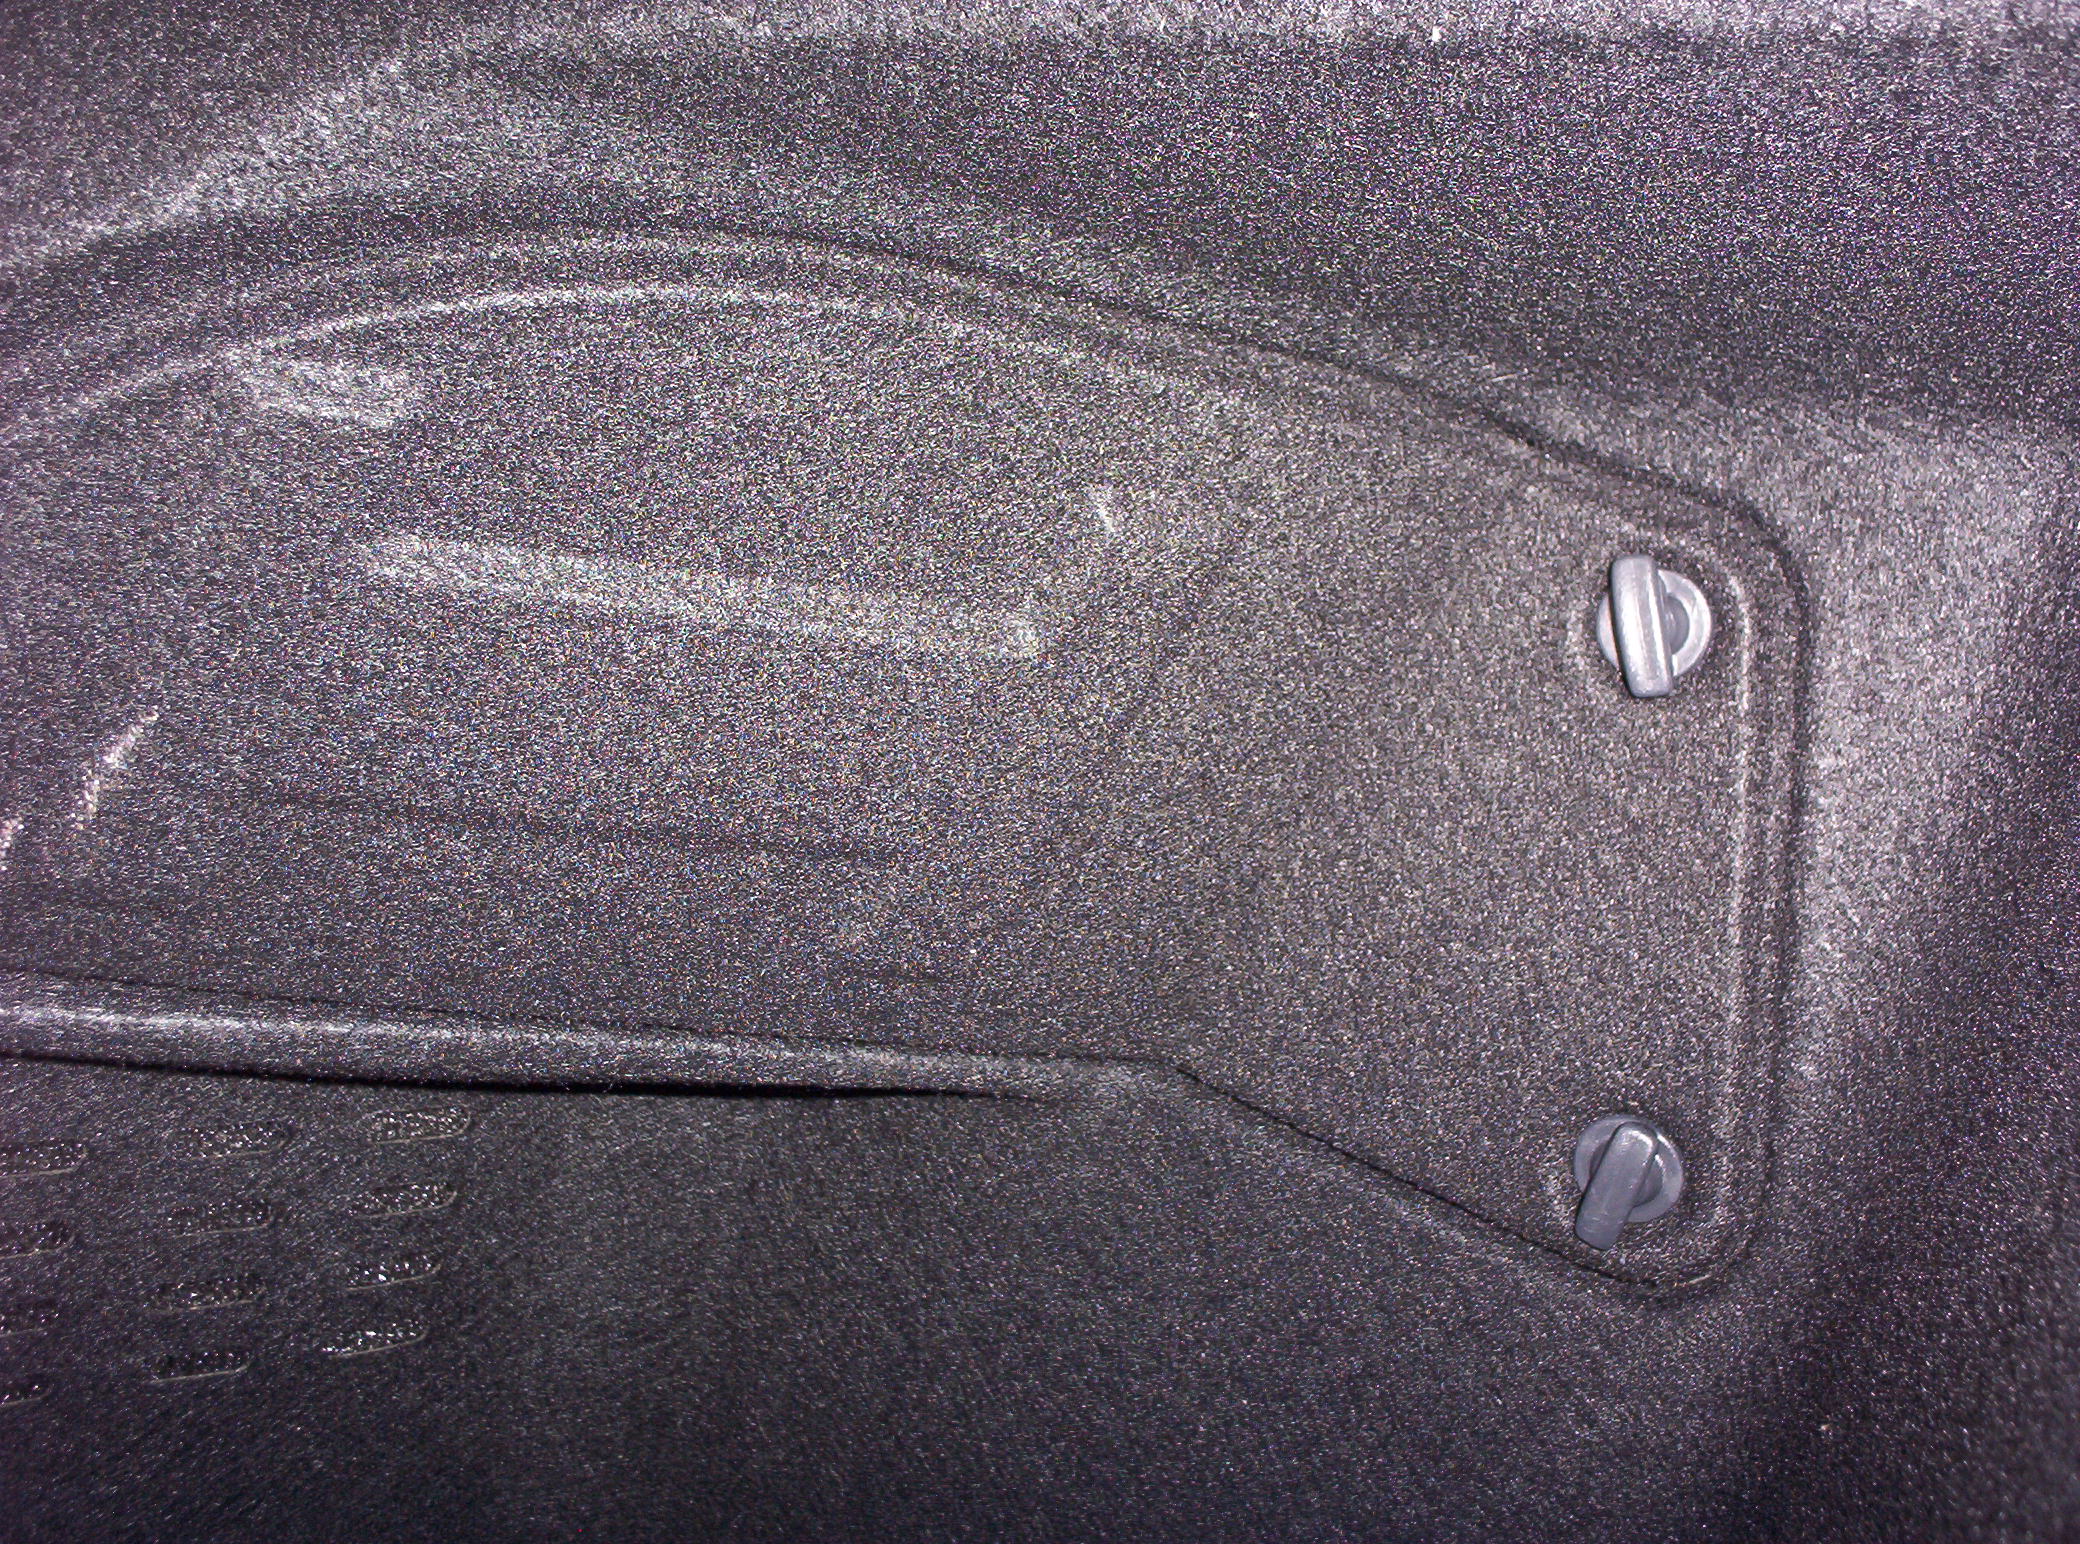
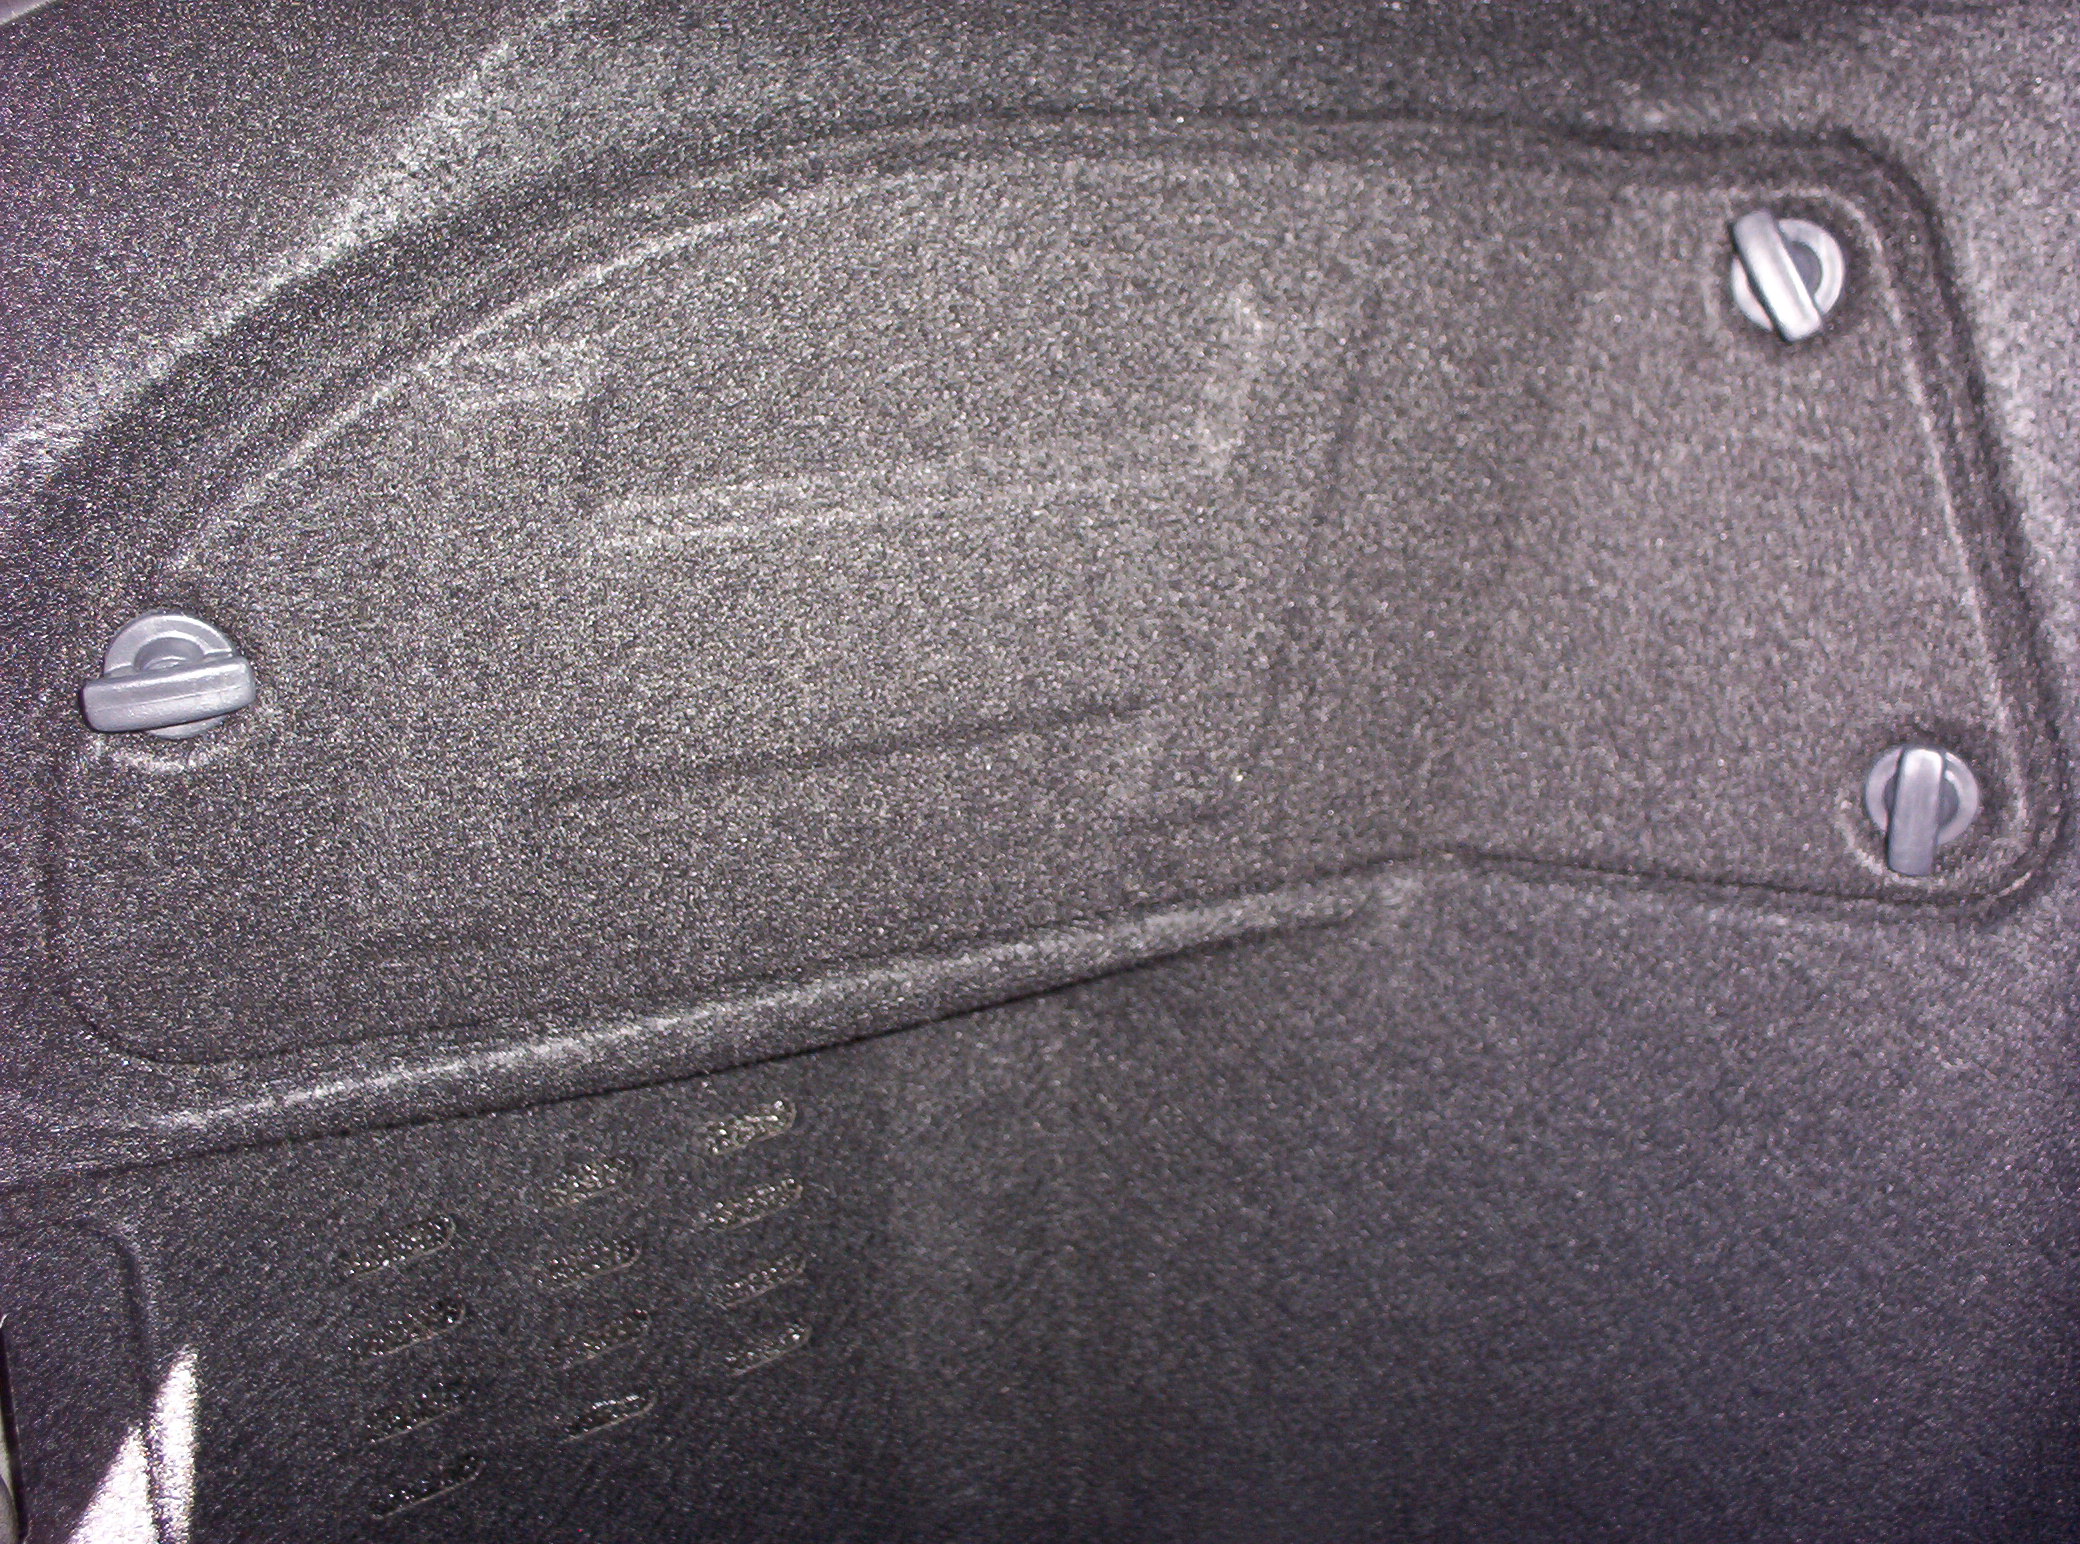
There is a panel behind the speaker enclosure held closed with three plastic-headed thumbscrews. The screws just unscrew…
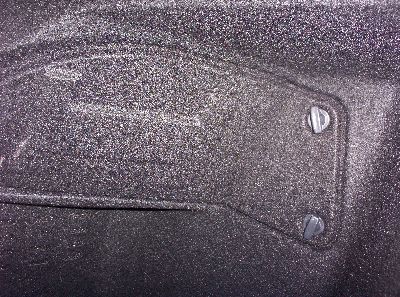
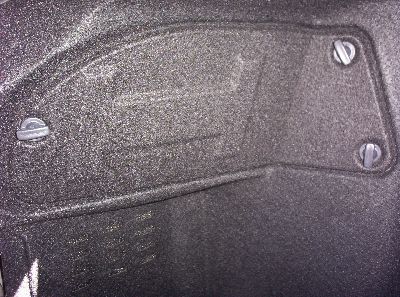
… and they are all the same. Be careful when you screw these back in. They just need to be snug. Don’t crank down on them with any force, or you will strip the flimsy little thing they screw into.
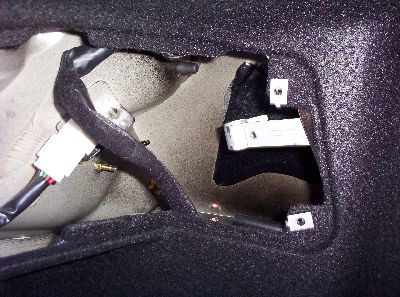
To get the panel off, lift out on the right-hand side, and then lift up a bit. The panel has tabs on the left and bottom that go underneath the surrounding edge.
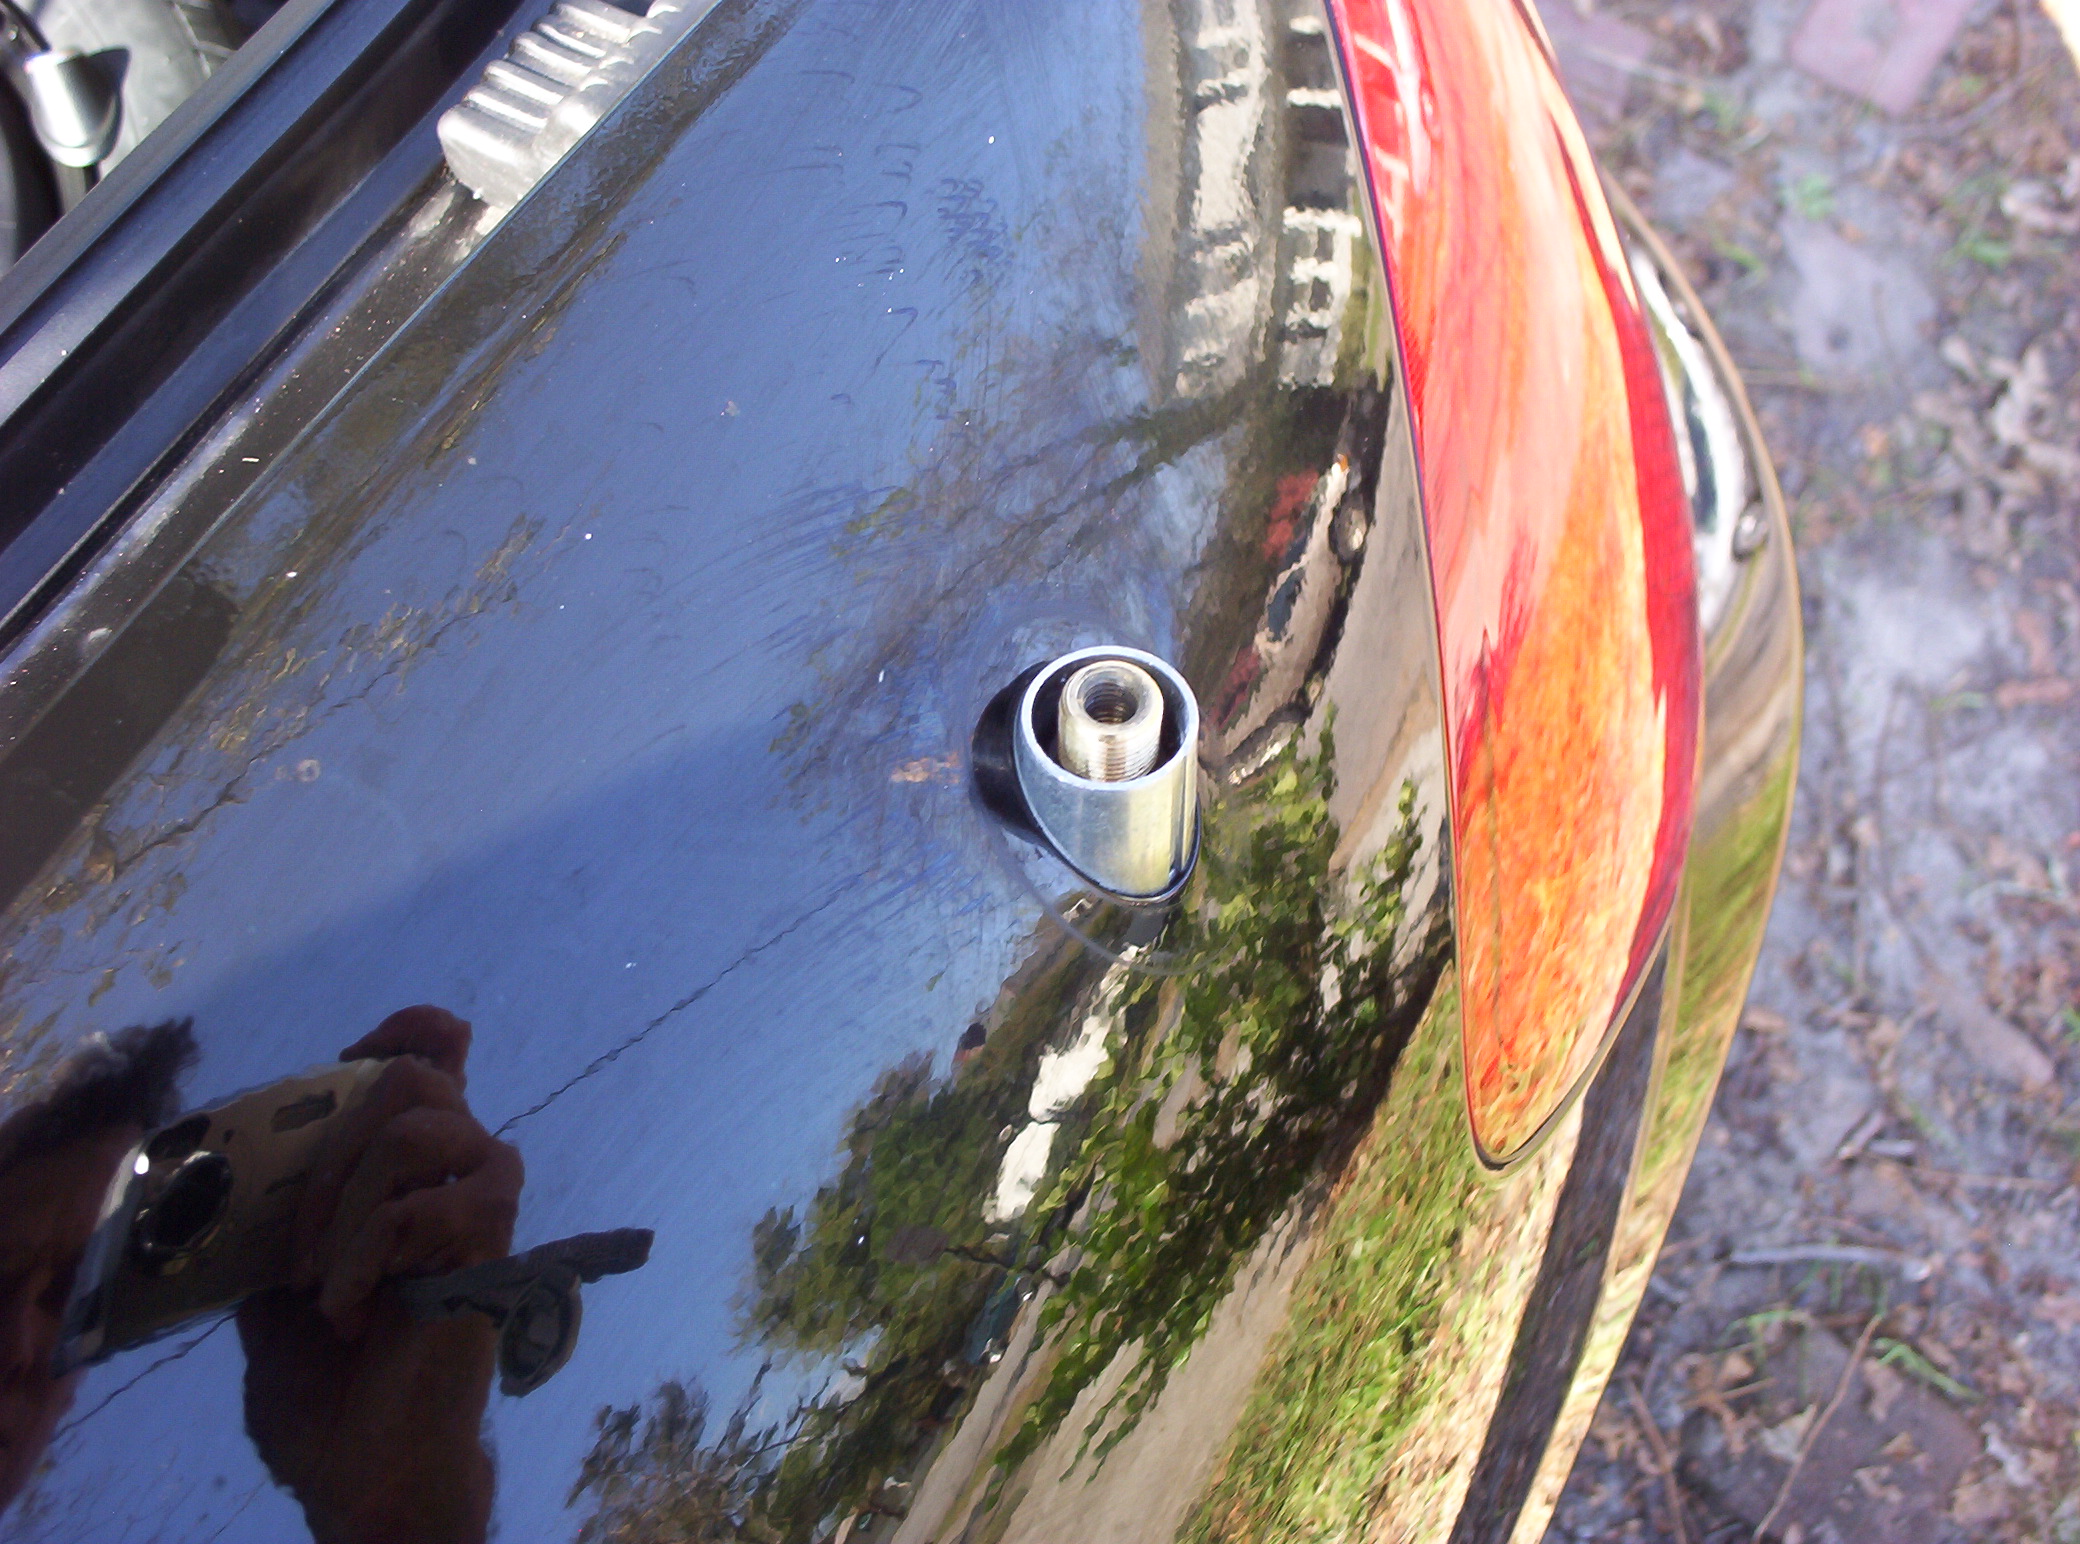
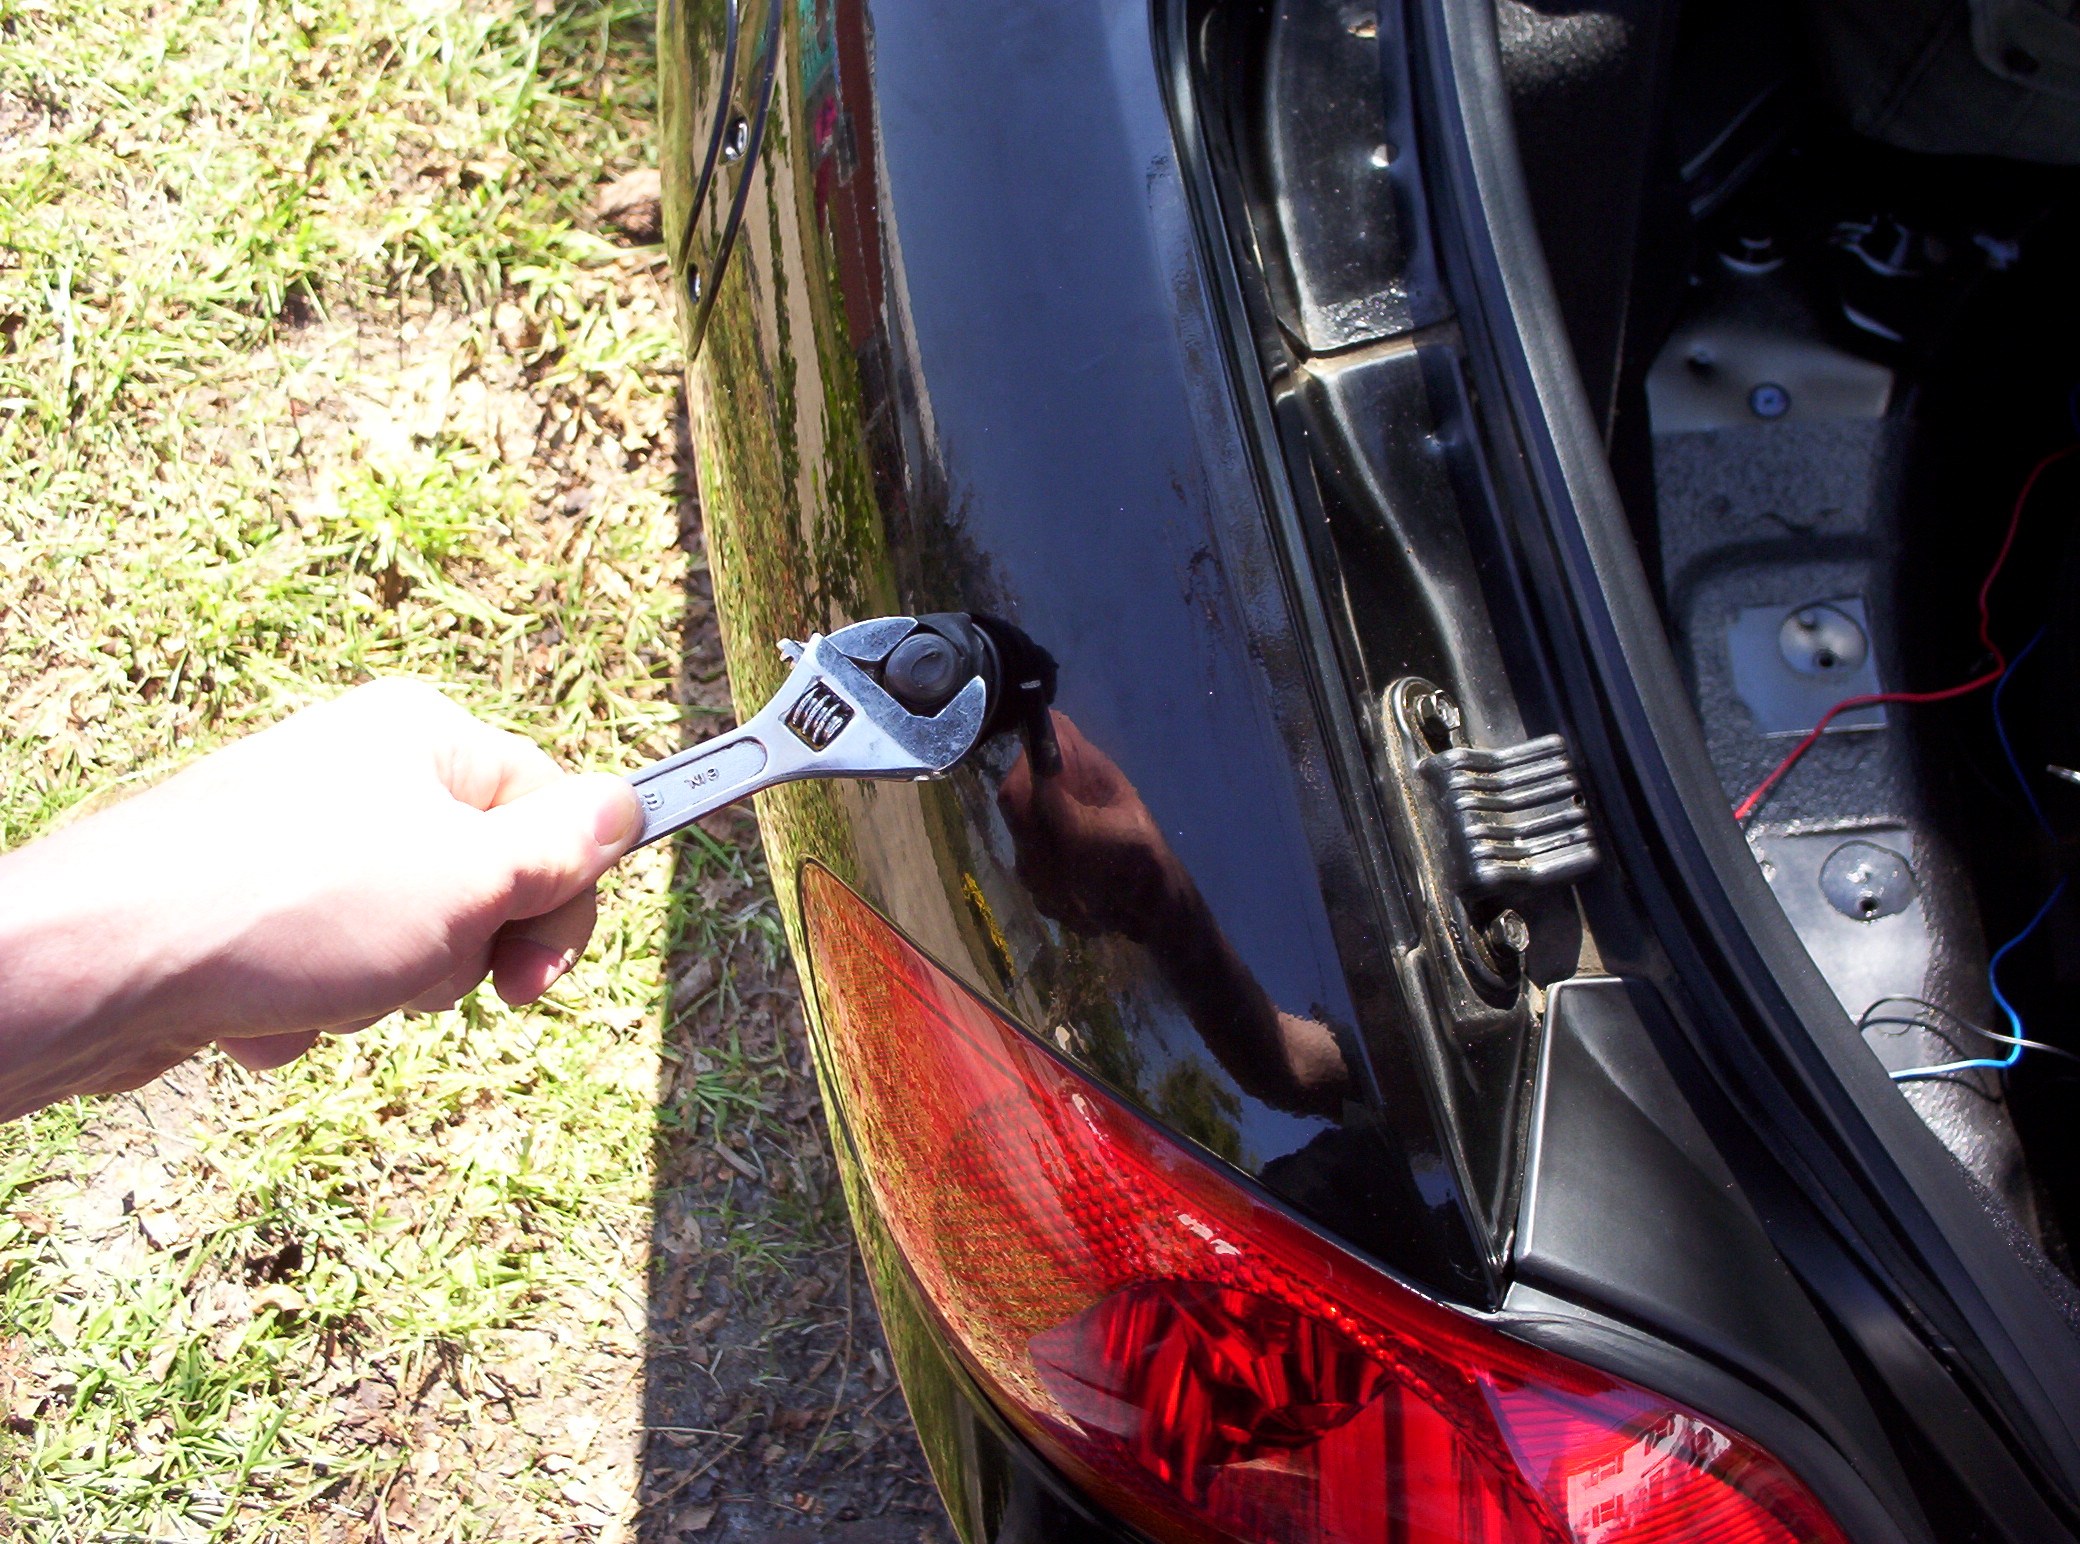
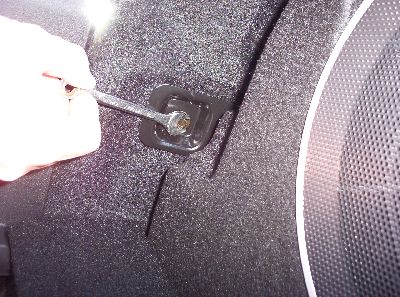
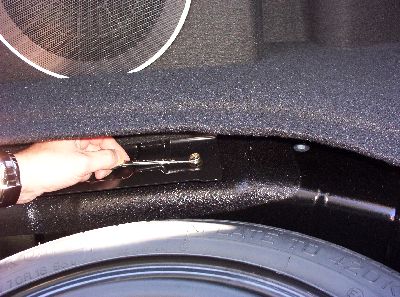
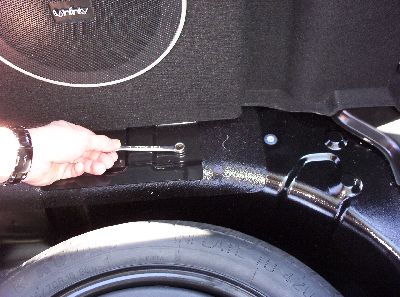
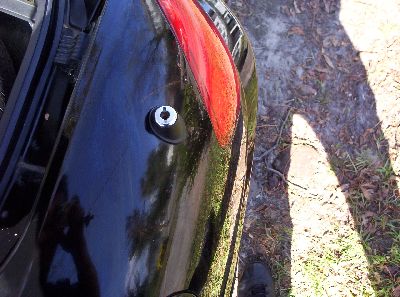
Use an adjustable wrench to unscrew the stock antenna and remove it.
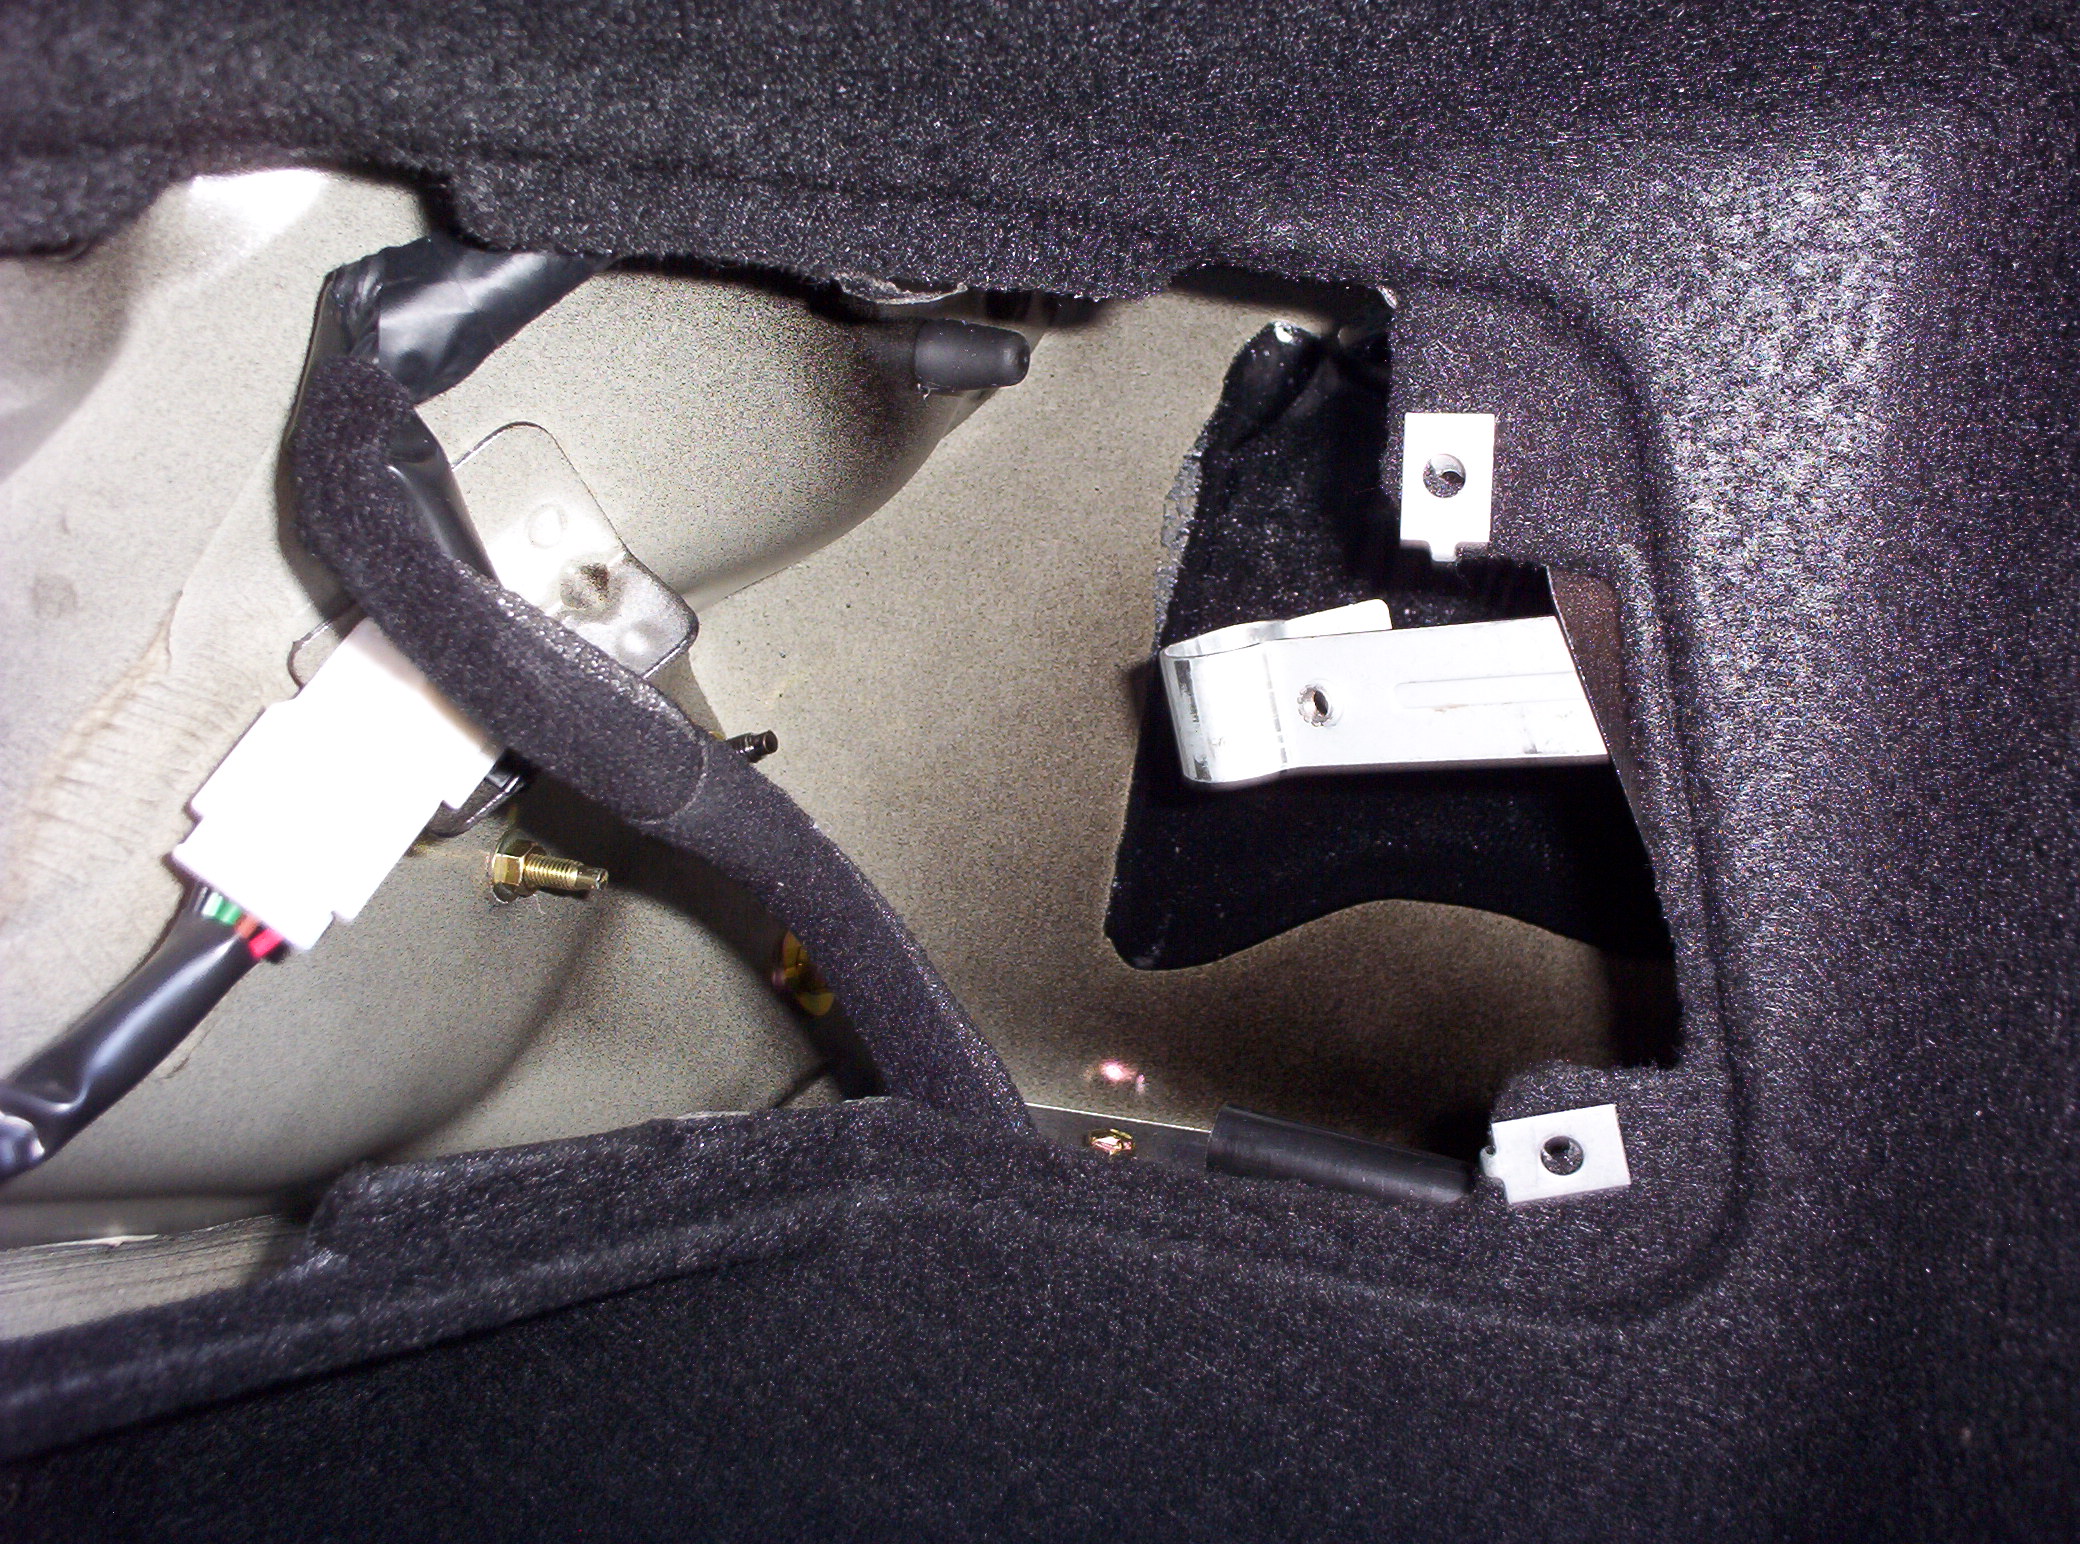
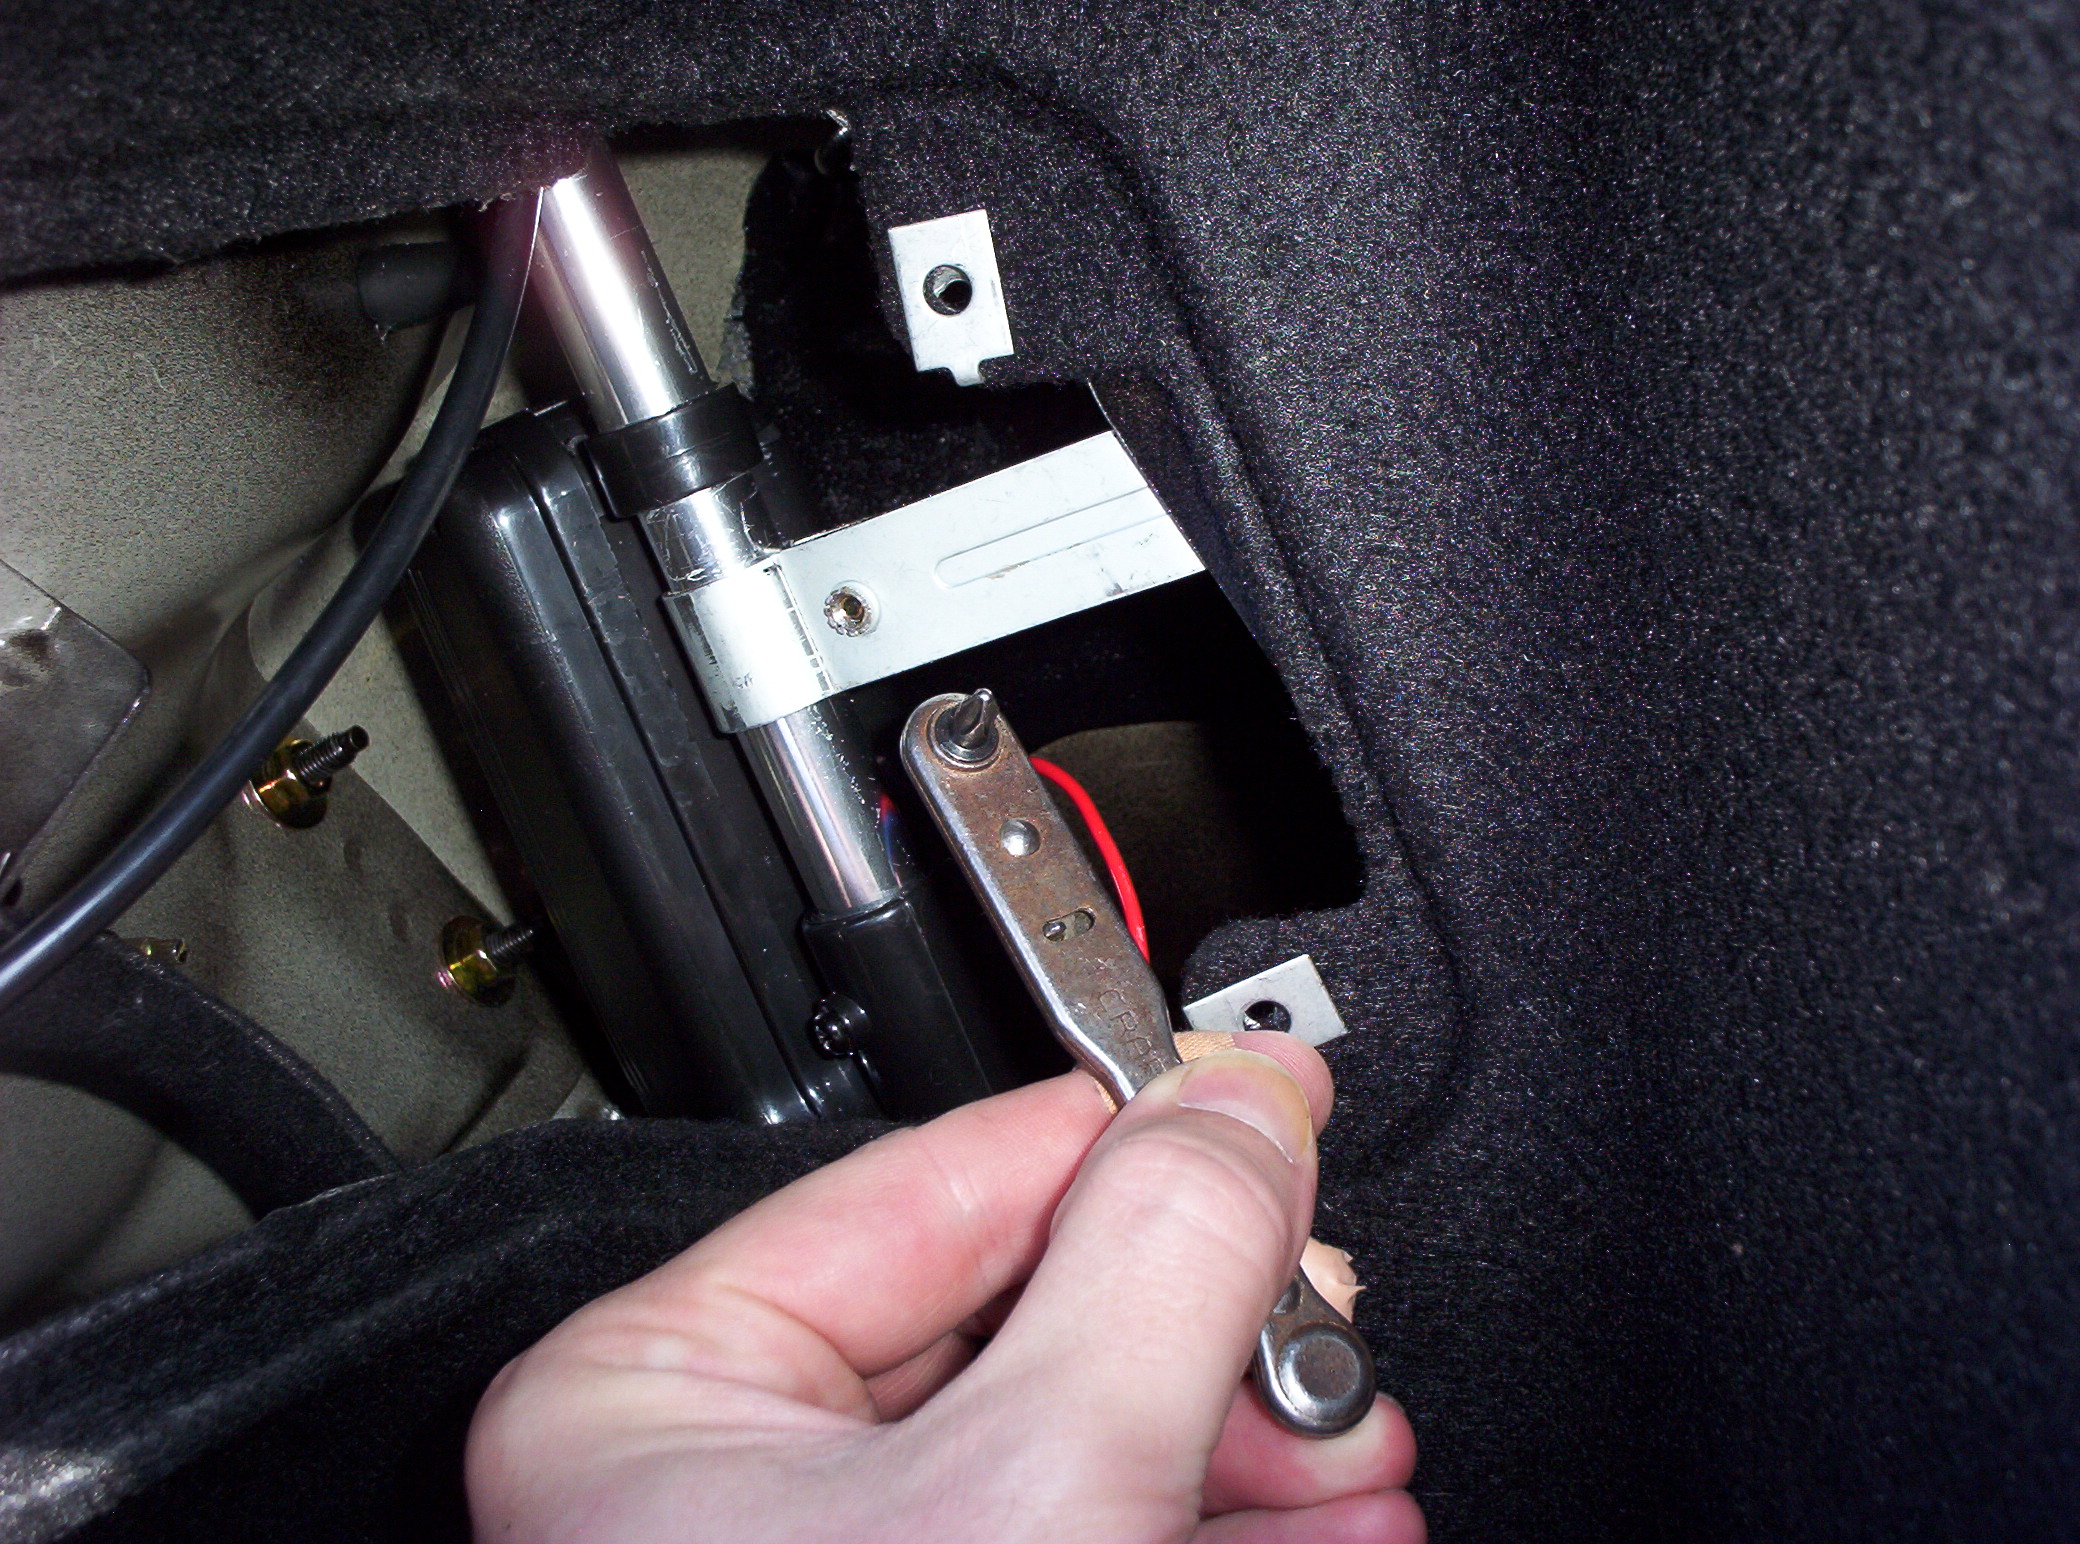
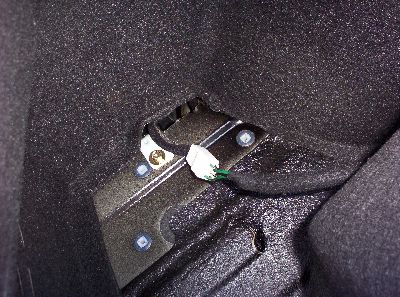
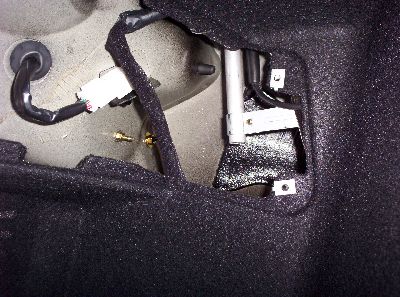
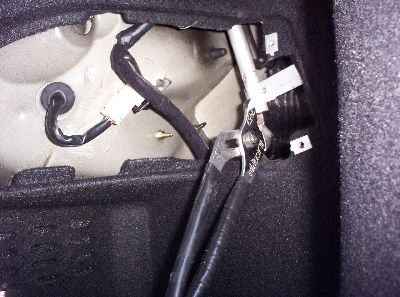
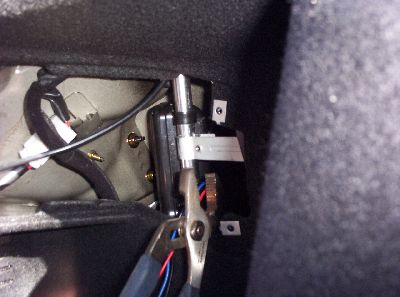
To disconnect the stock antenna mounting bracket, you really need a right-angle ratchet screwdriver.
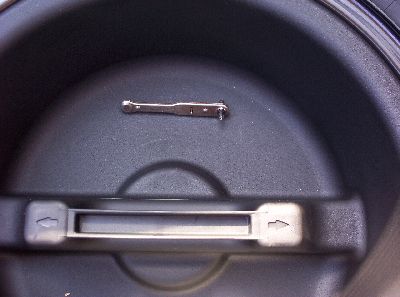
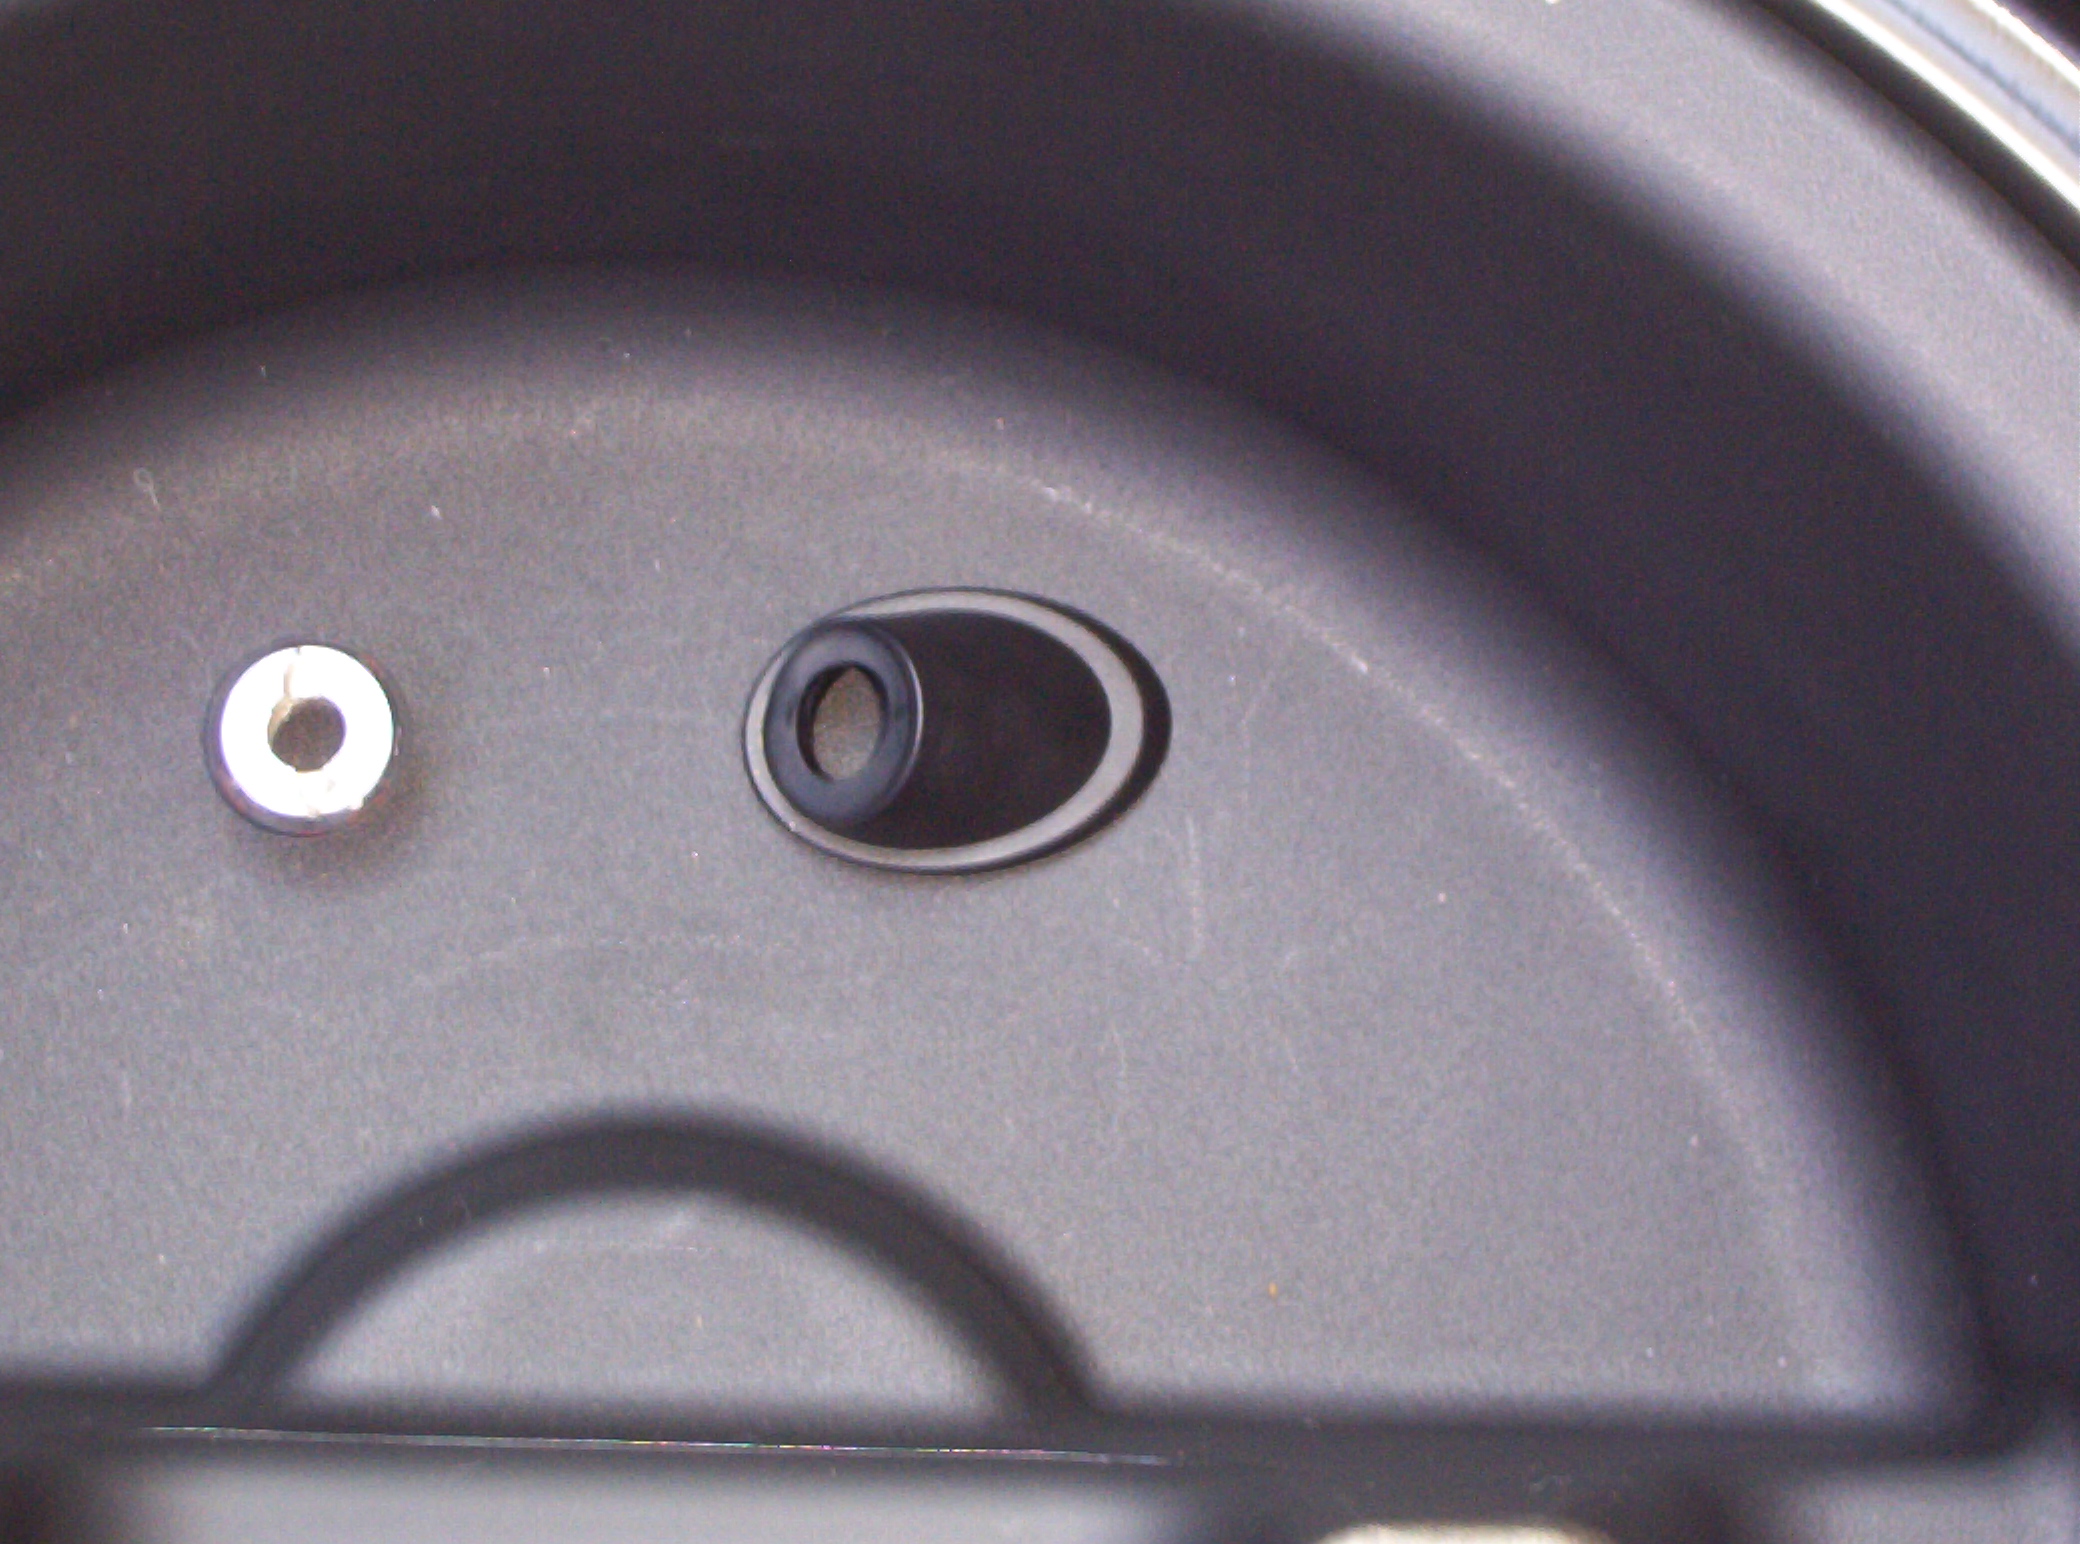
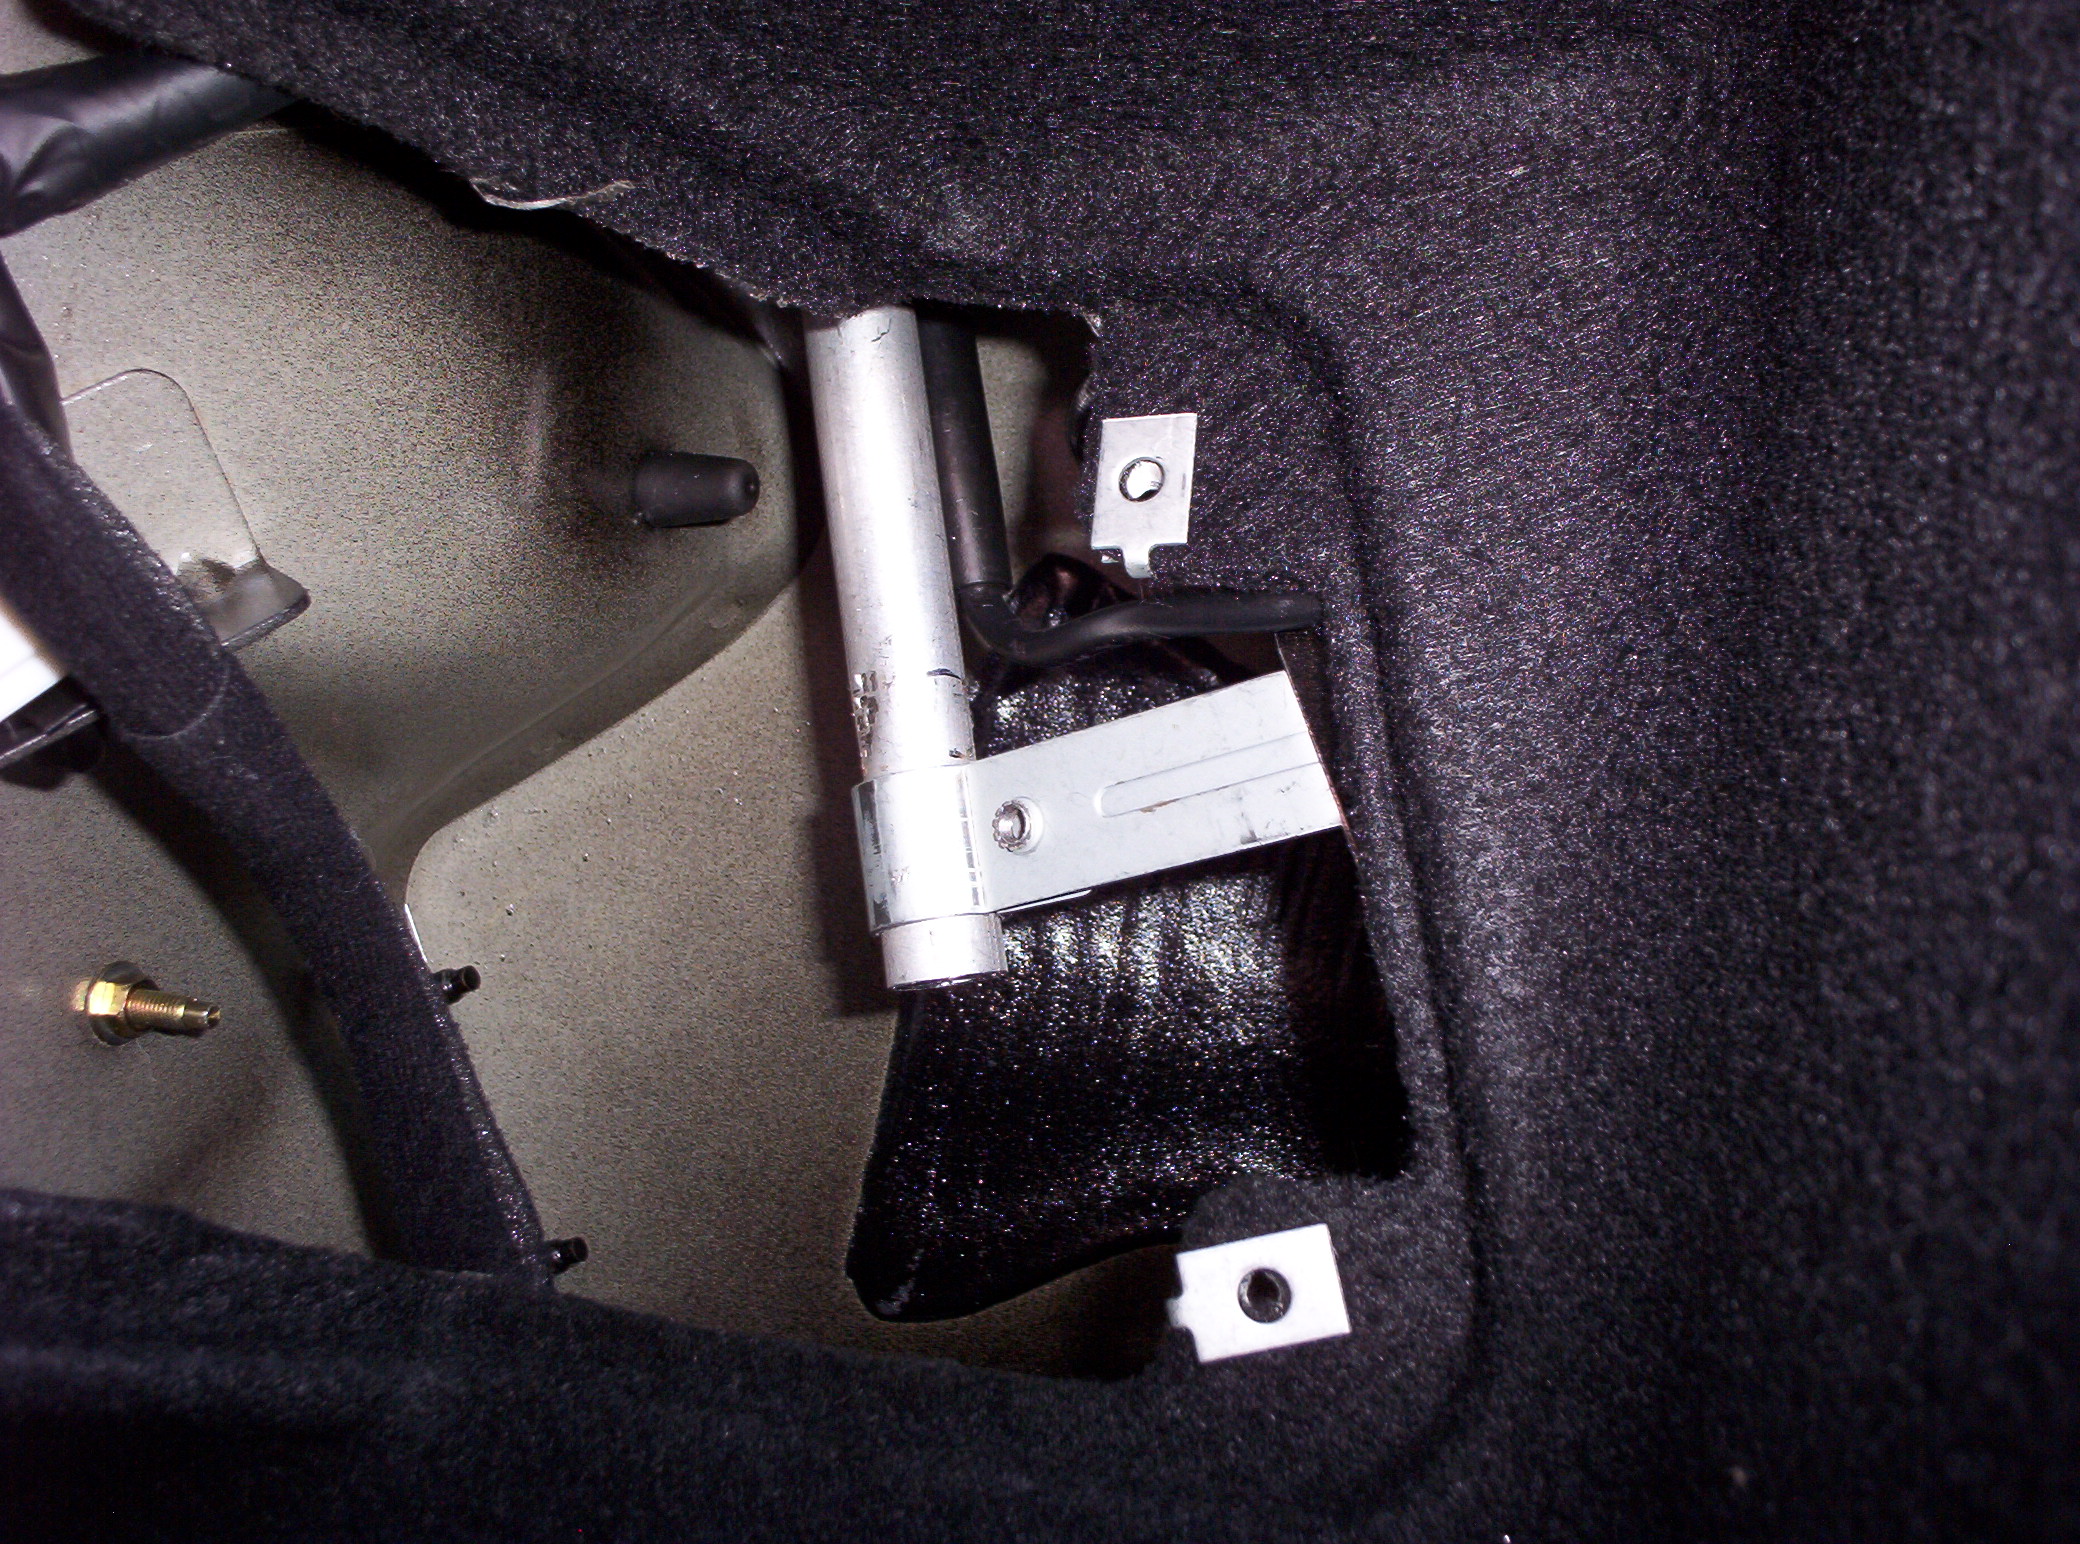
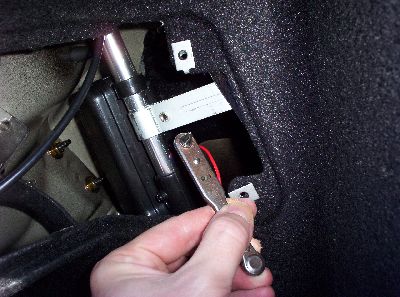
Here is the bracket. See the L-shaped silver part? The vertical part of the L is the base of the stock antenna, and the horizontal part of the L is the mounting bracket, which wraps around the base of the stock antenna and has a screw through it. That dot is the threaded end of that screw — the head of the screw is facing away from you.
Just try unscrewing this with a regular screwdriver.
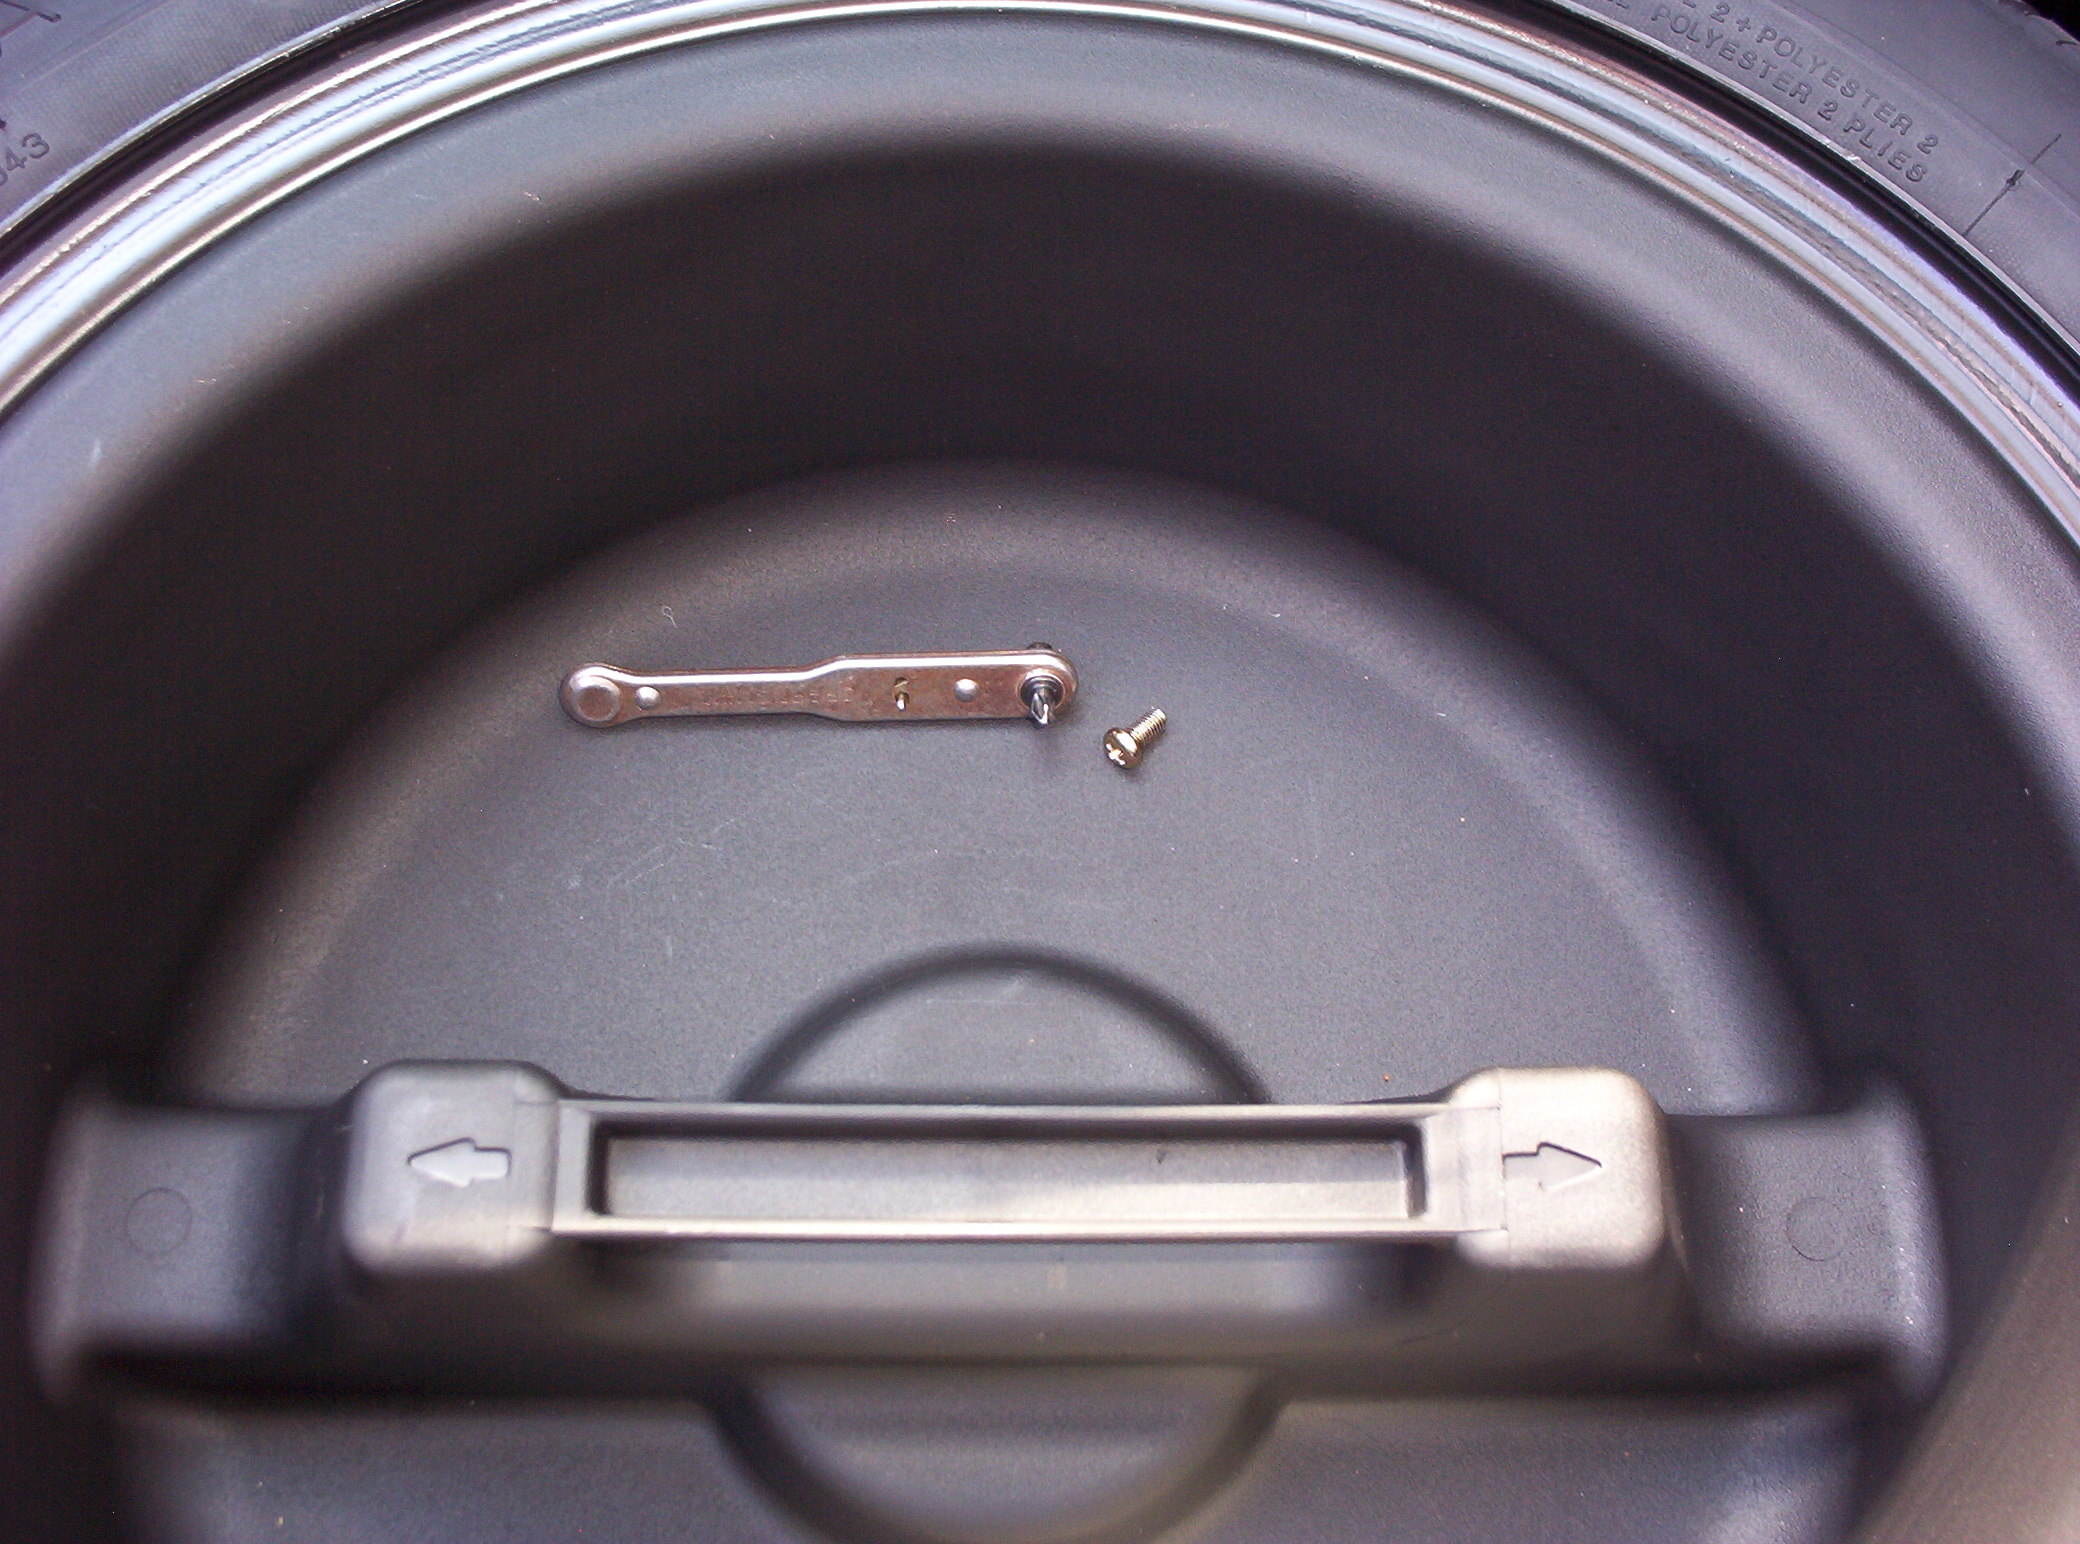
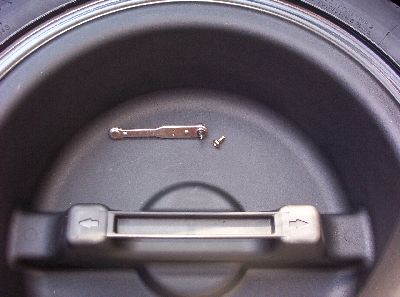
You will need need that screw again, so set it aside and do not lose it.
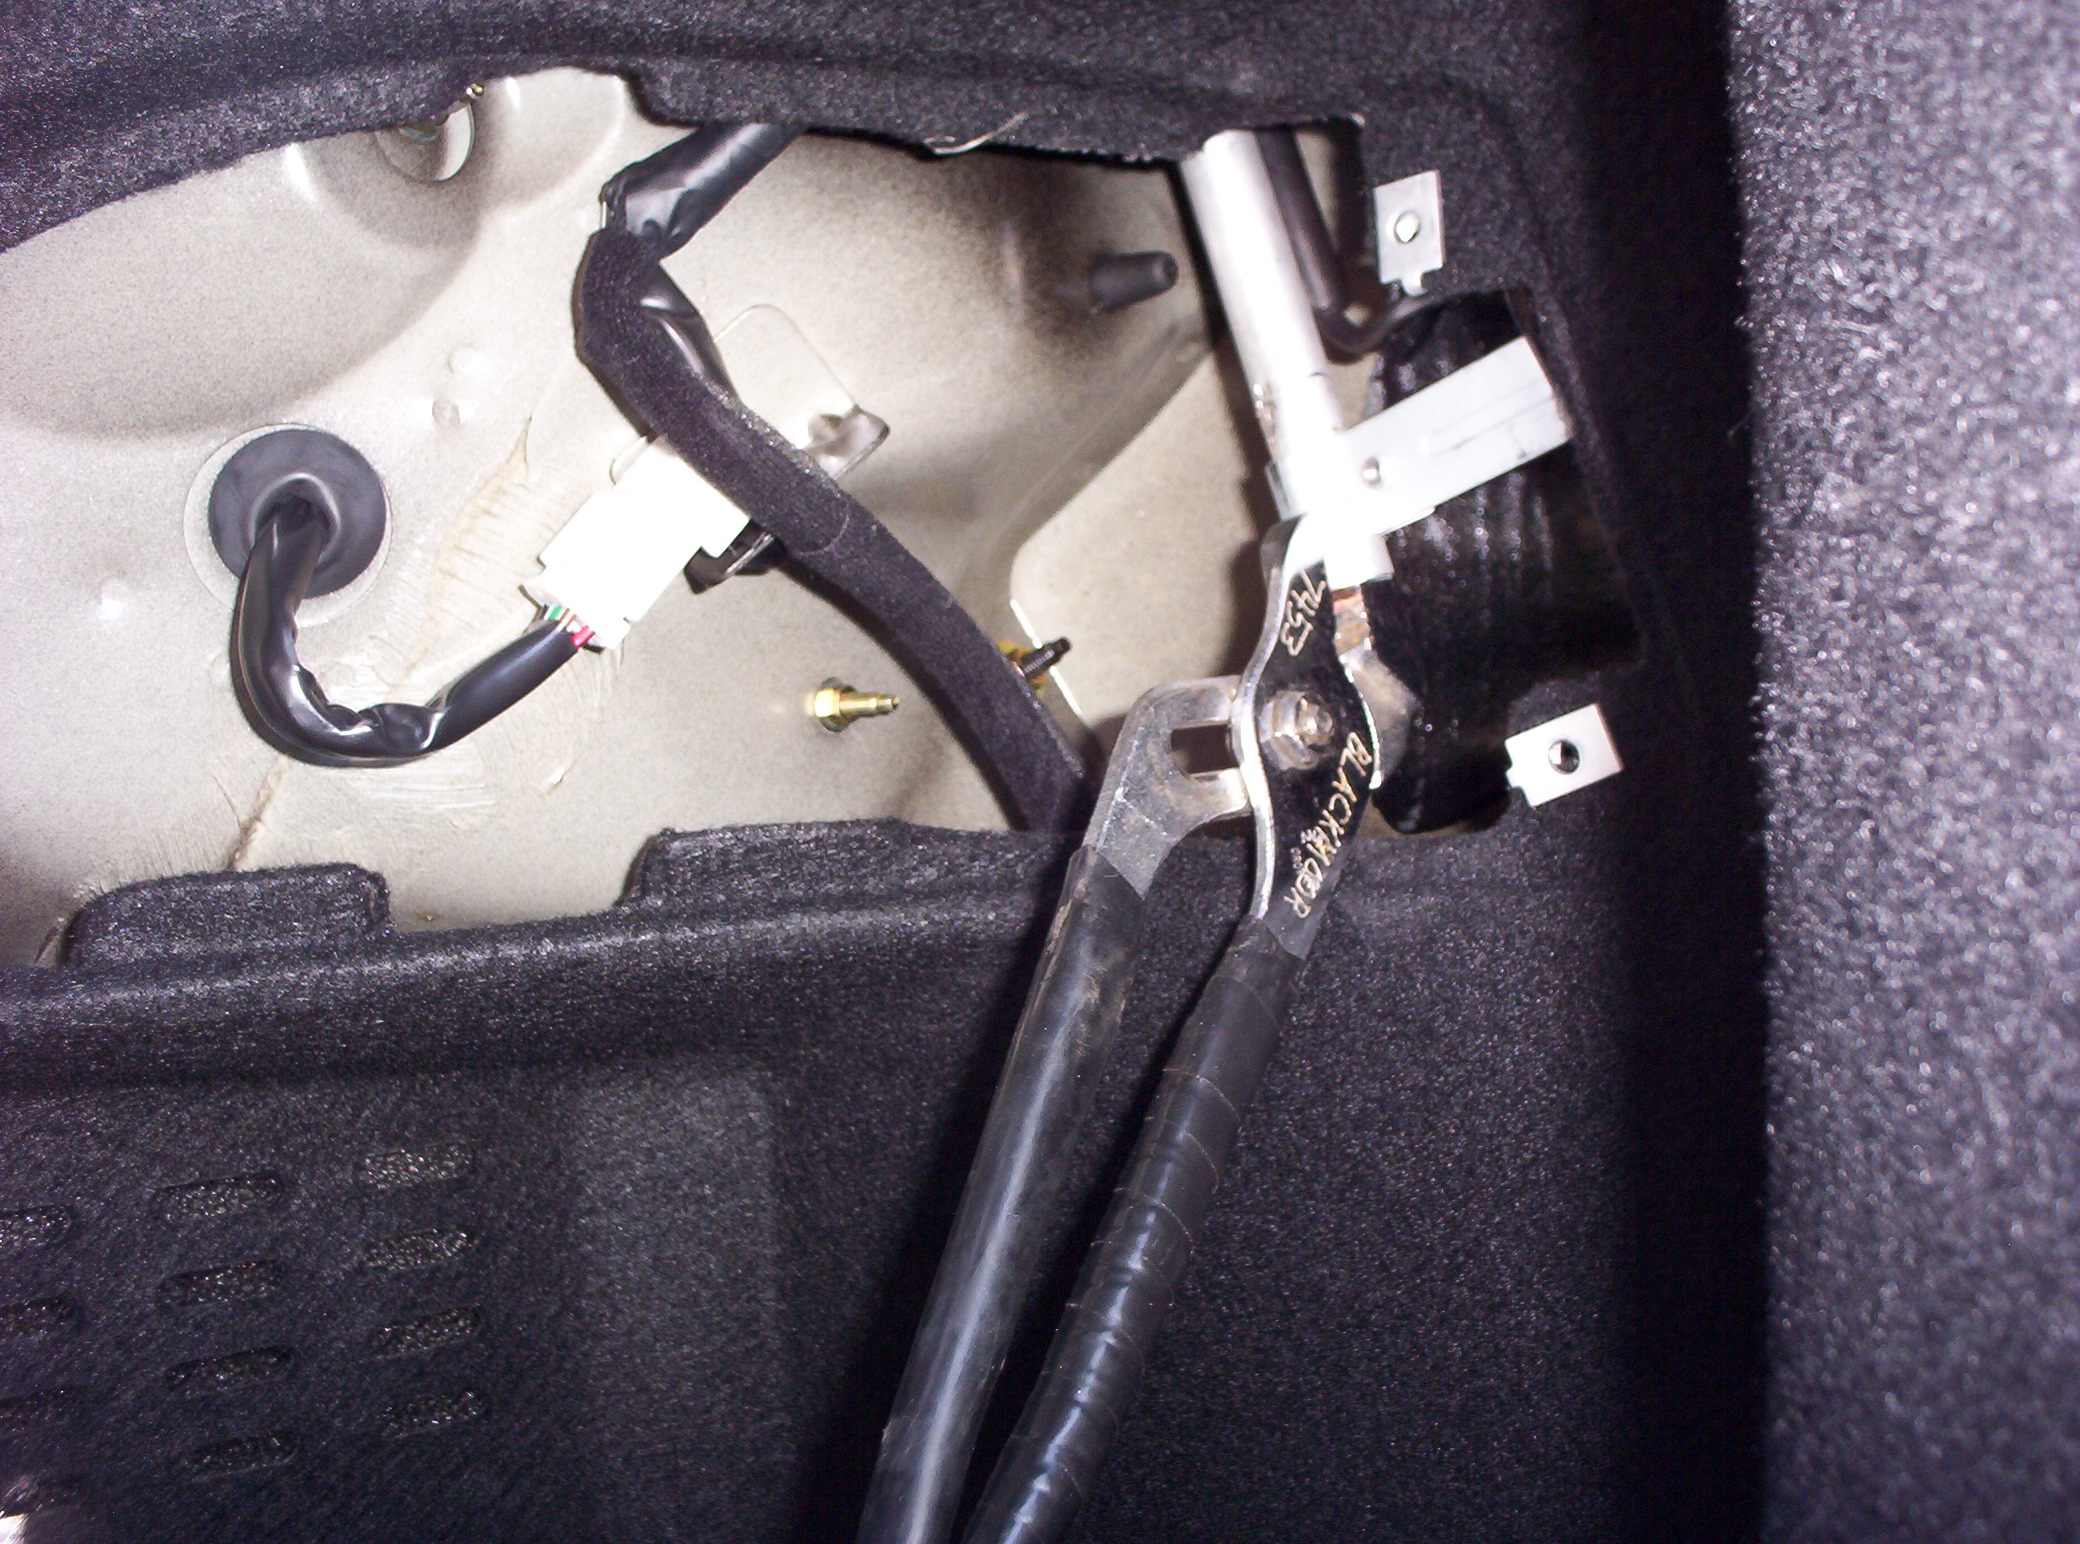
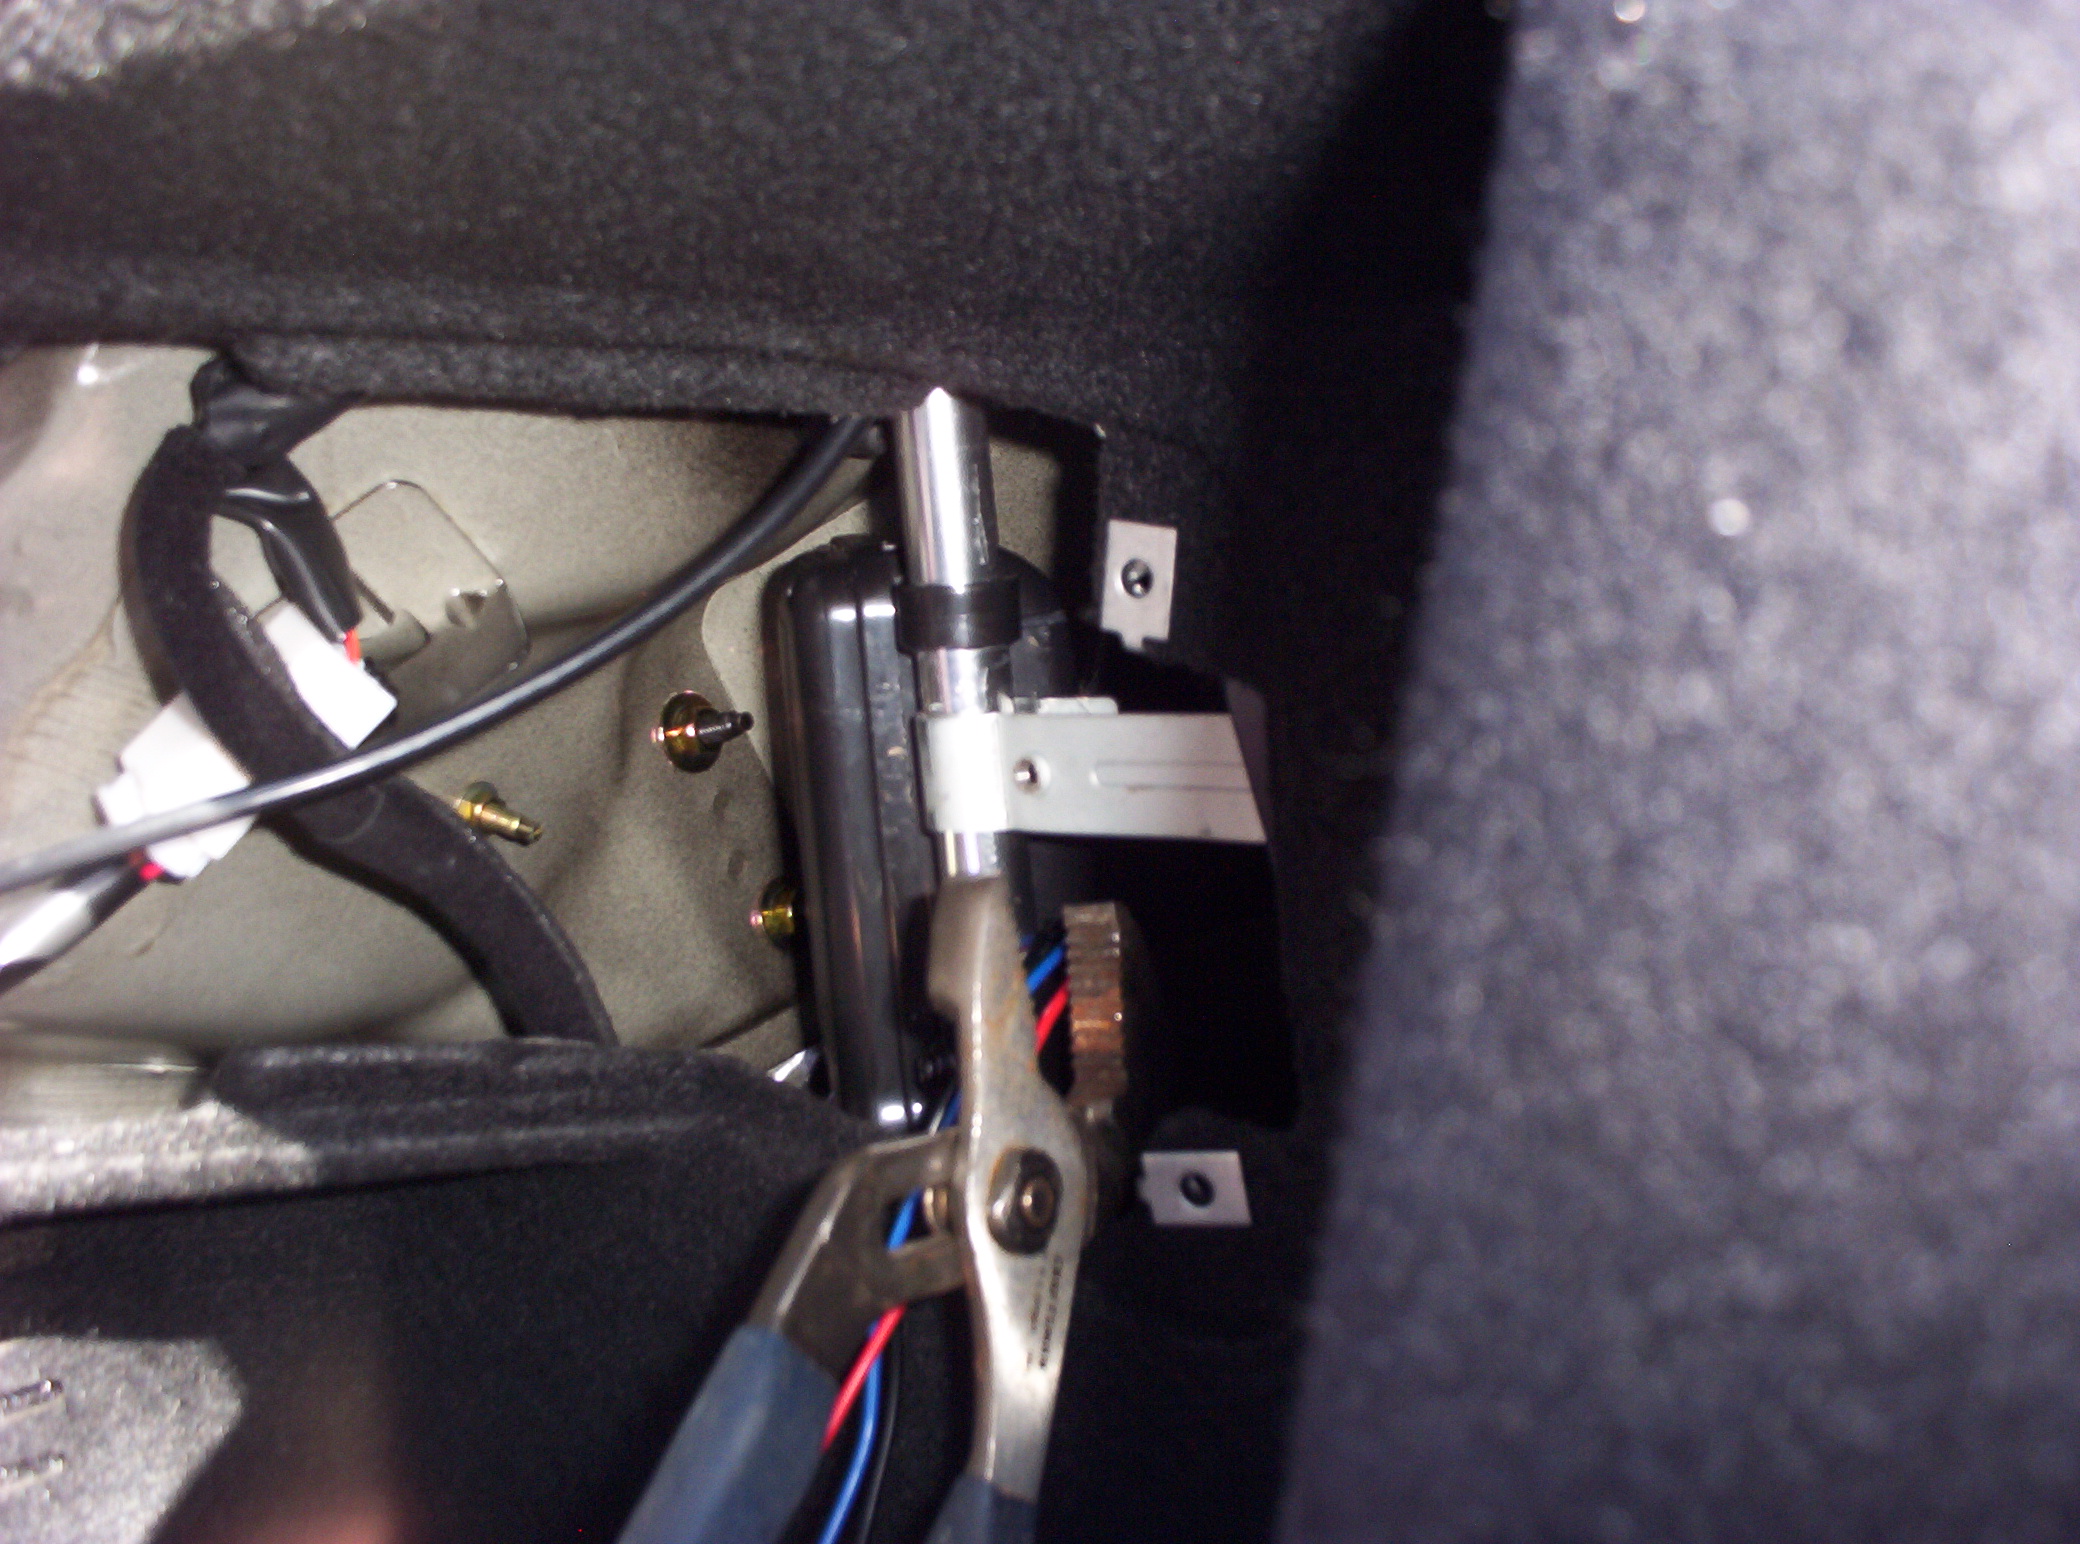
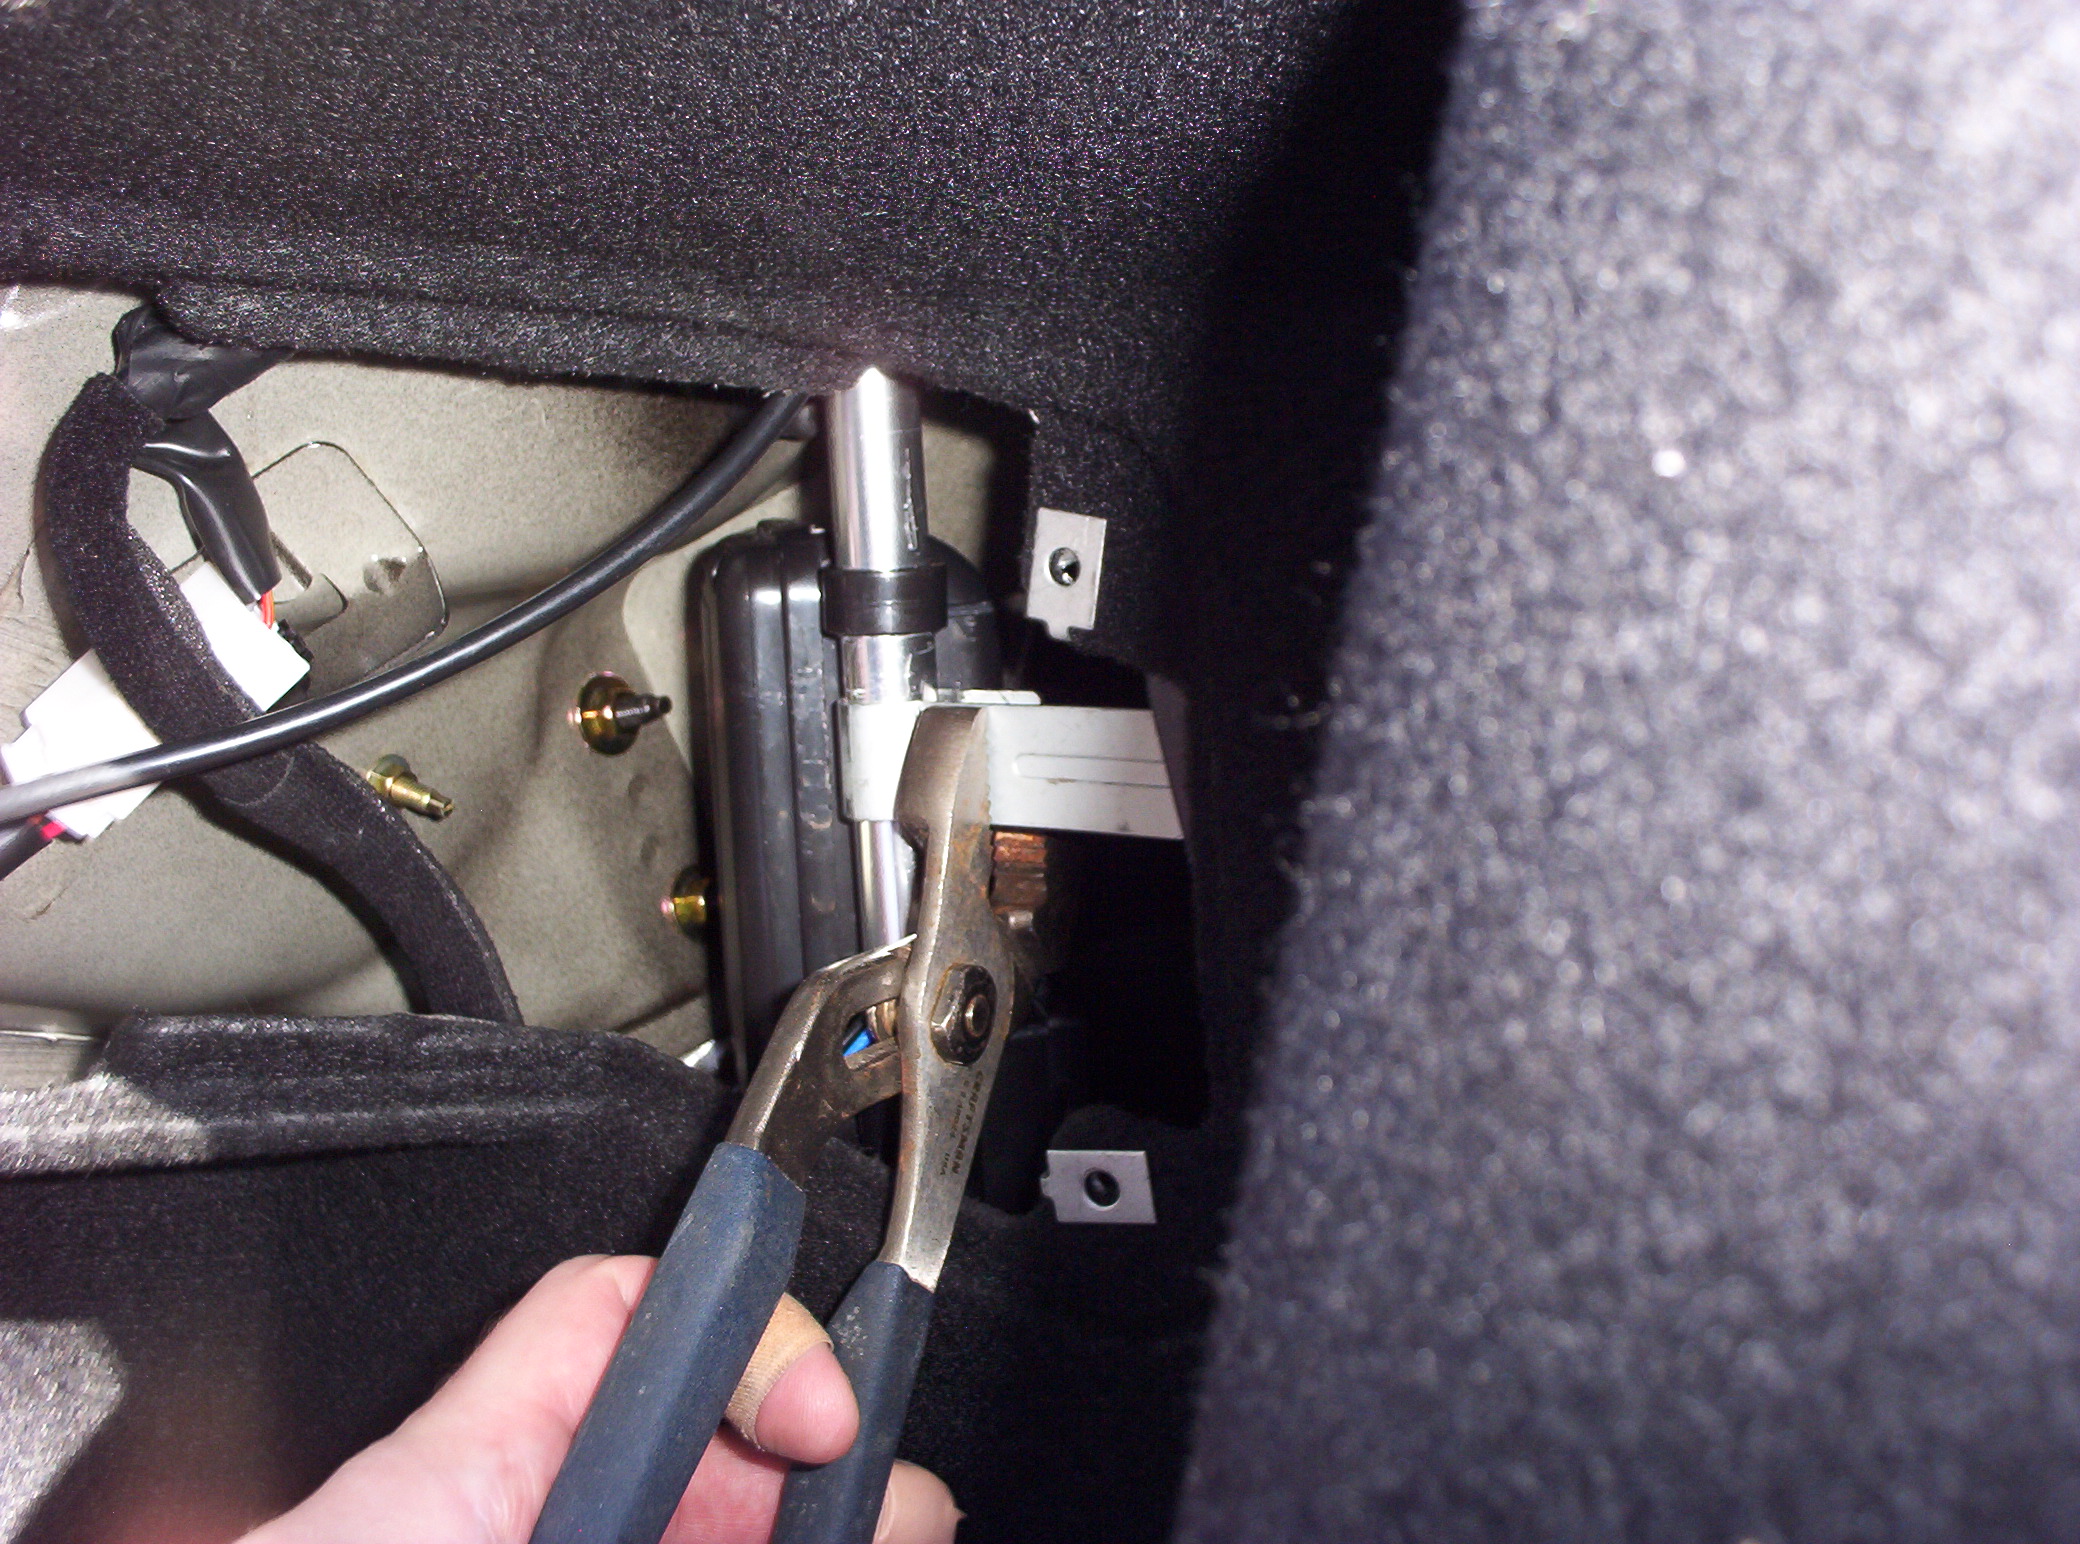
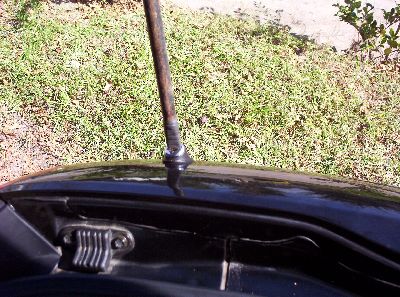
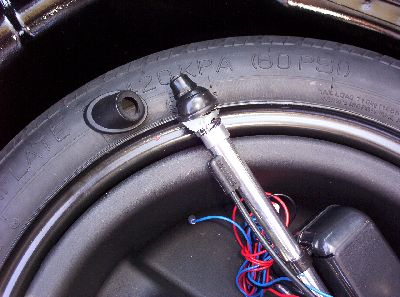
You thought that screw was hard? Now comes the hard part: unscrewing the part that holds the antenna onto the body of the car. First grab the antenna base firmly with the channel lock pliers…
… then use the biggest flat-head screwdriver you can find to unscrew the top of the stock antenna. I tried every screwdriver I had, and I could not turn this thing. I eventually used a tire iron so that I could get some leverage. This antenna screw-top thing was really on there. I put a few wraps of electrical tape around the tire iron to (hopefully) minimize the damage if I slipped and gouged the car. I managed not to do that. I hope you are as fortunate.
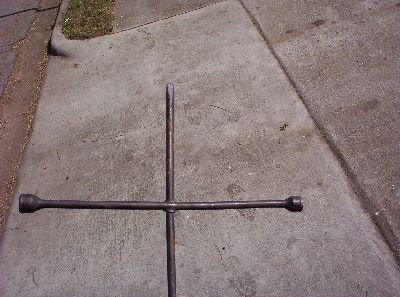
Behold: the tire iron!
The stock antenna’s screw-top cap thing has been removed…
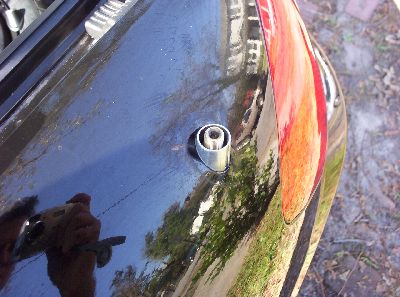
… and set aside. Don’t throw this away. Actually, do not throw anything away, until you are actually done and the new antenna works. You never know what you will need.
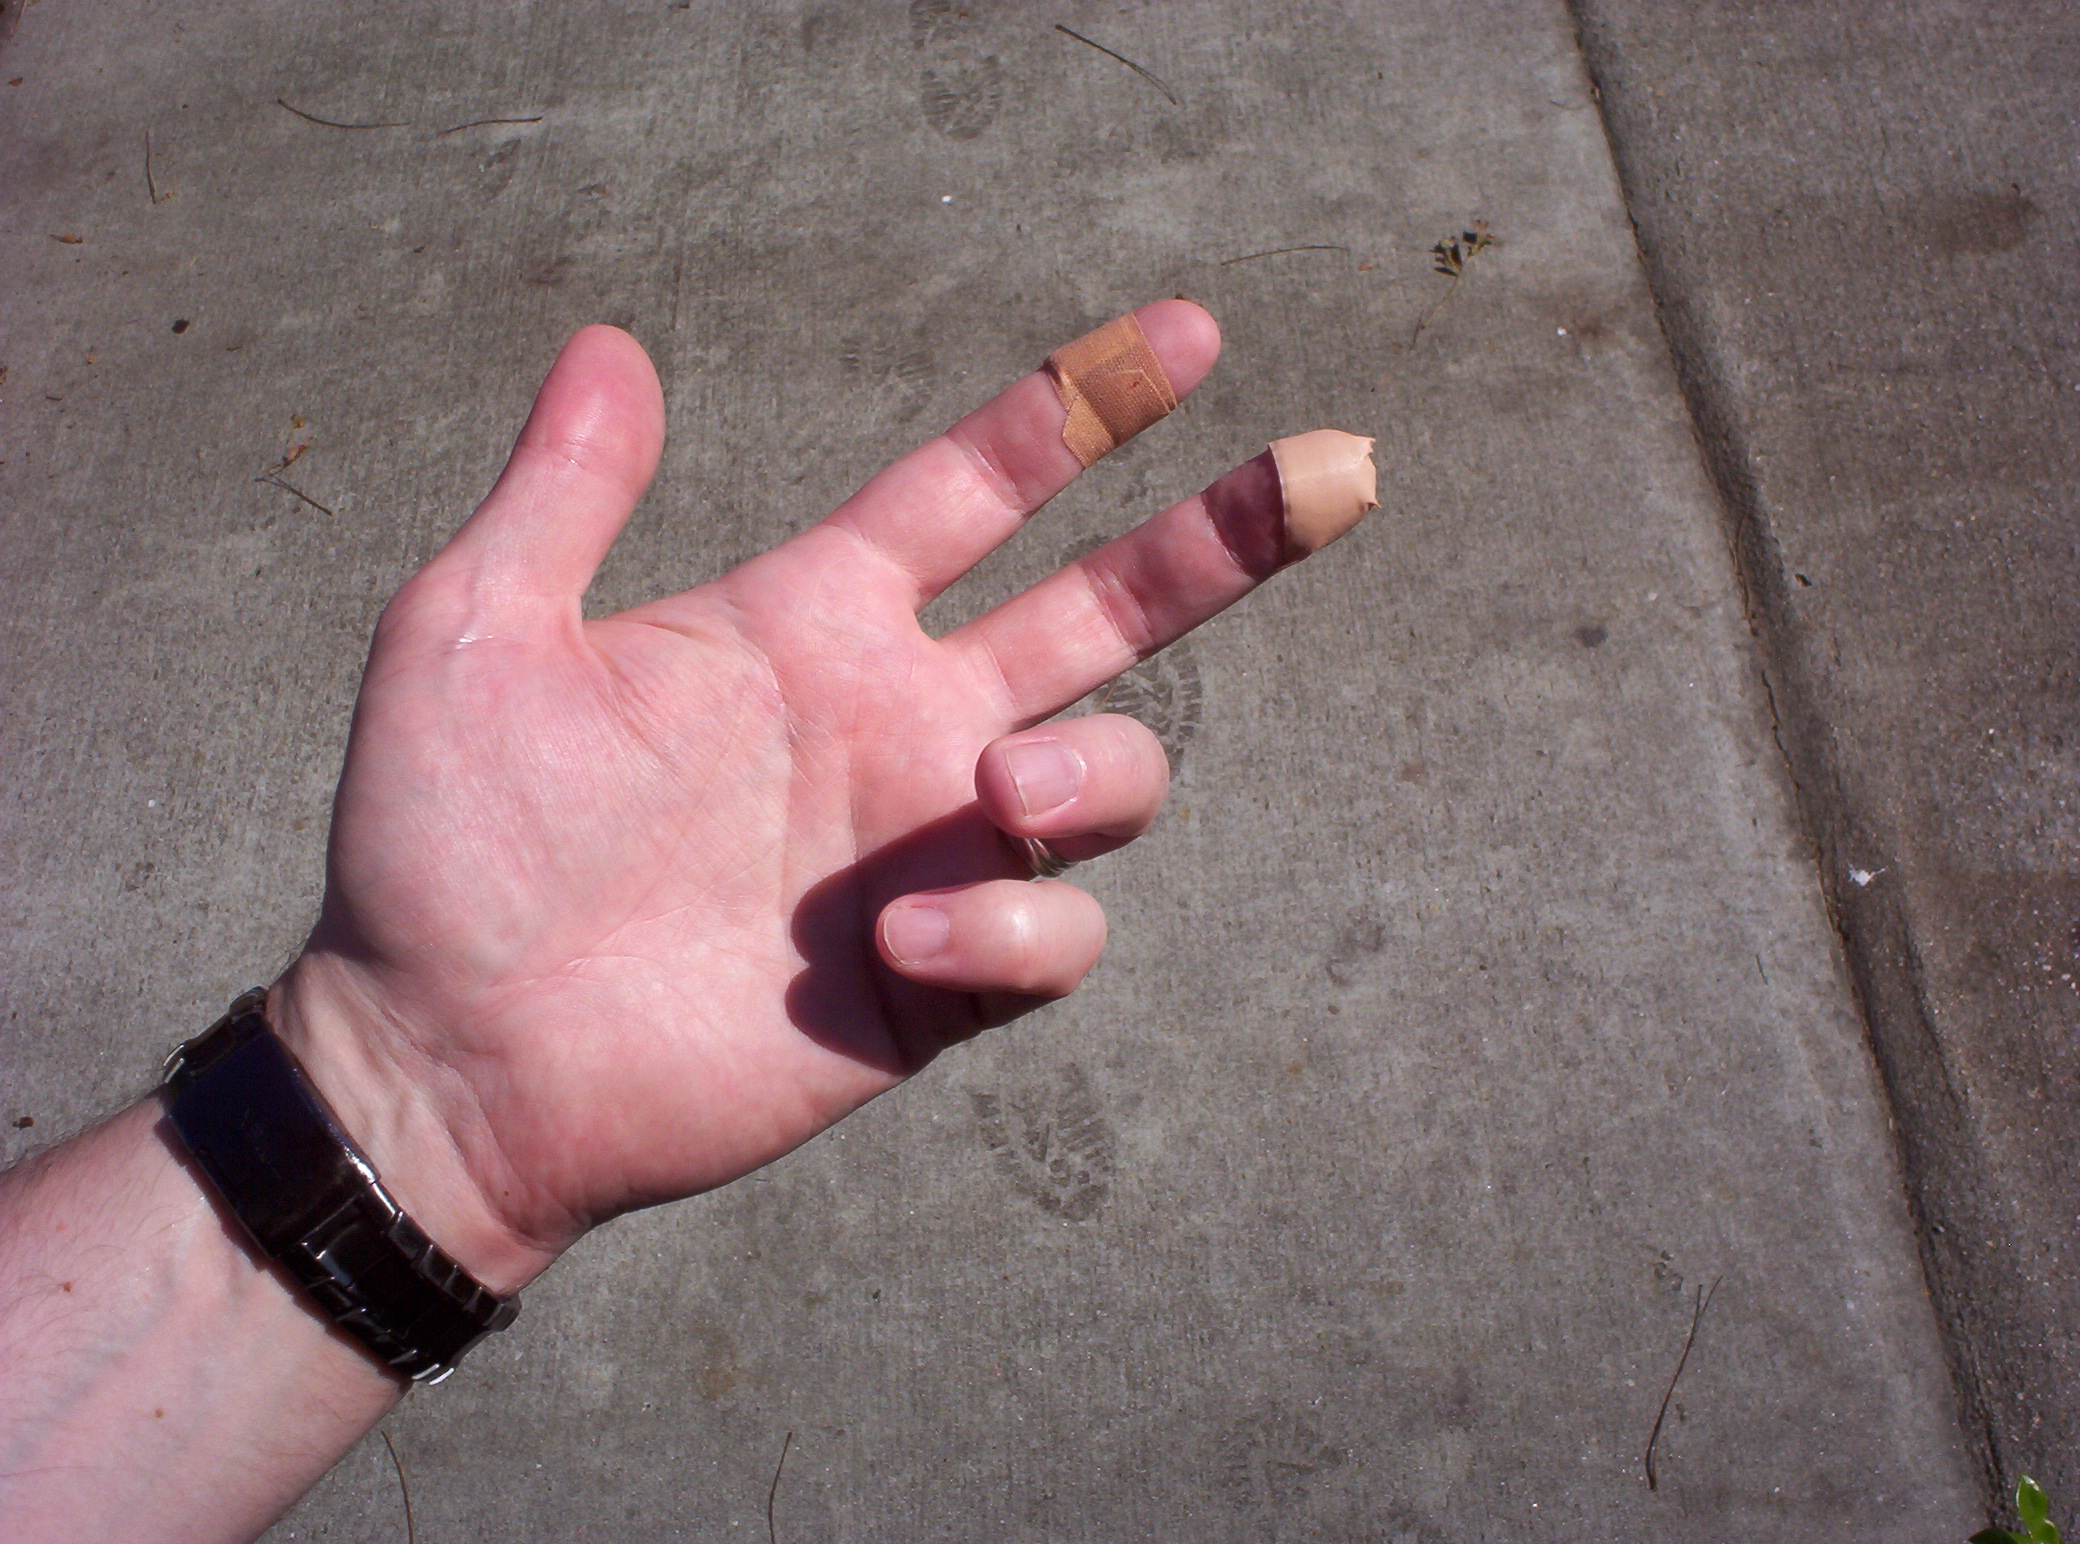
I didn’t hurt the car, but I did hurt myself. Twice.

Finally, we are ready to take the old antenna out.
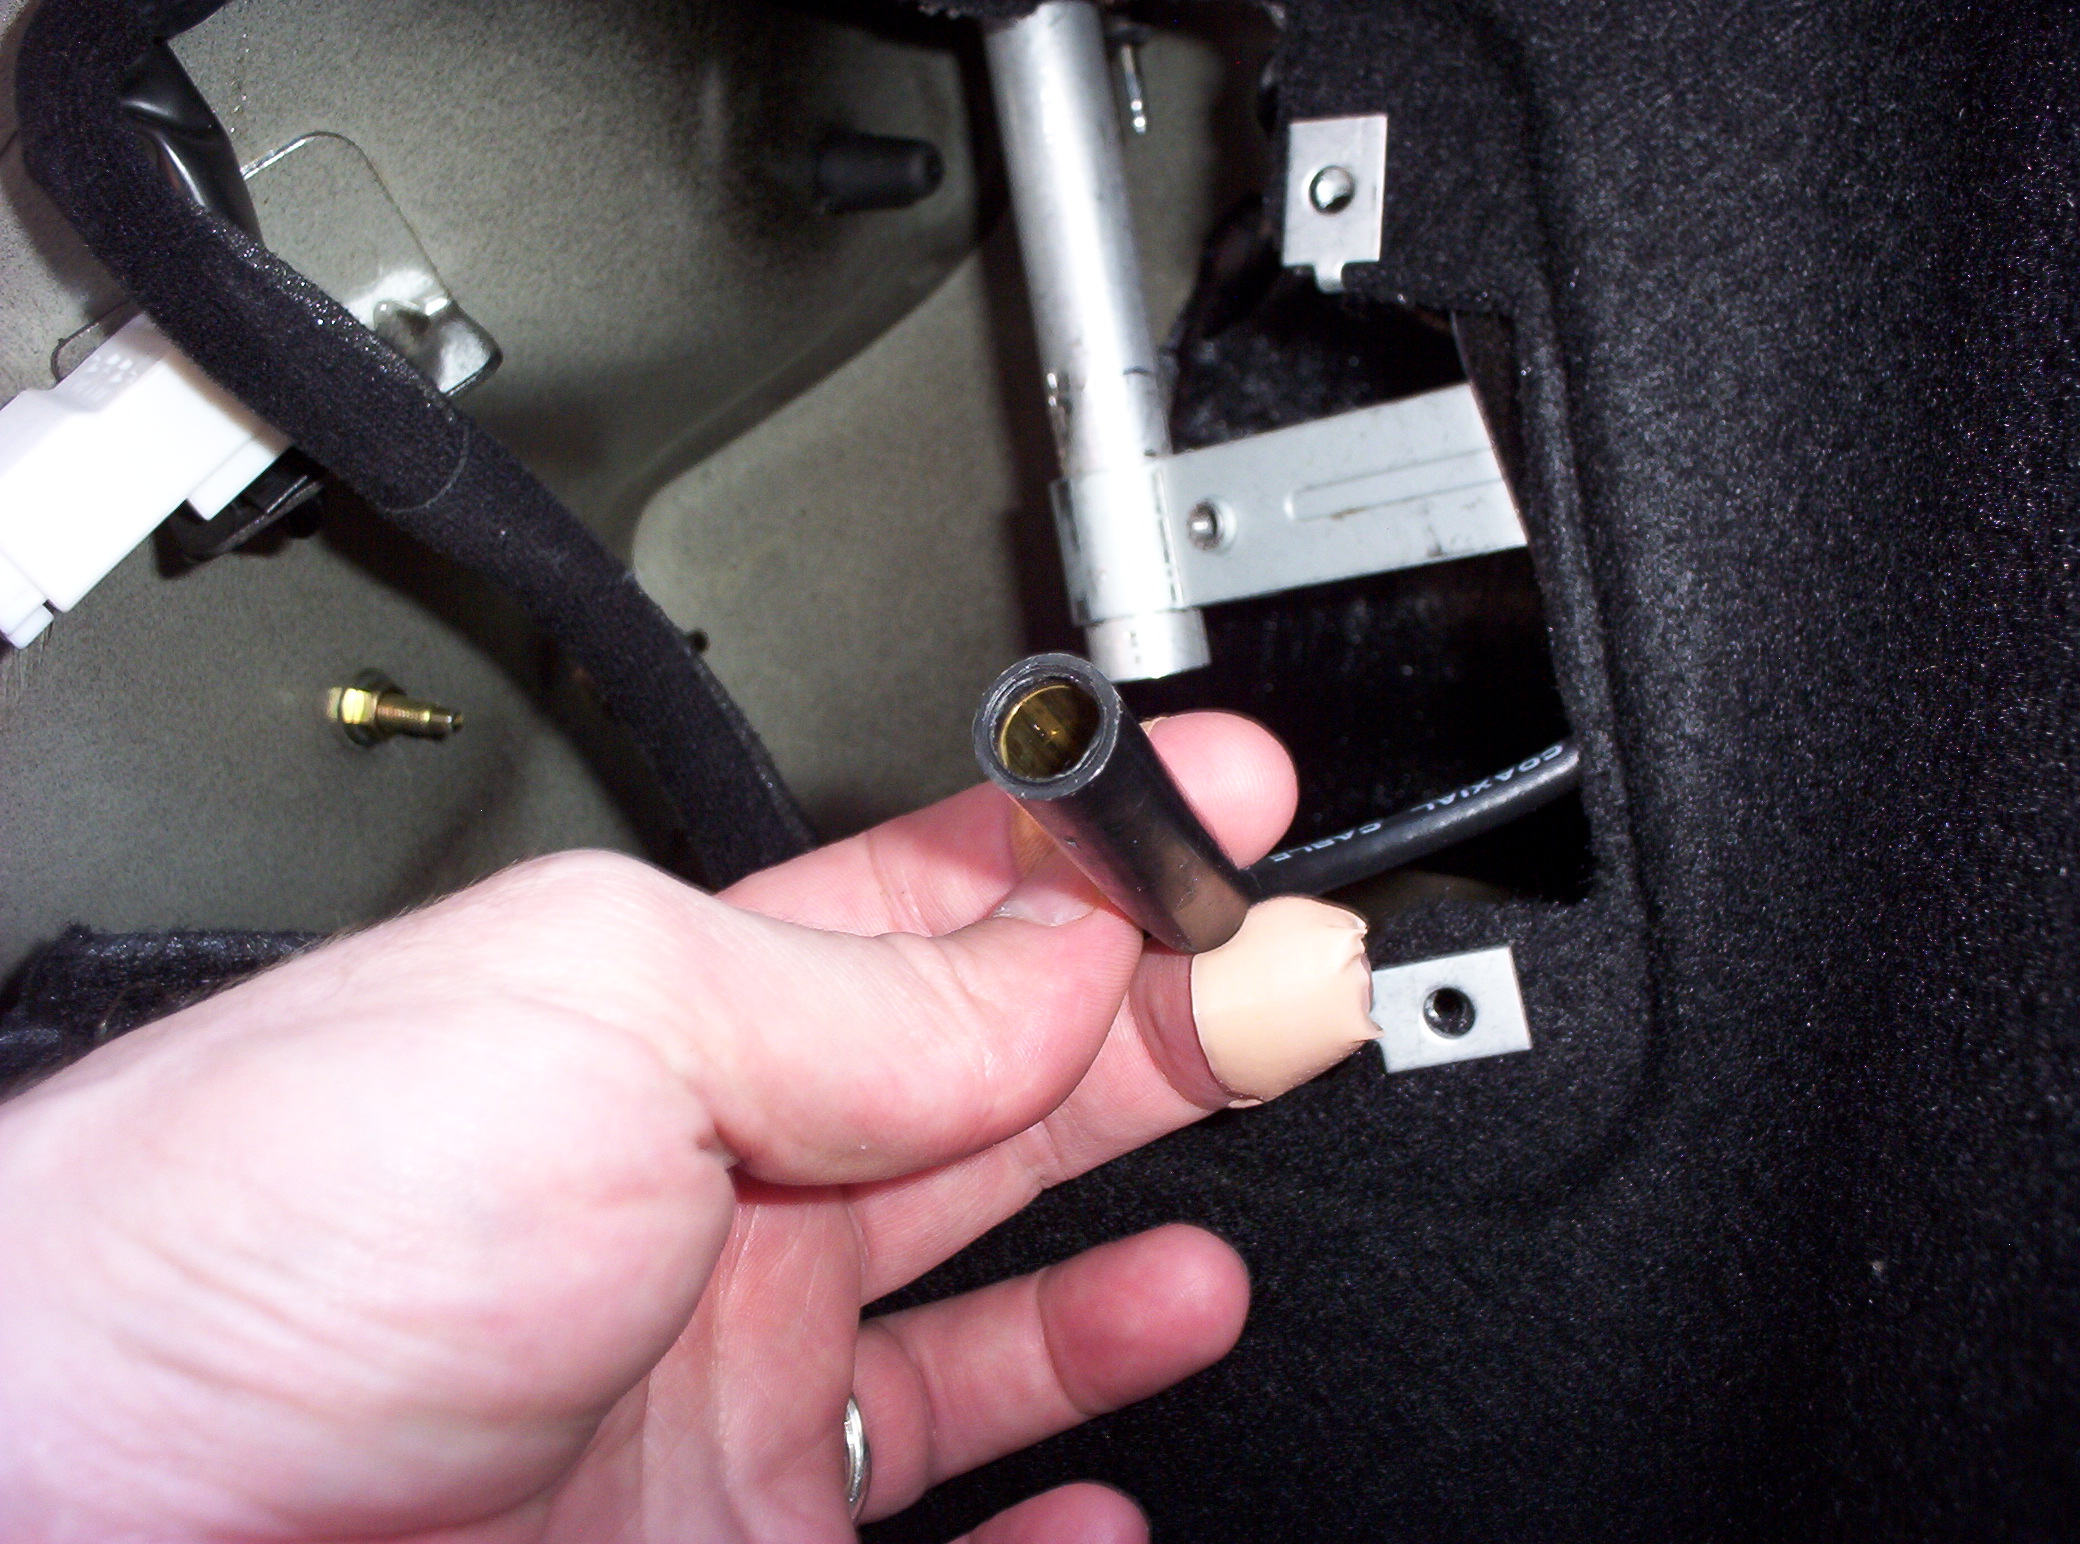
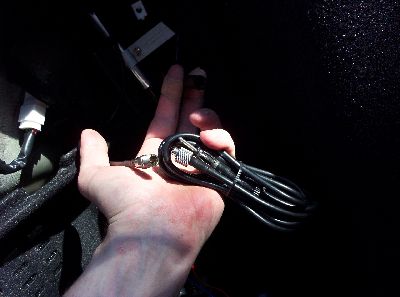
Disconnect the antenna wire. Hard to believe that this antenna plug design hasn’t changed in, what, fifty or sixty years?
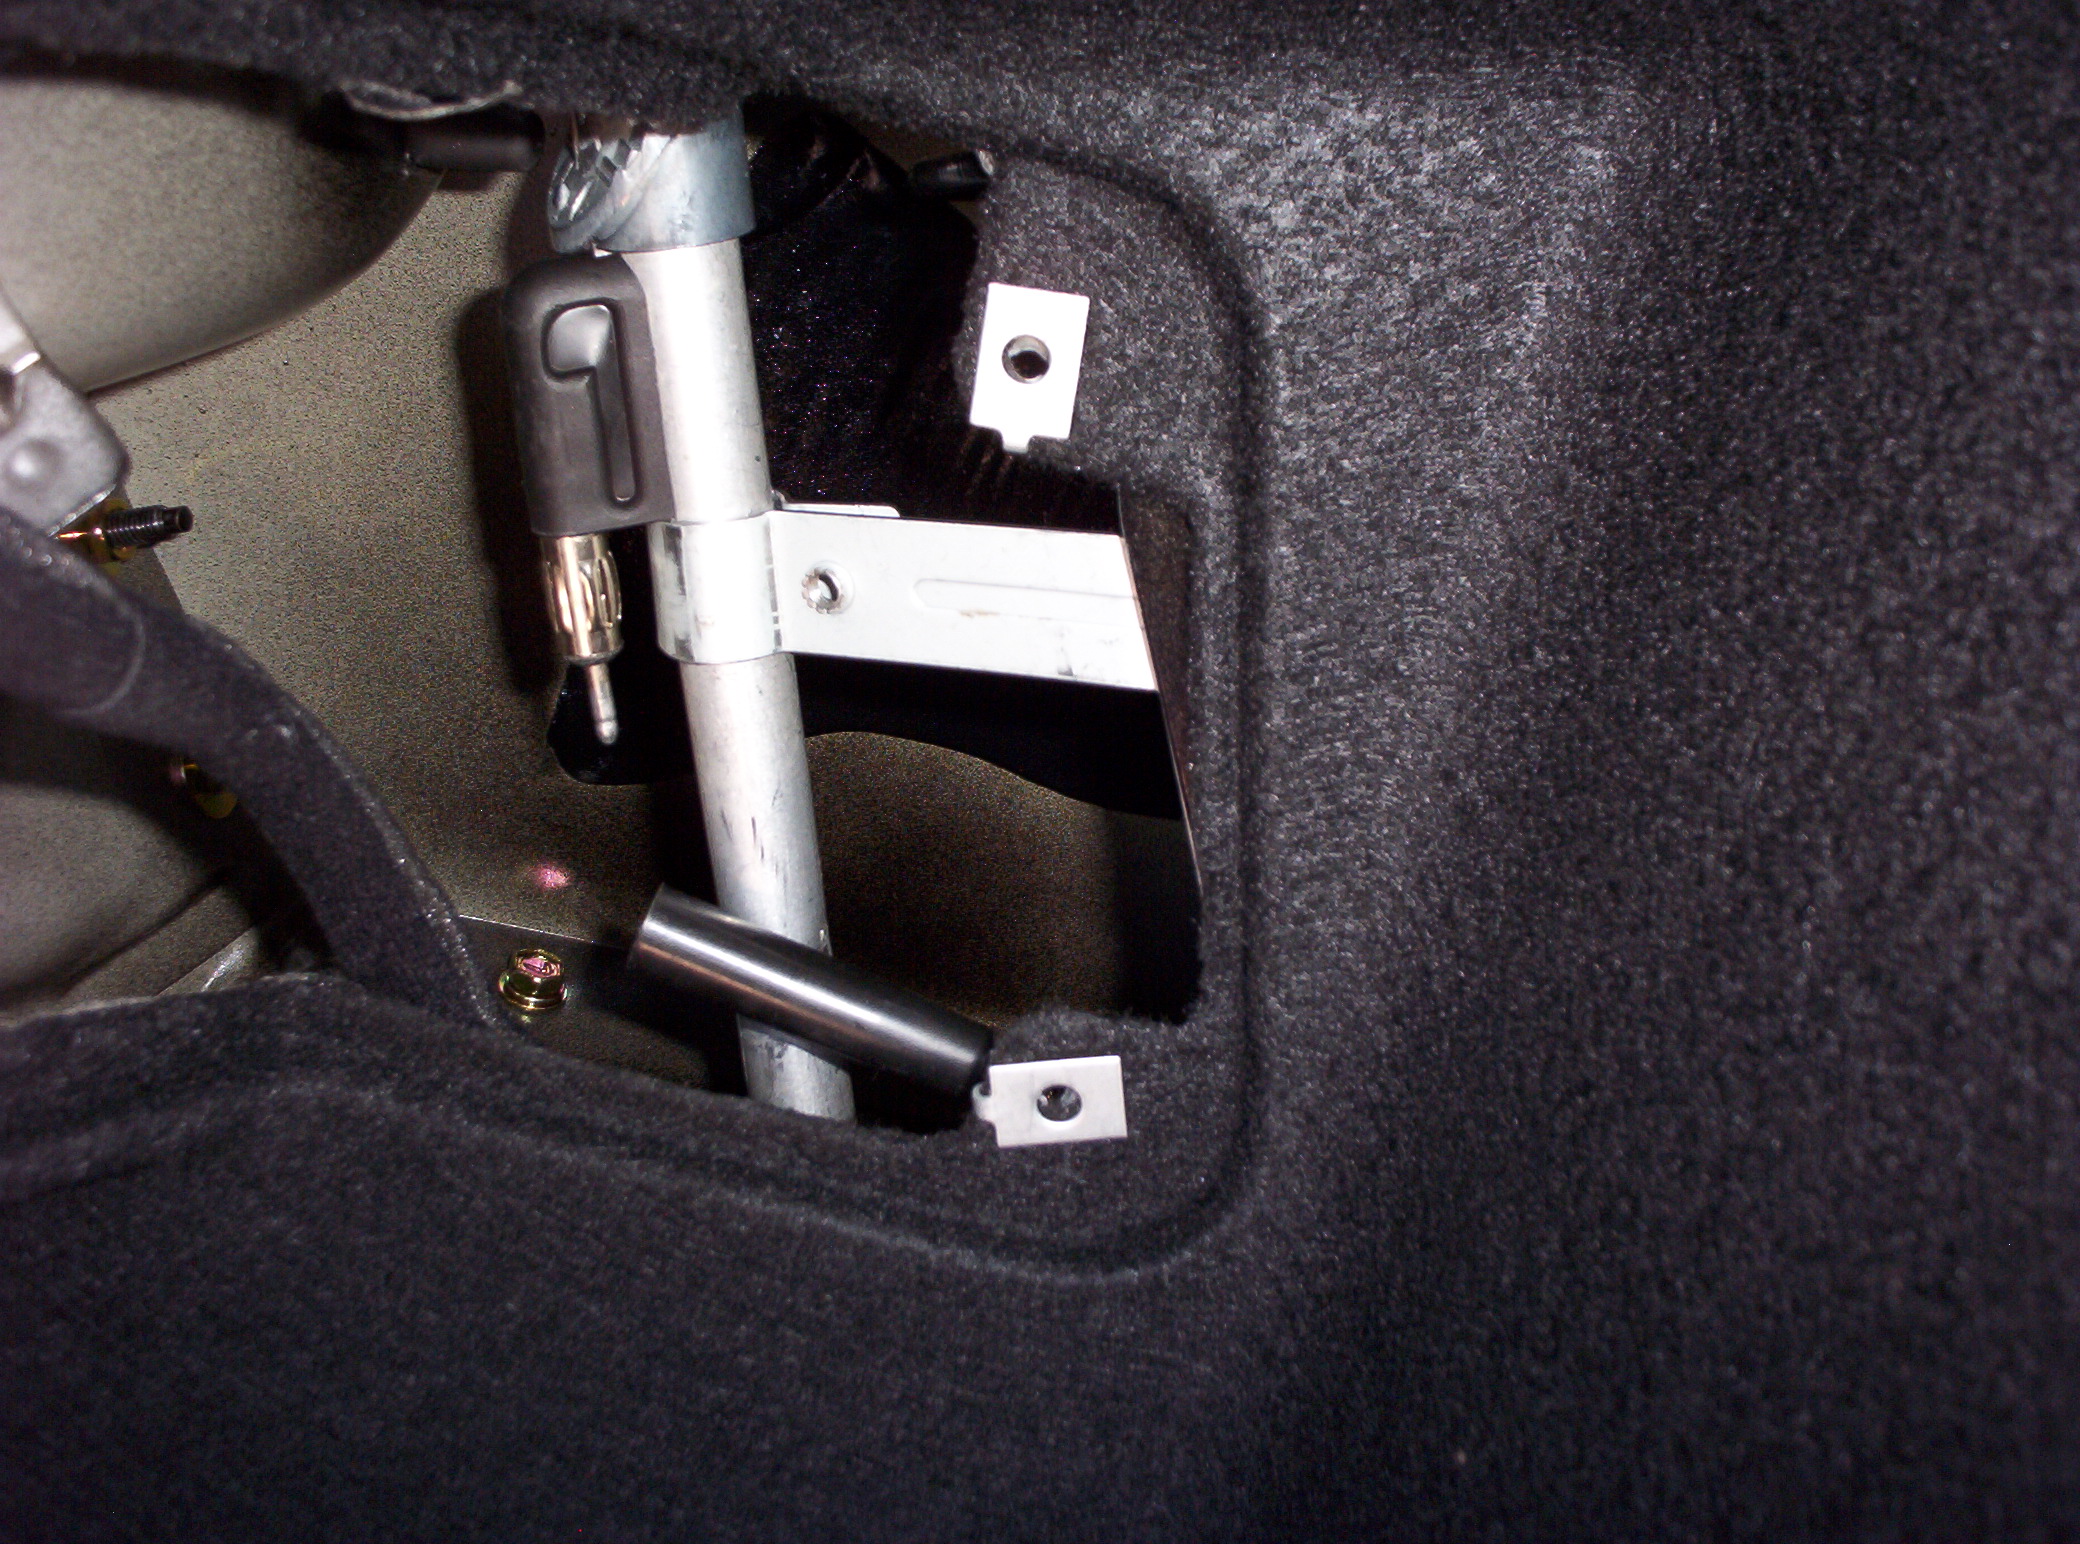
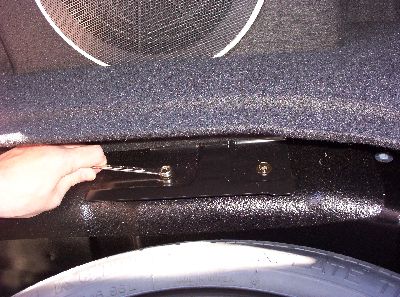
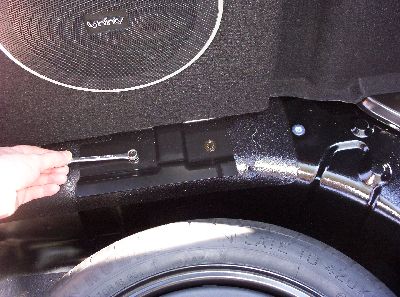
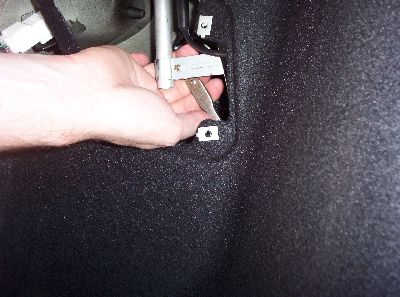
Now you need the right-angle flat head screwdriver.

That bracket is unscrewed, but it’s still tight.
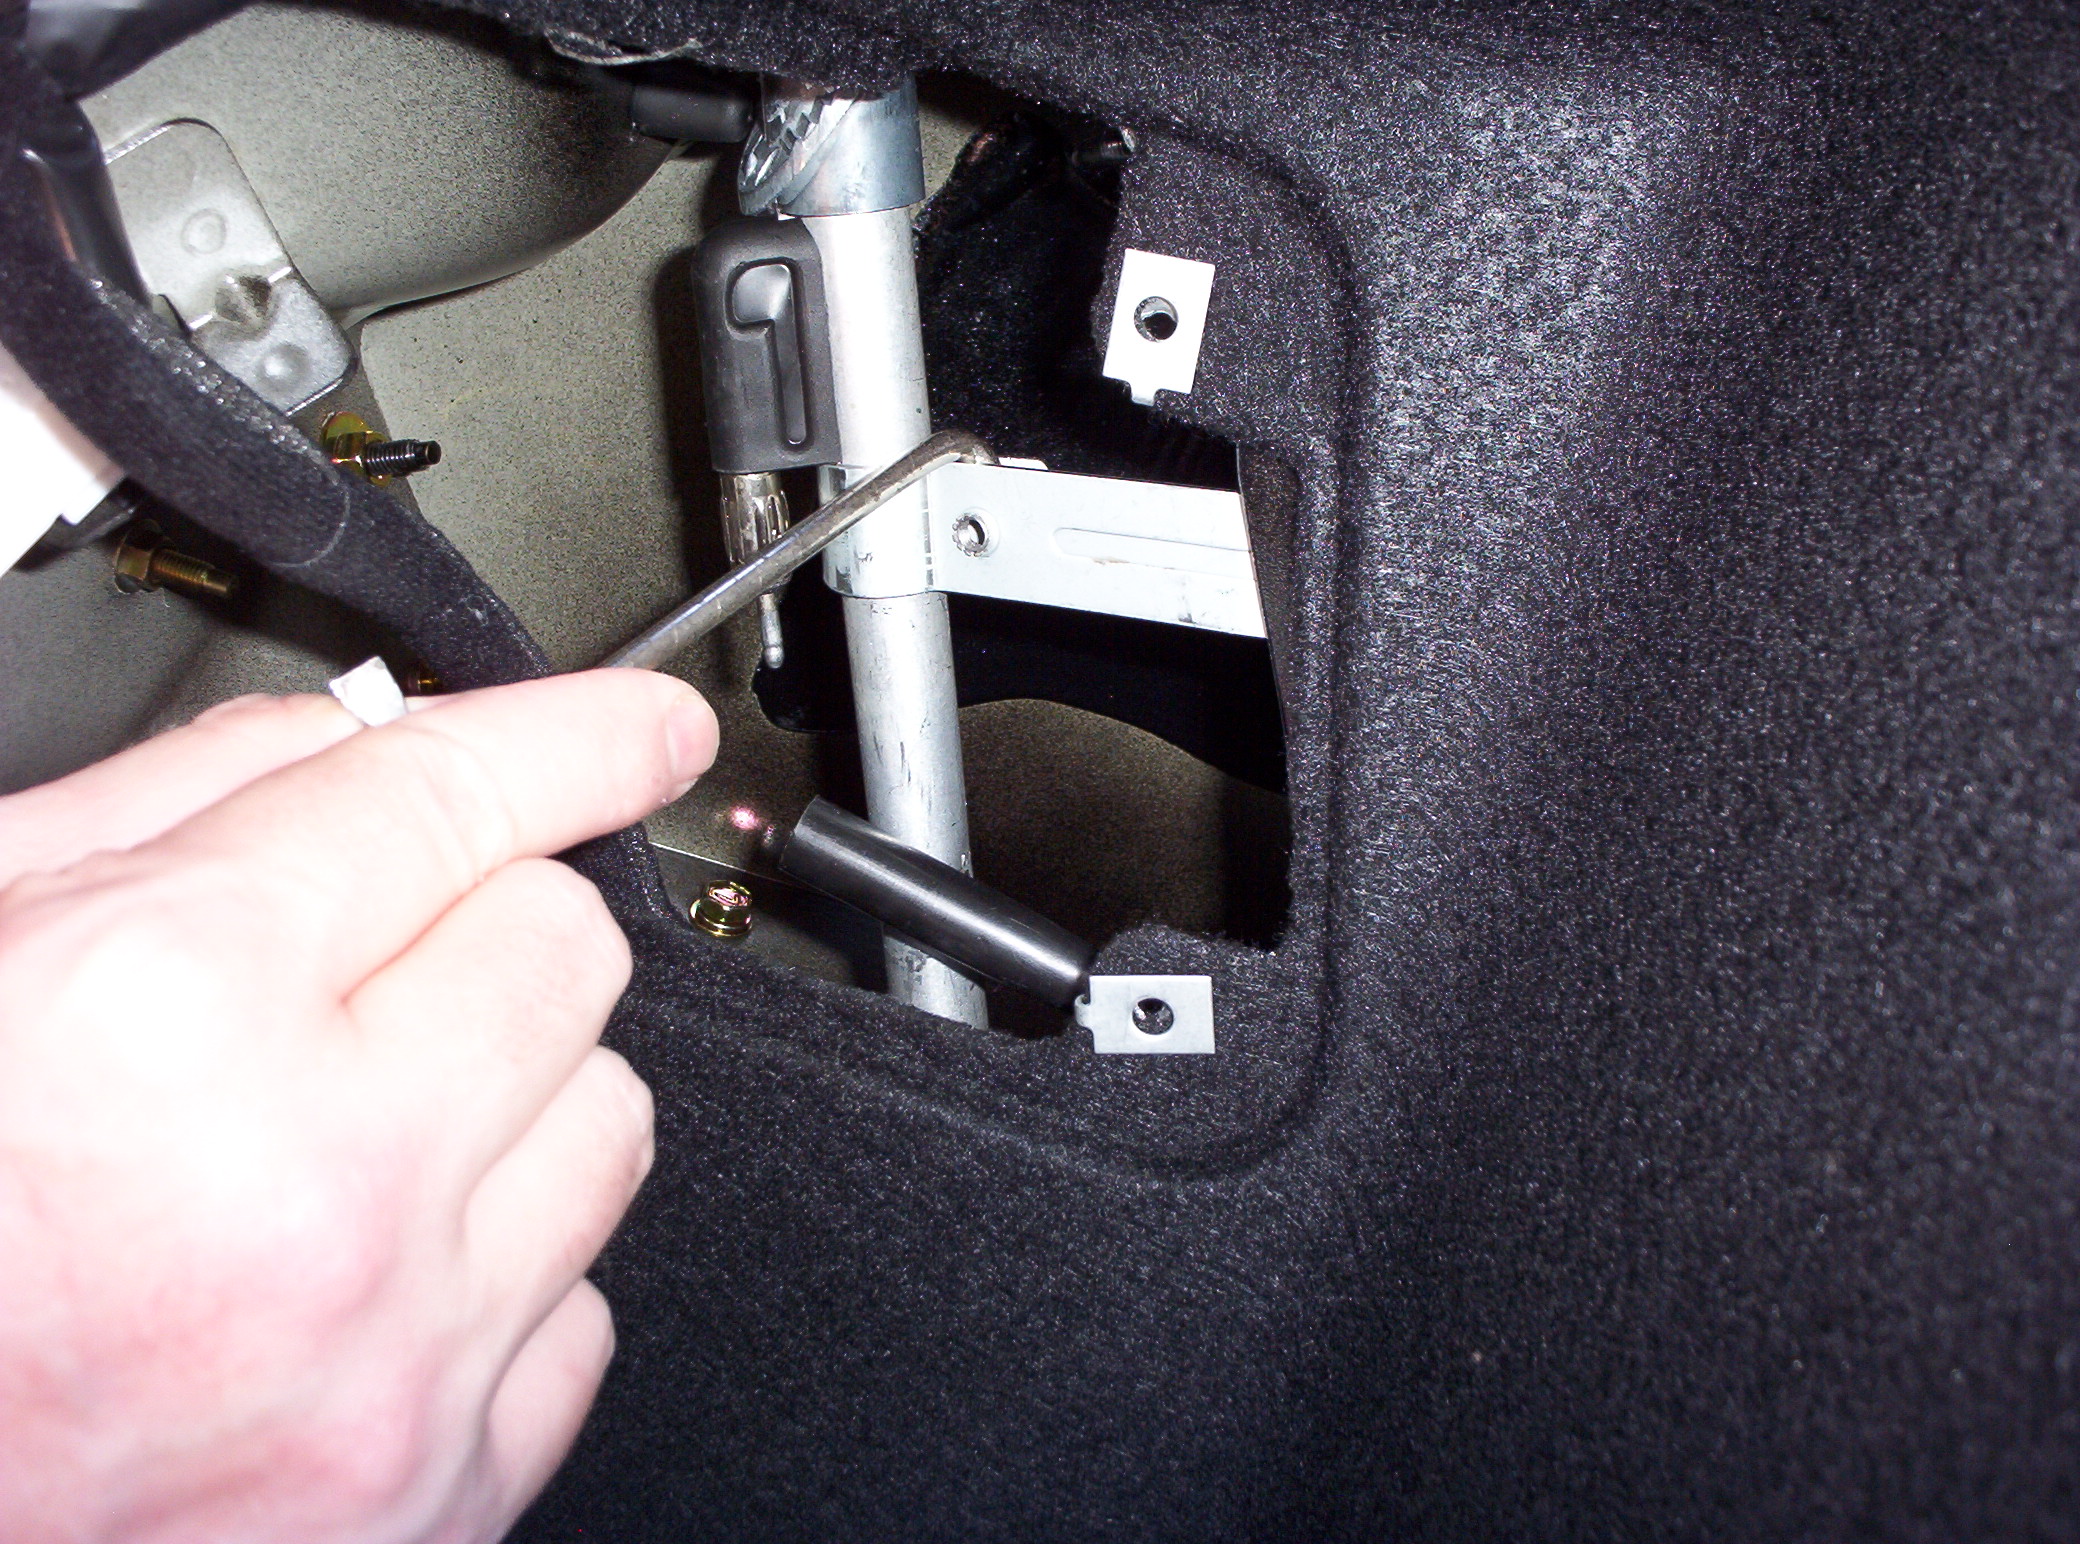
Use the screwdriver like a tiny crowbar to pry it apart…

… and take out the antenna.
Set it aside until you are done.
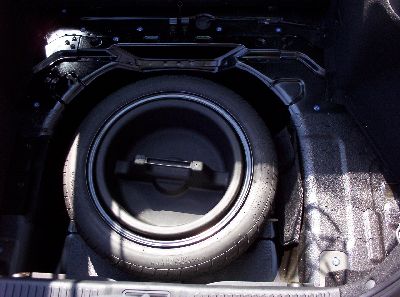
A clean slate!
Now for the new antenna. Unwrap everything, and read the instructions.
You will probably want to re-use the angled bit that goes on the outside of the car.
None of the bits and pieces that came with mine were as good a match for the shape of the fender.
Test fit various nuts and washers to make sure you have the best combination for a smooth, professional-looking fit.
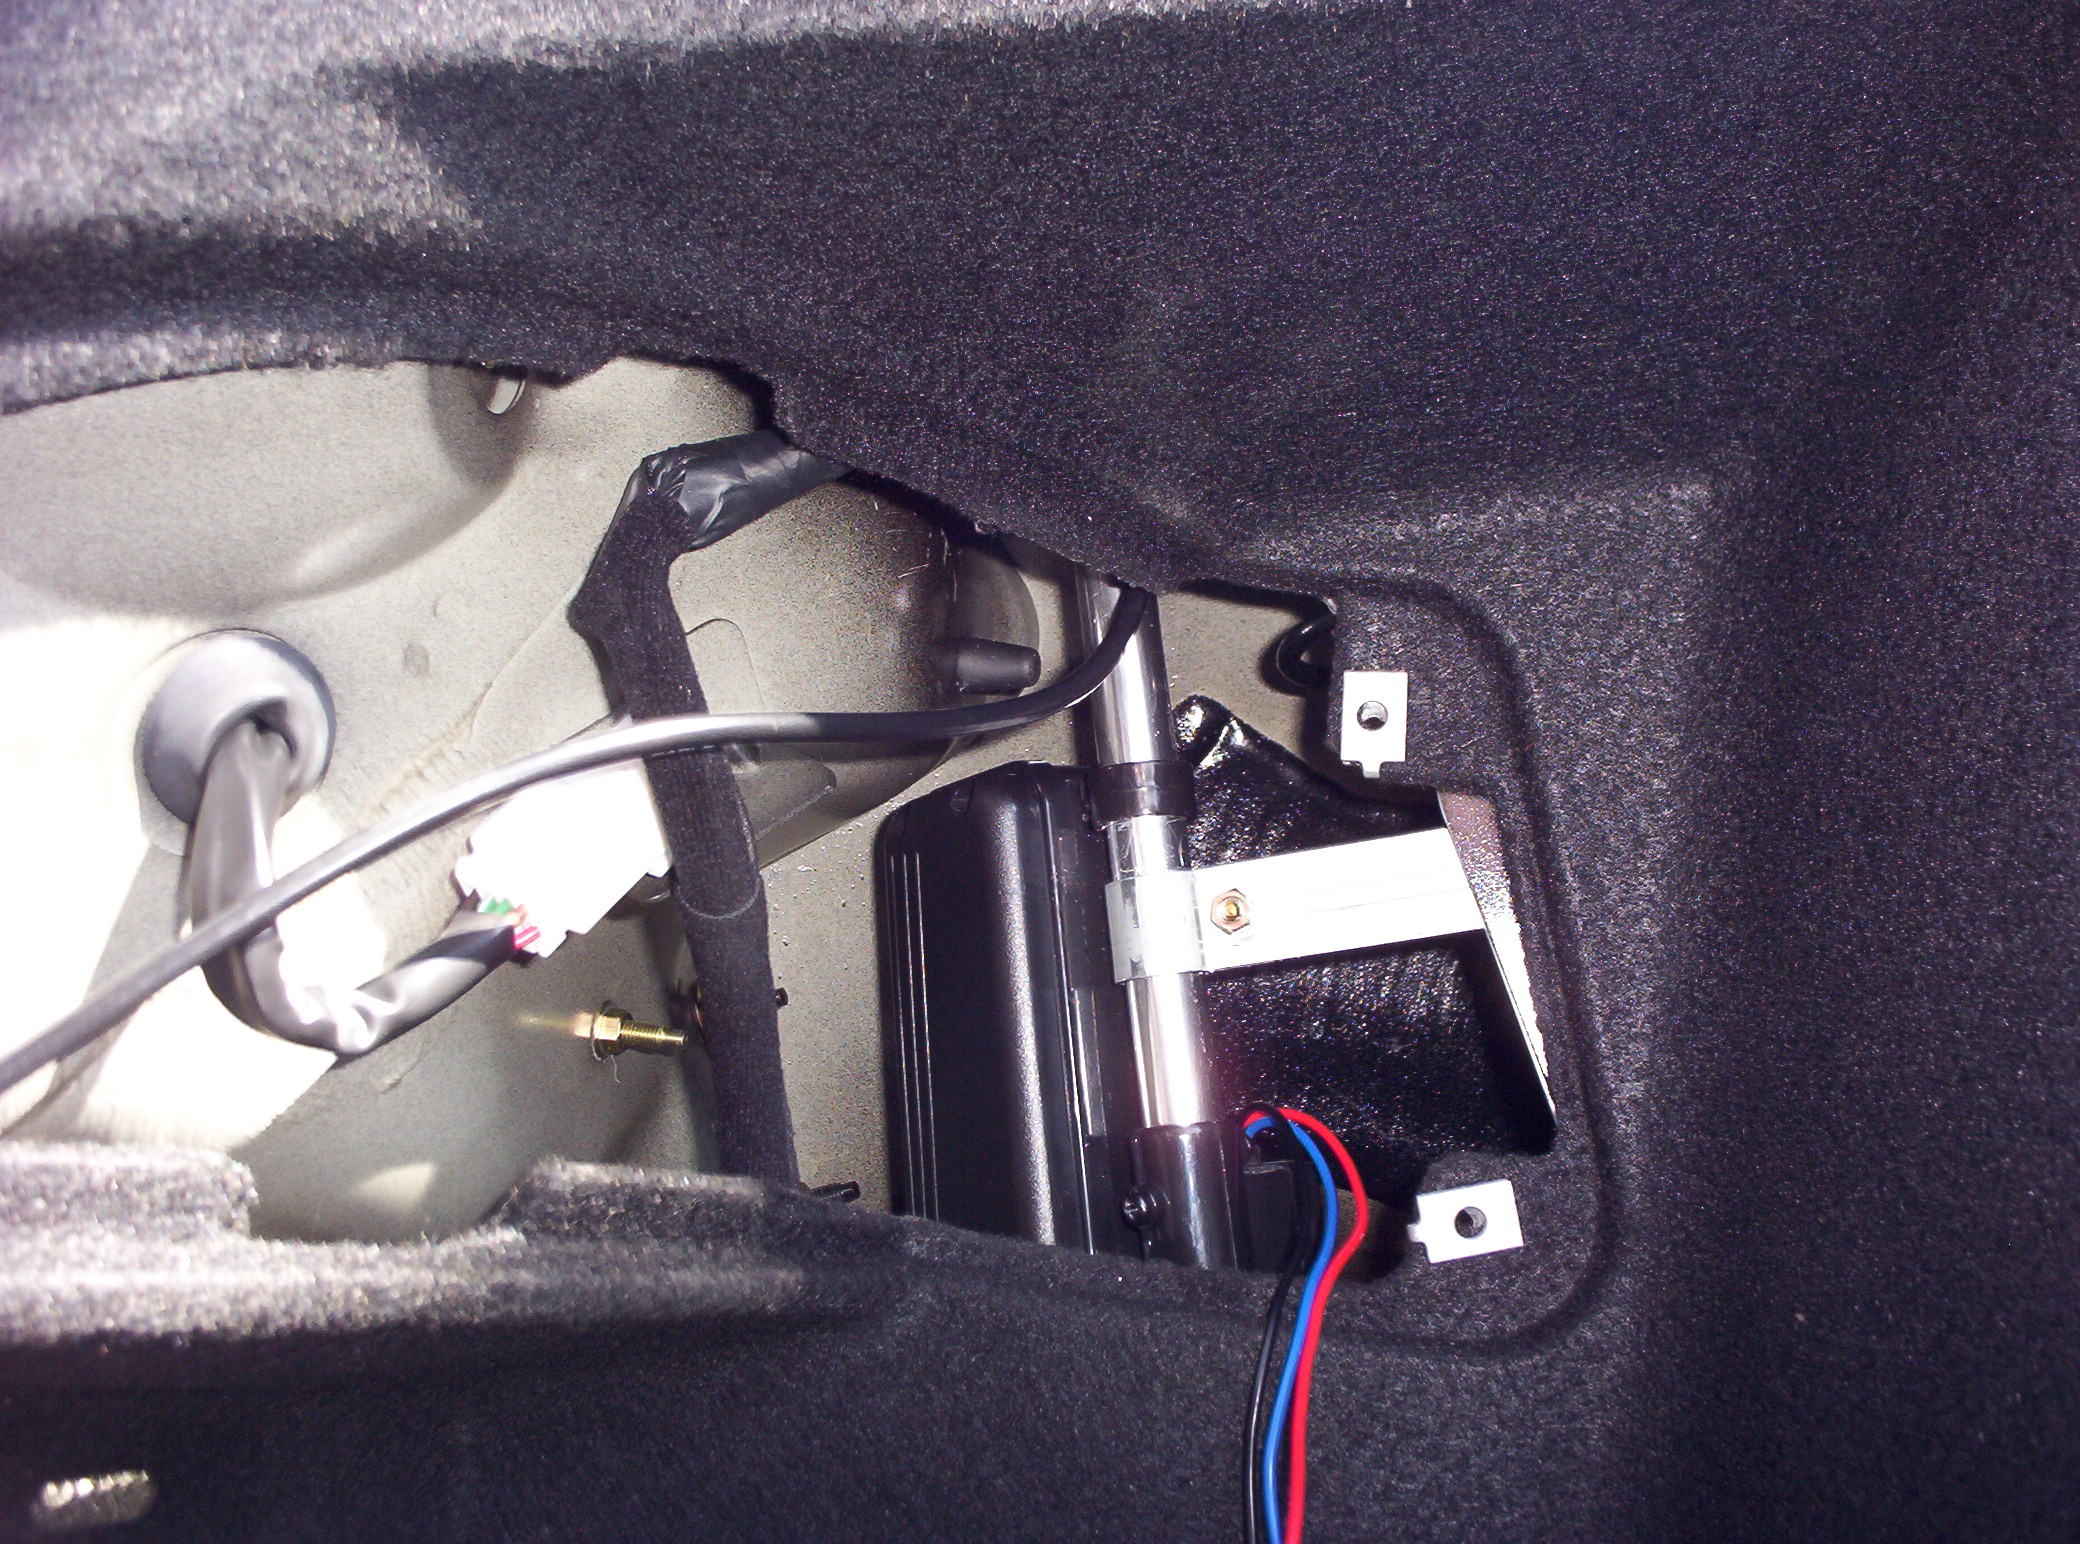
Push the antenna up from the inside, and test out the inside bits to make sure the antenna will be firmly held in place when you are done.

Lay everything out, and make sure you haven’t forgotten anything.

Put the inside pieces together, and push it inside, up, and out of the hole. Then put the outside pieces on. Then tighten the outside pieces down with an adjustable wrench. Just tighten it enough to be snug, at first. You will need to be able to wiggle it around a little when you attach the inside mounting bracket.

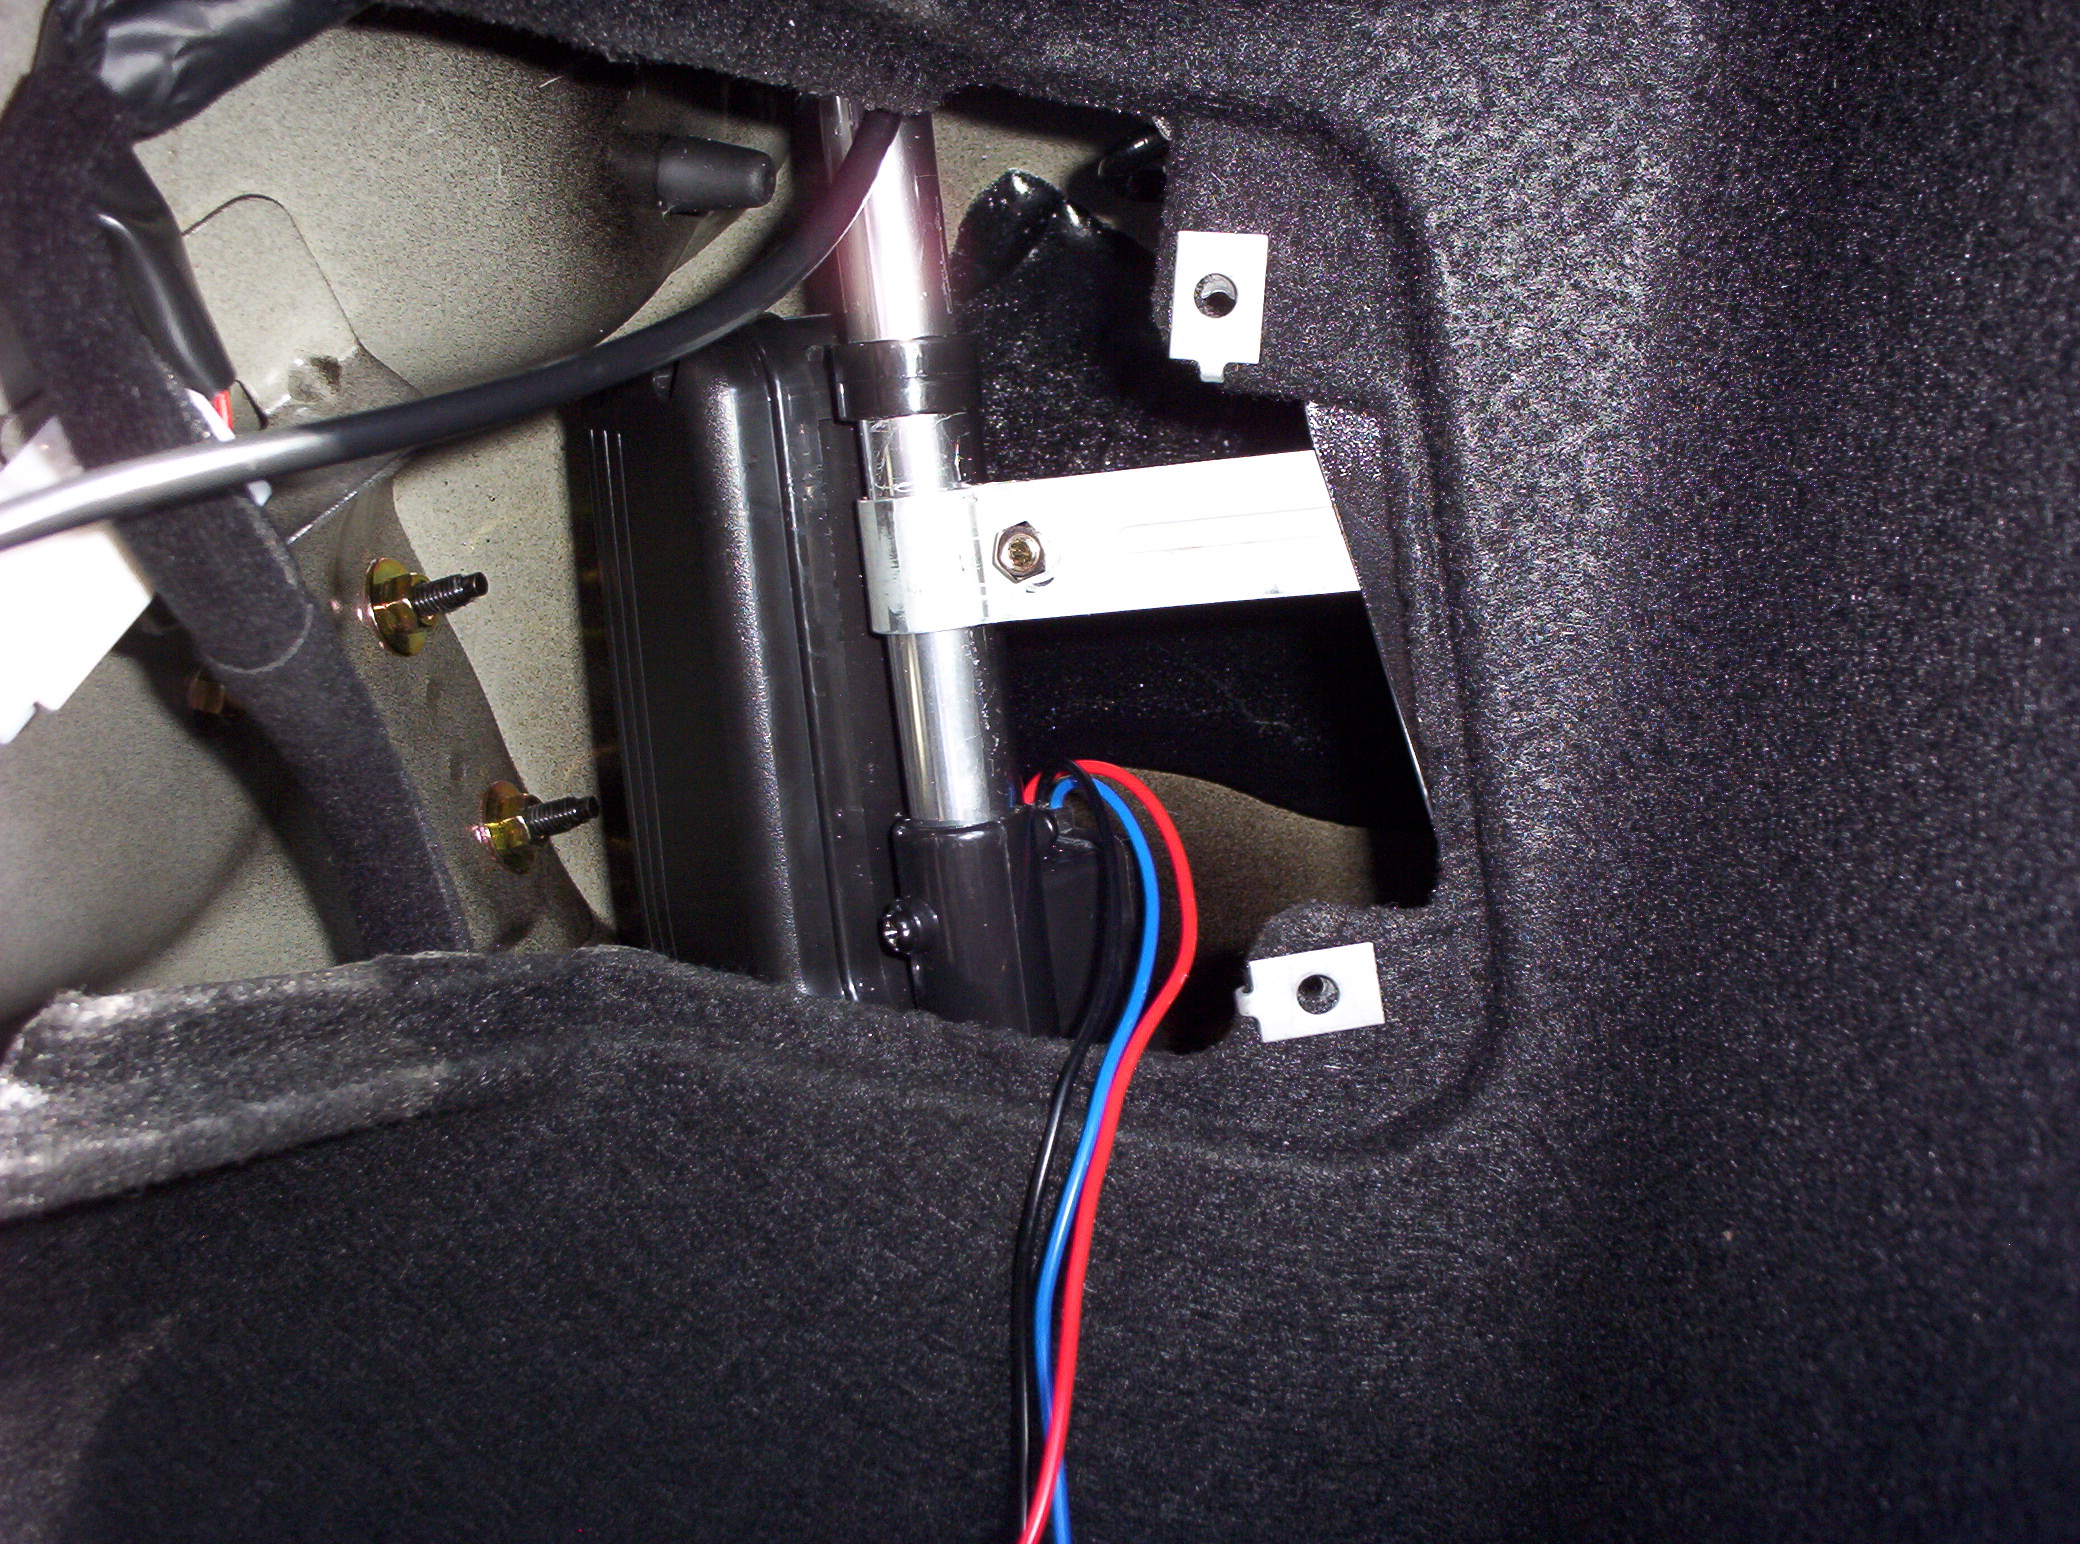
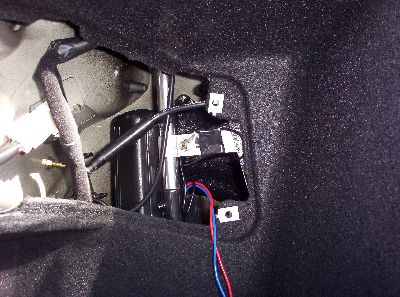
Loop the bracket around the base of the new antenna, then use channel lock pliers to squeeze it tight.

Use the right-angle ratcheting Phillips screwdriver to screw the bracket together. If you drop this screw into the fender, prepare to spend the next hour trying to find it. I was lucky: I managed to get it out of the fender with a coat hanger and a wad of masking tape.
Once you have the bracket good and secure, go back and tighten the outer nut that holds the antenna to the body of the car. It should be tight so that it doesn’t work loose, but don’t go crazy or you’ll strip the threads and have to buy a new one and start all over again. Just tight. Not crazy-needs-a-tire-iron-to-loosen-it tight.
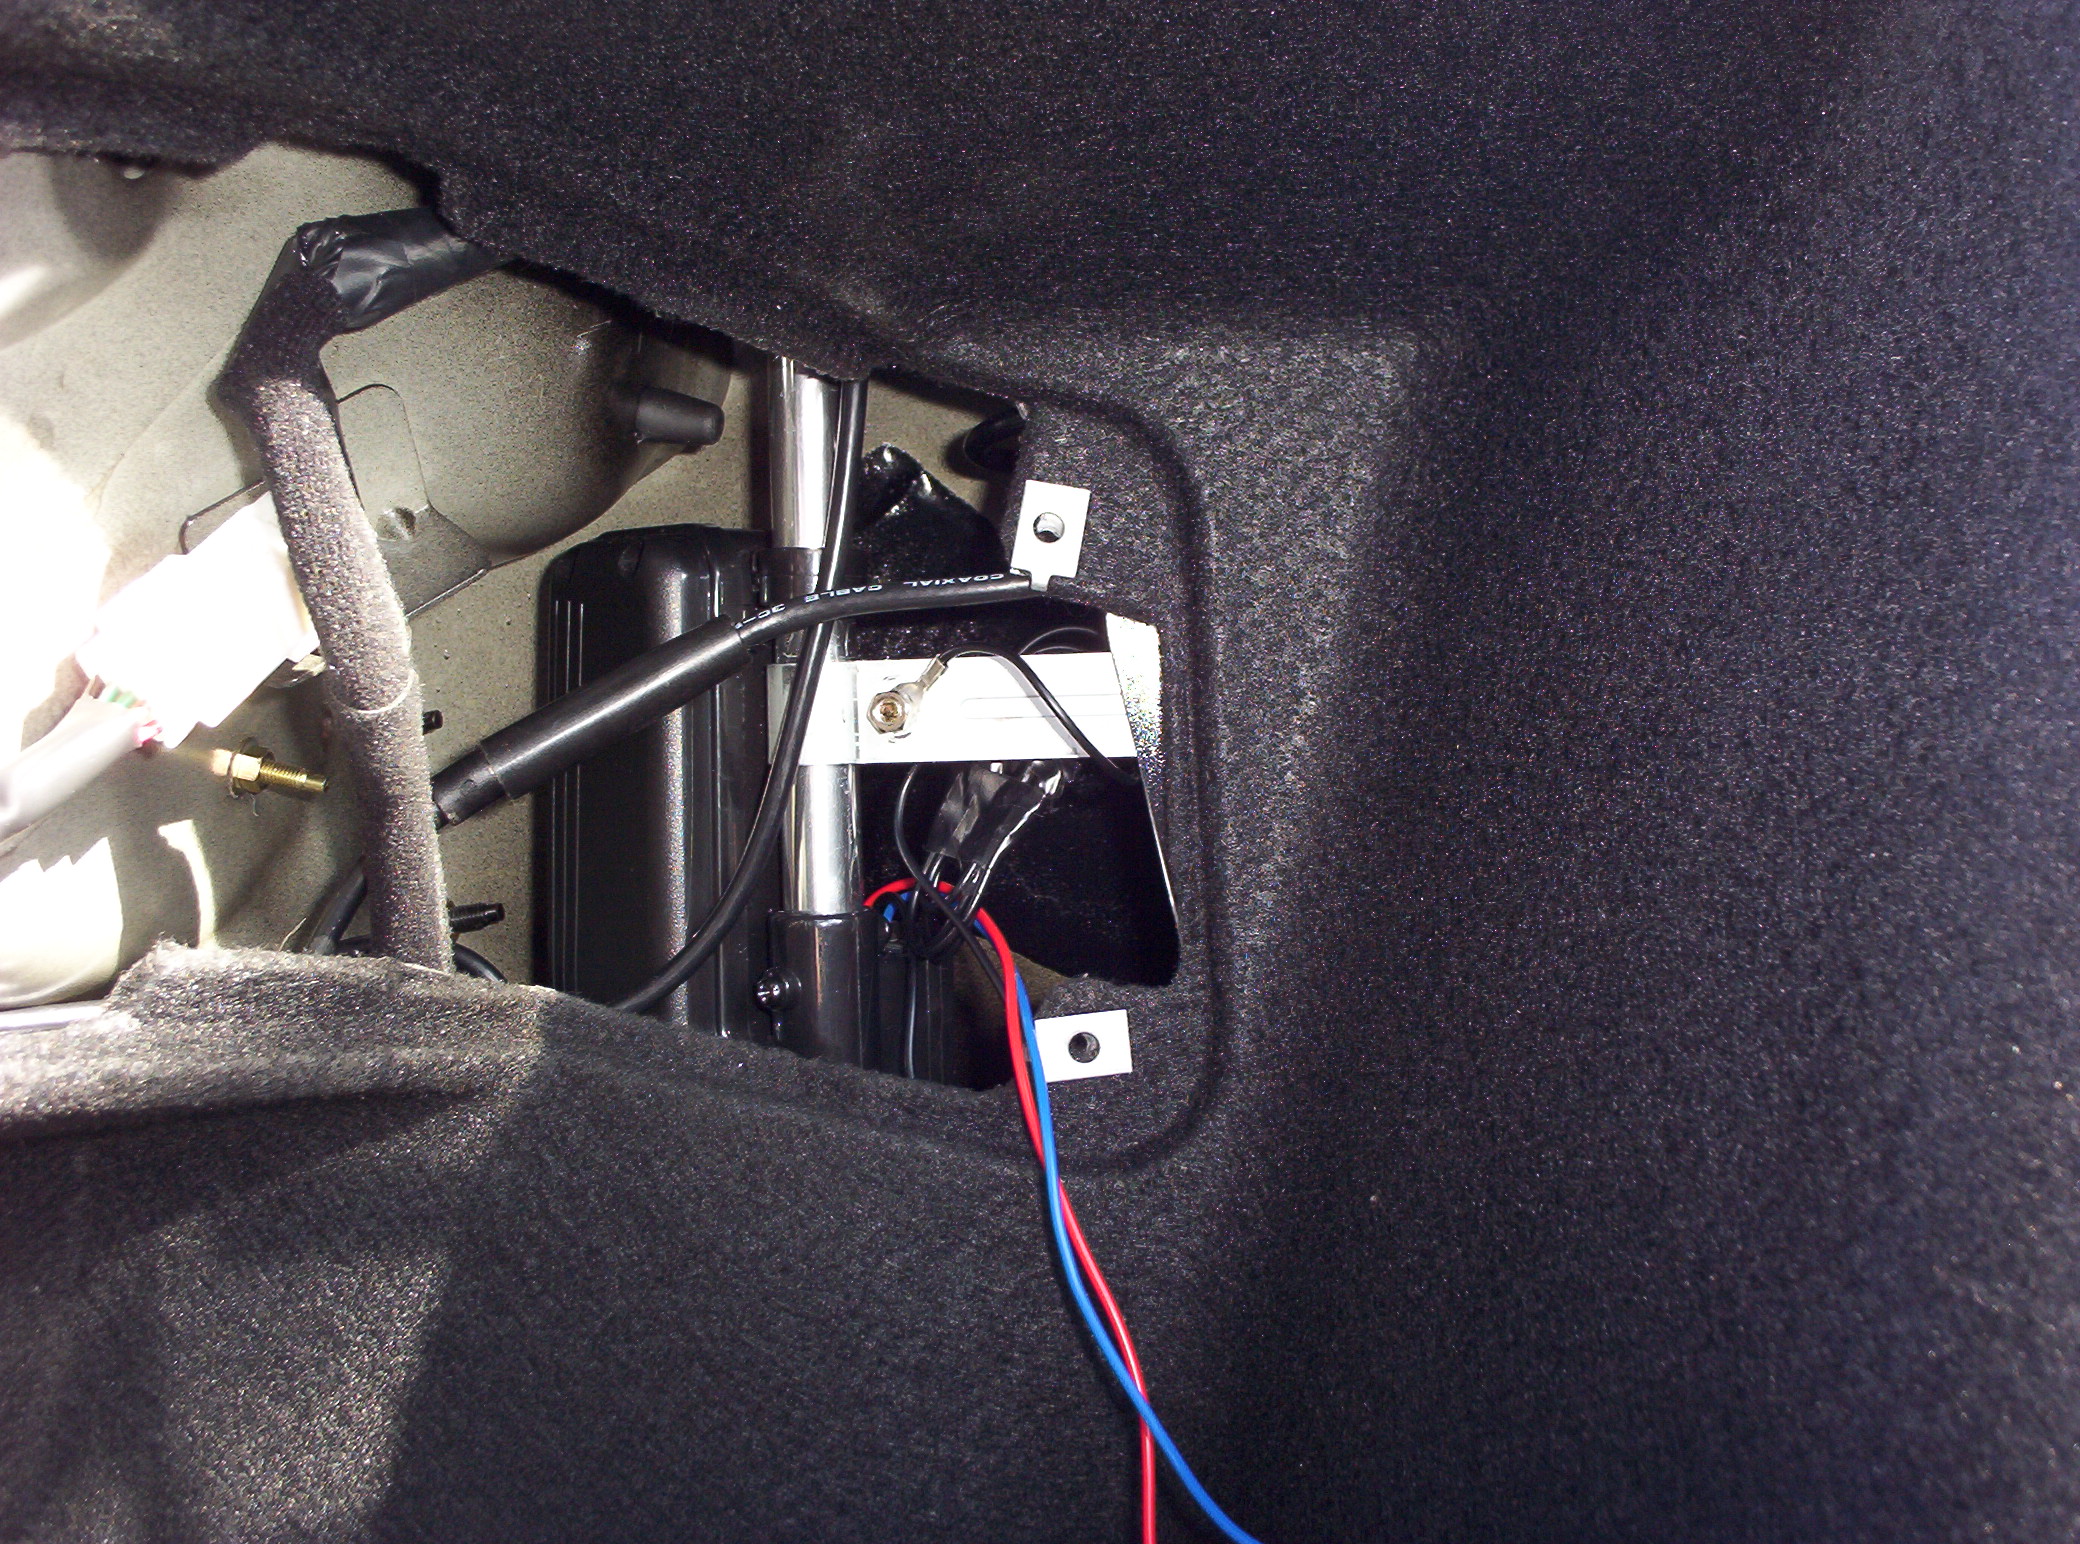
Now for the wiring.

My new antenna came with about a meter of antenna wire, one end of which was supposed to attach to the car, and the other end of which screwed onto the antenna itself. I did not even bother taking the tie-wraps off of this bundle. I just attached both ends where they went, stuck the bundle into the fender, and attached it to some other piece with electrical tape to keep it from rattling around.
It’s in there somewhere.

Now for the electrical portion of the installation. This is not difficult, but it’s the part that most people are either afraid of, or do badly, or both.
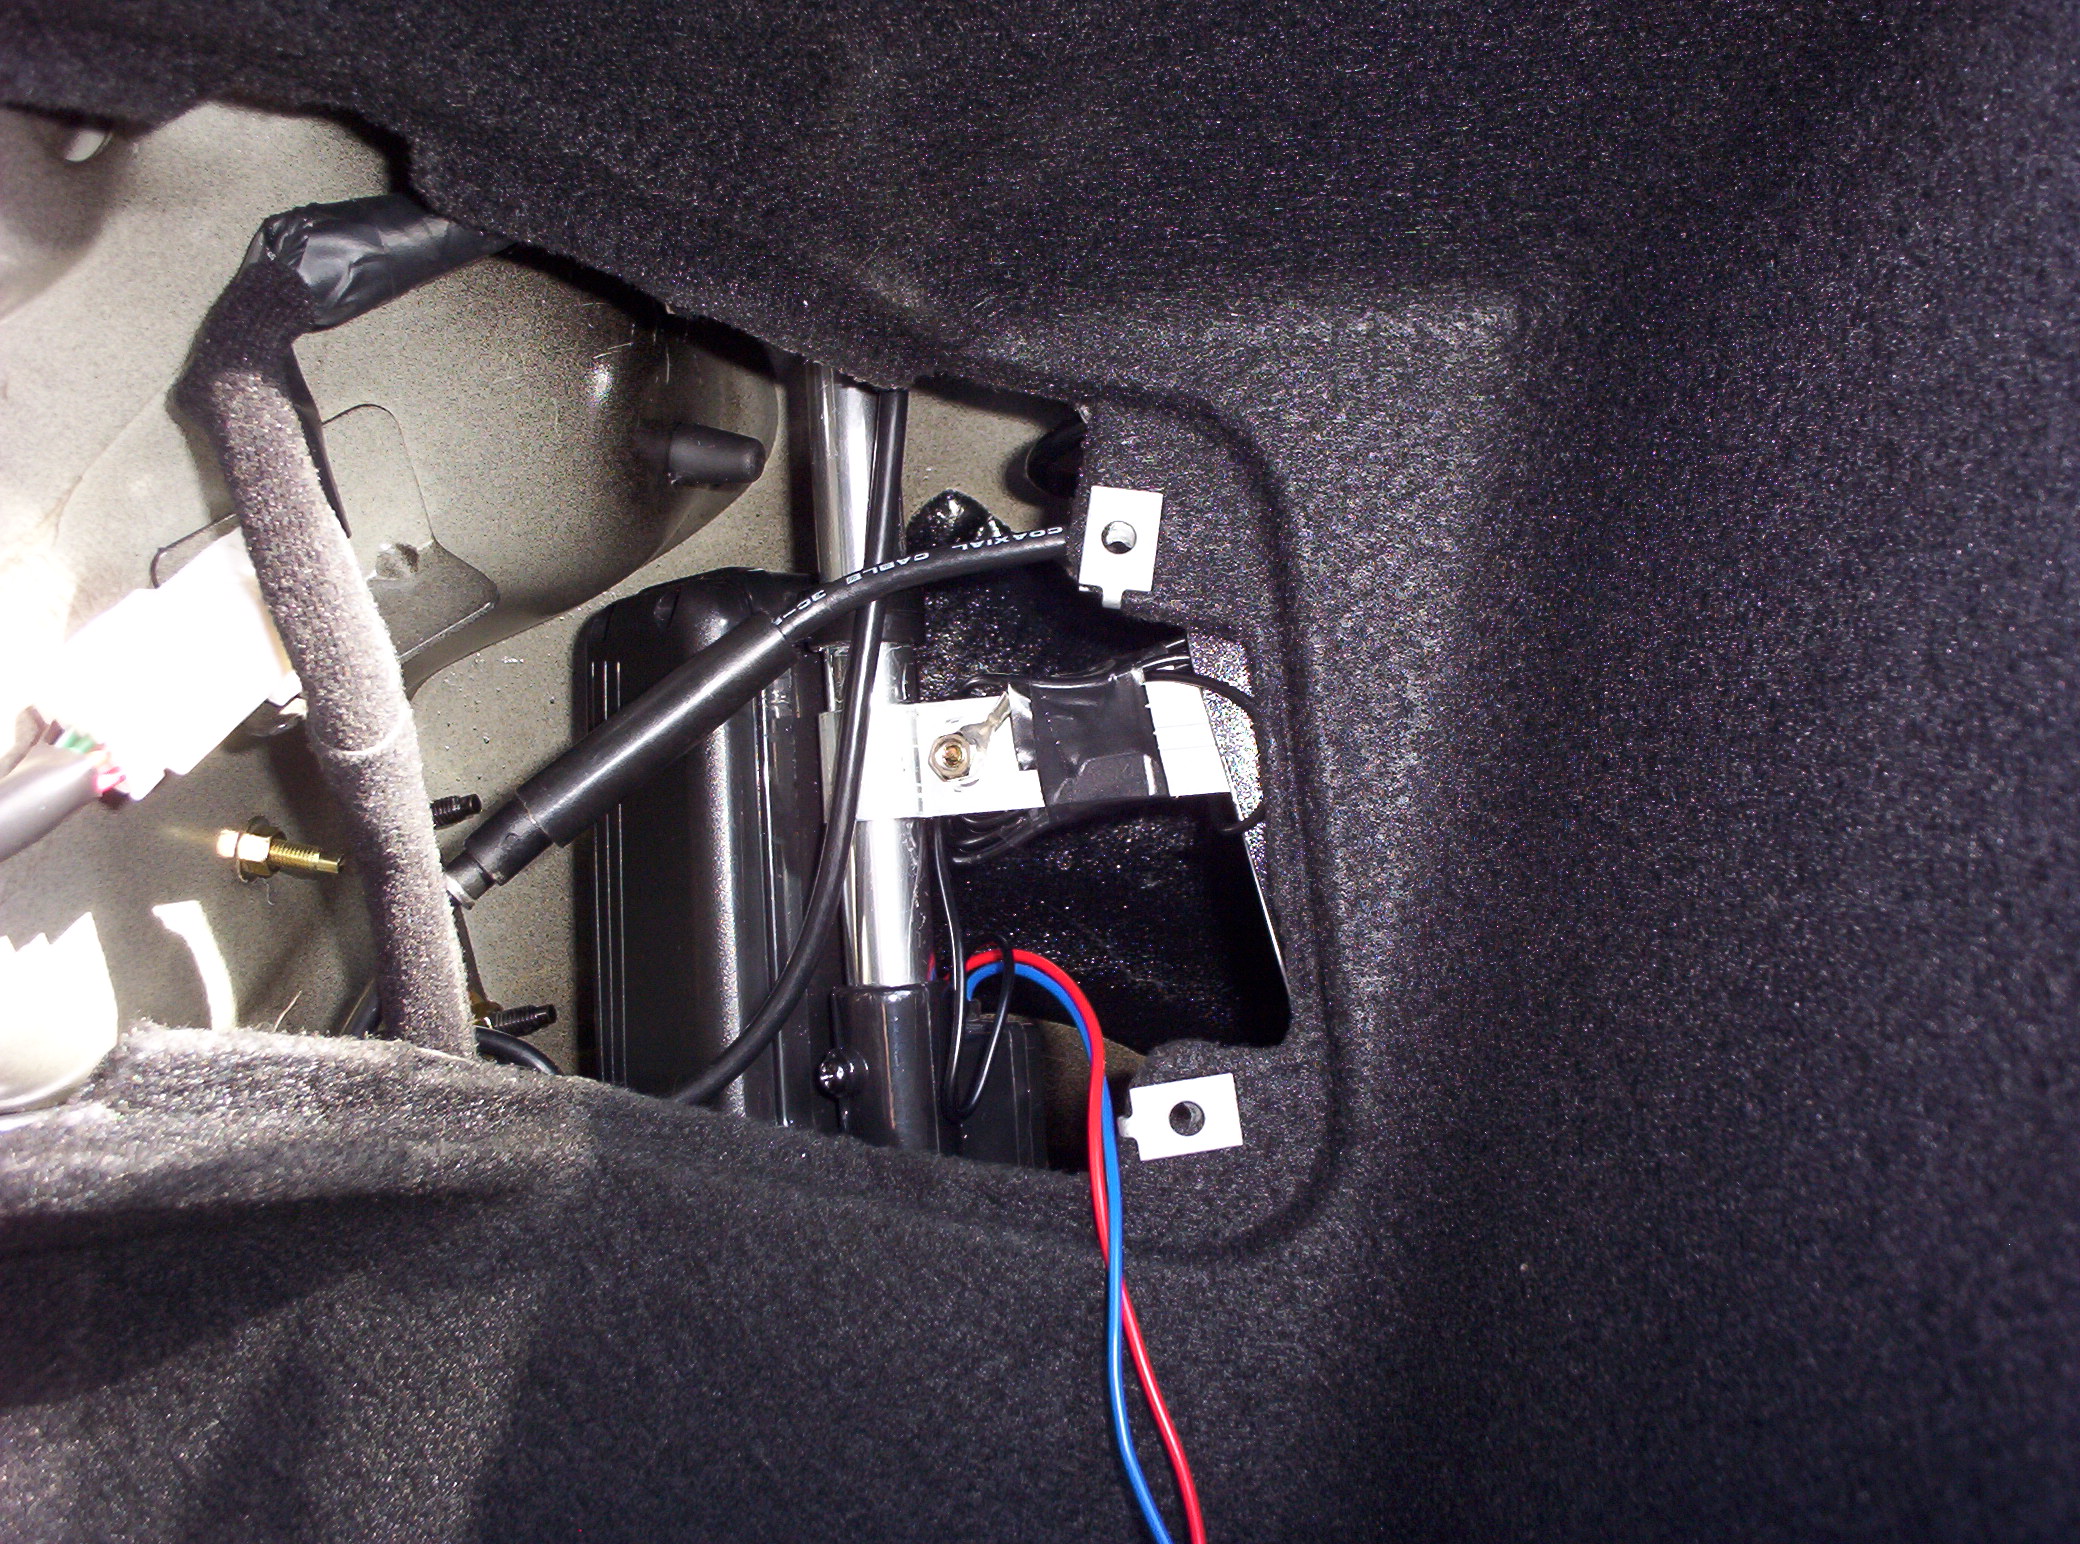
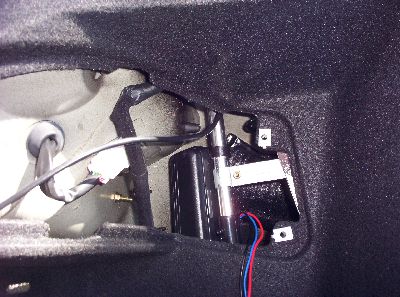
I pulled all of the wires down and out from under the bottom edge of the body panel.
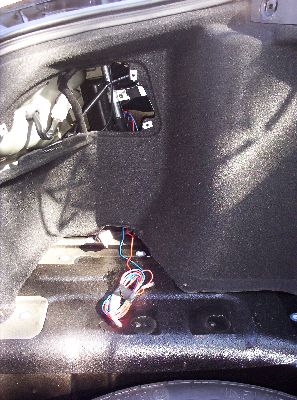
Then I replaced the screw-on access panel. Really, you should not do this until you have tested everything, but it is easy enough to take back off if something doesn’t work after you have hooked up all of the wires.
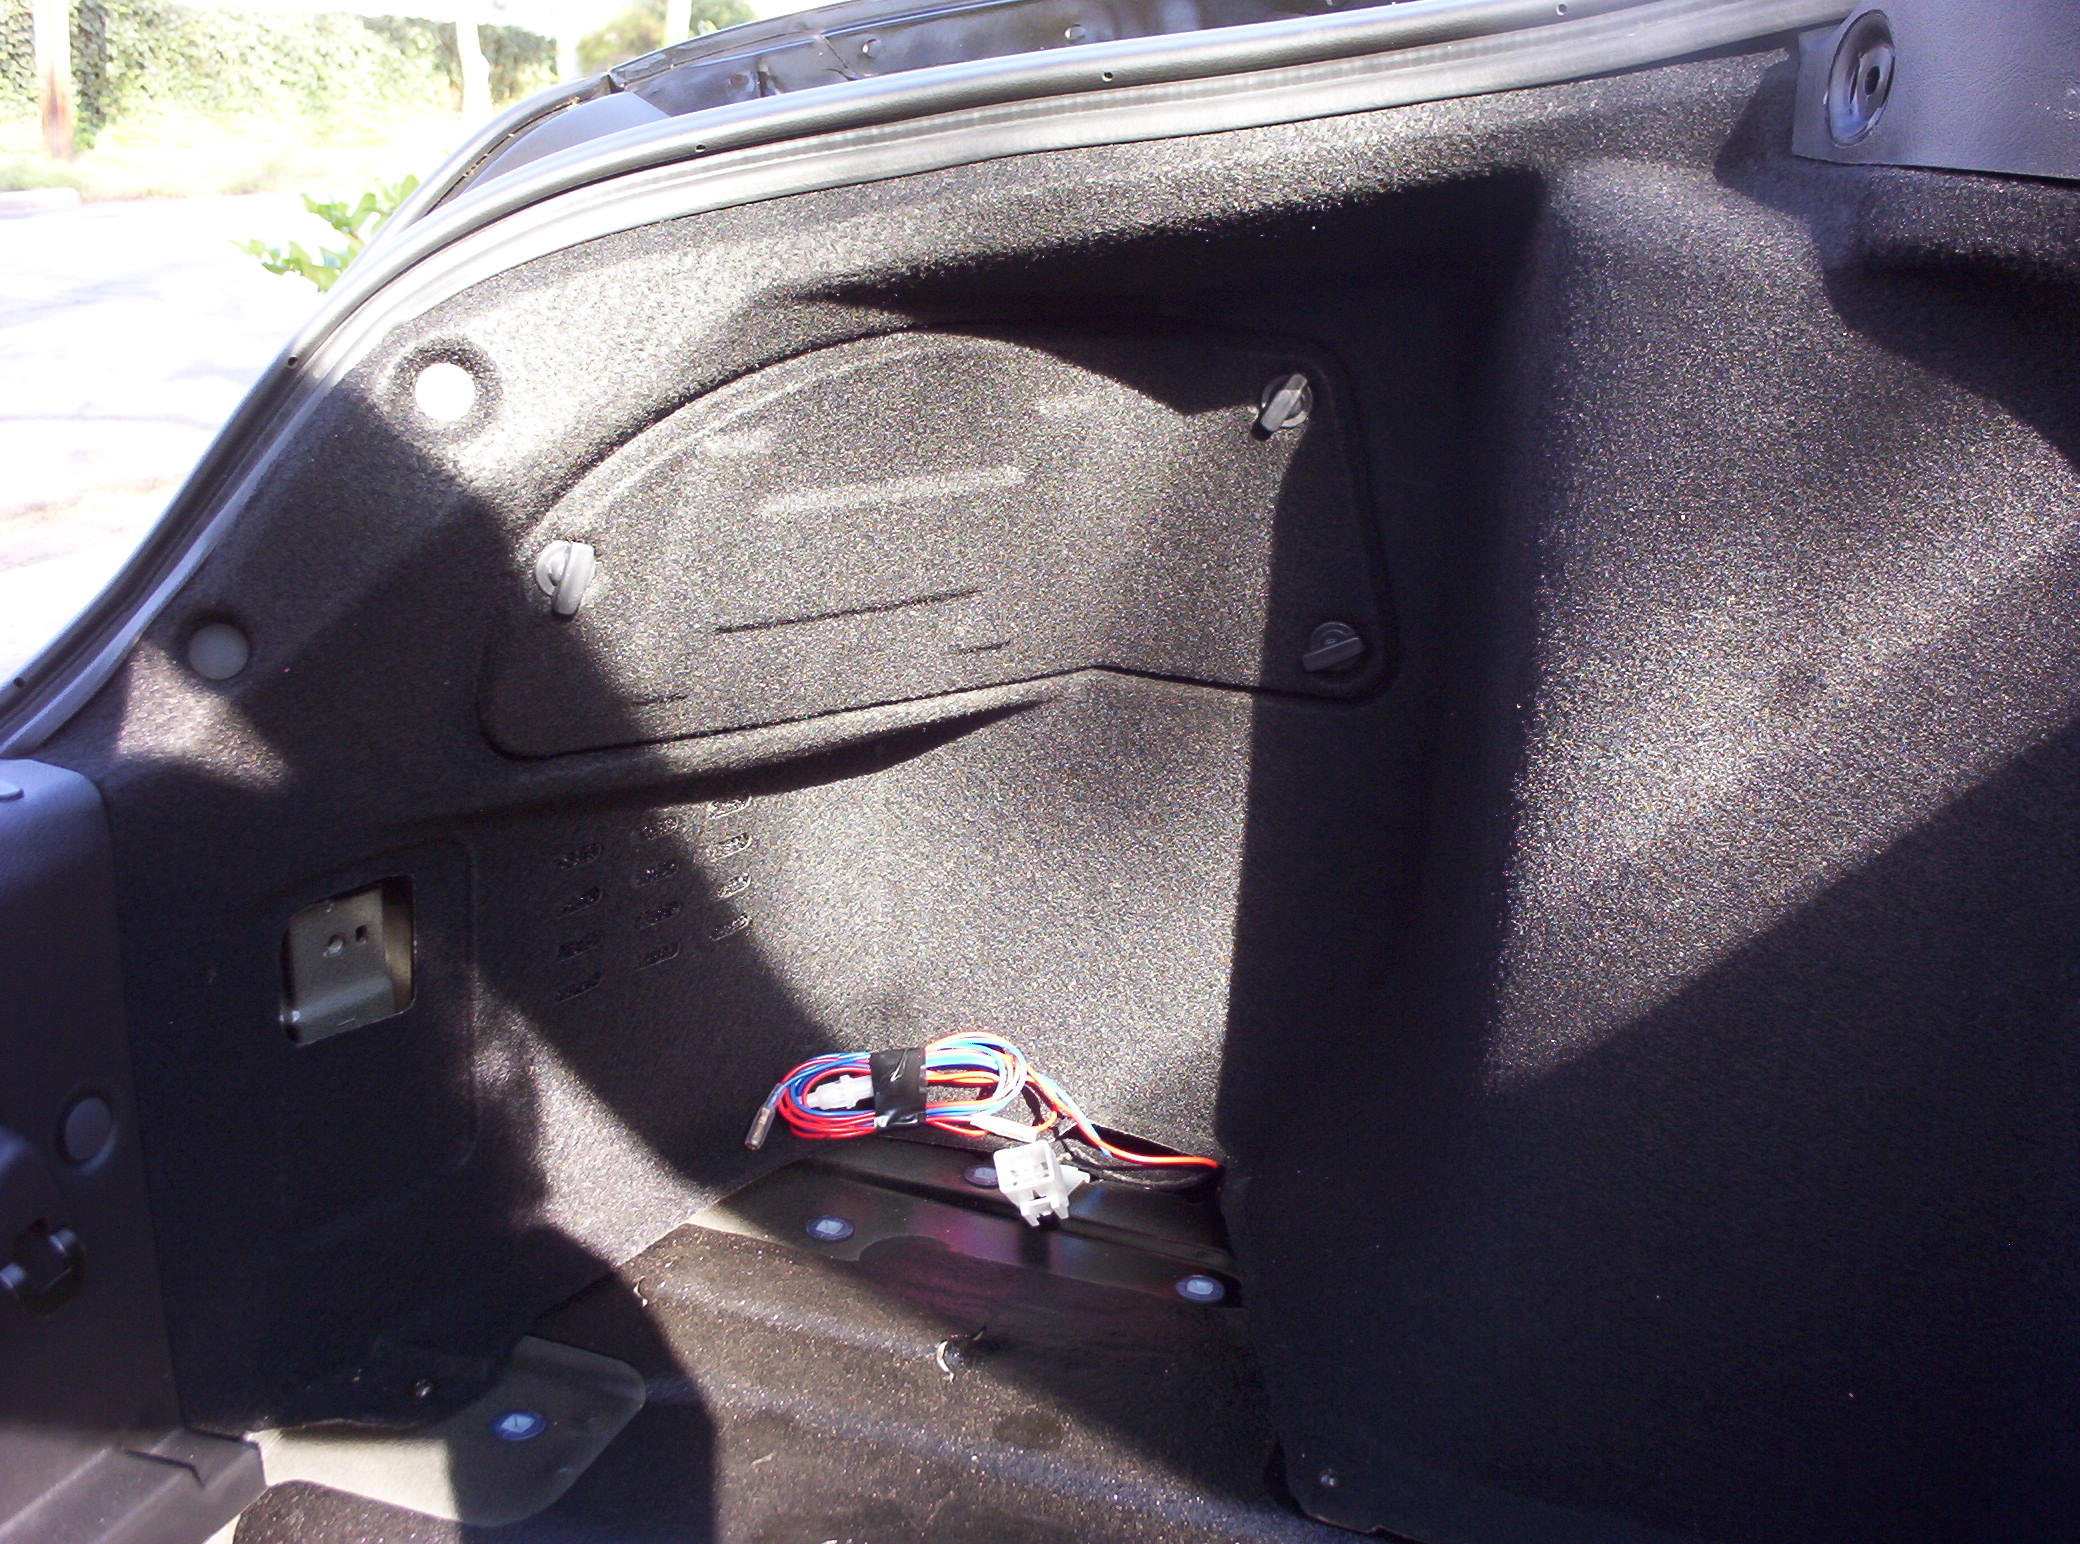
A lot happens here that I did not originally photograph because I did it later. I snaked the wires under the carpet up to the front of the car, to the dashboard. I think I removed the rear seat and the center console/arm rest (not easy to do — you have to remove half the dashboard), and ran the wire under the carpet along the drivetrain hump.

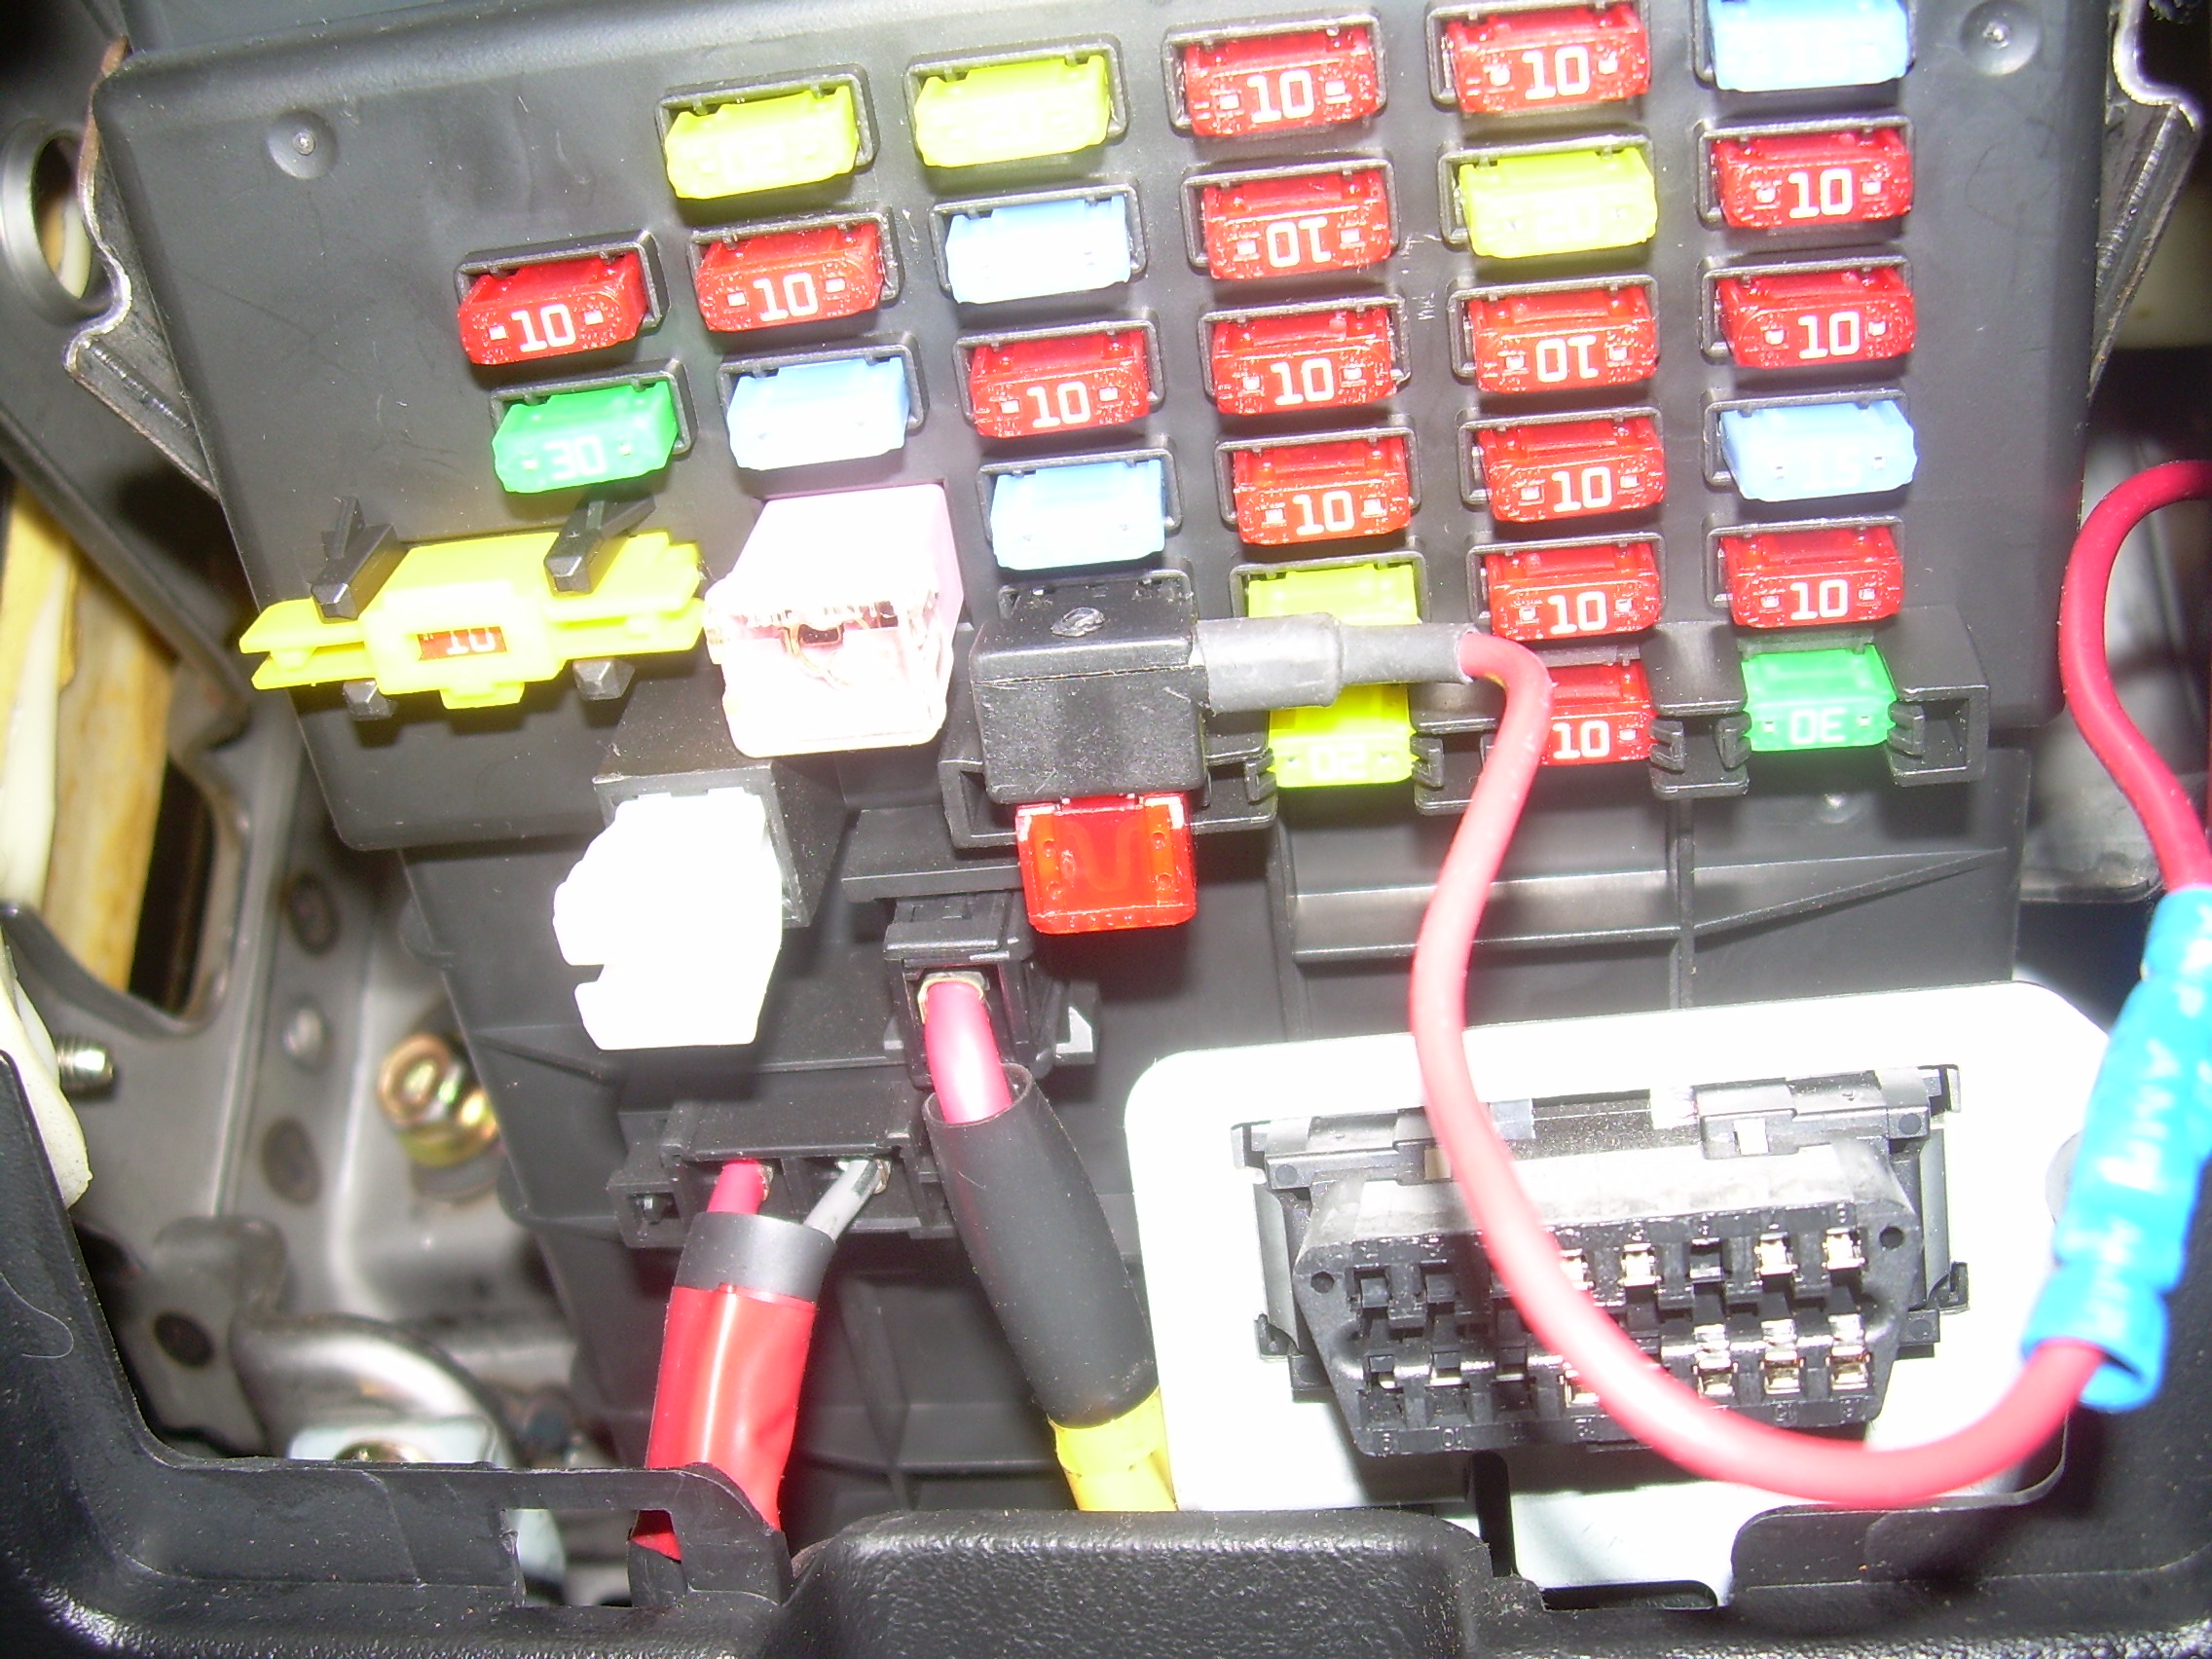
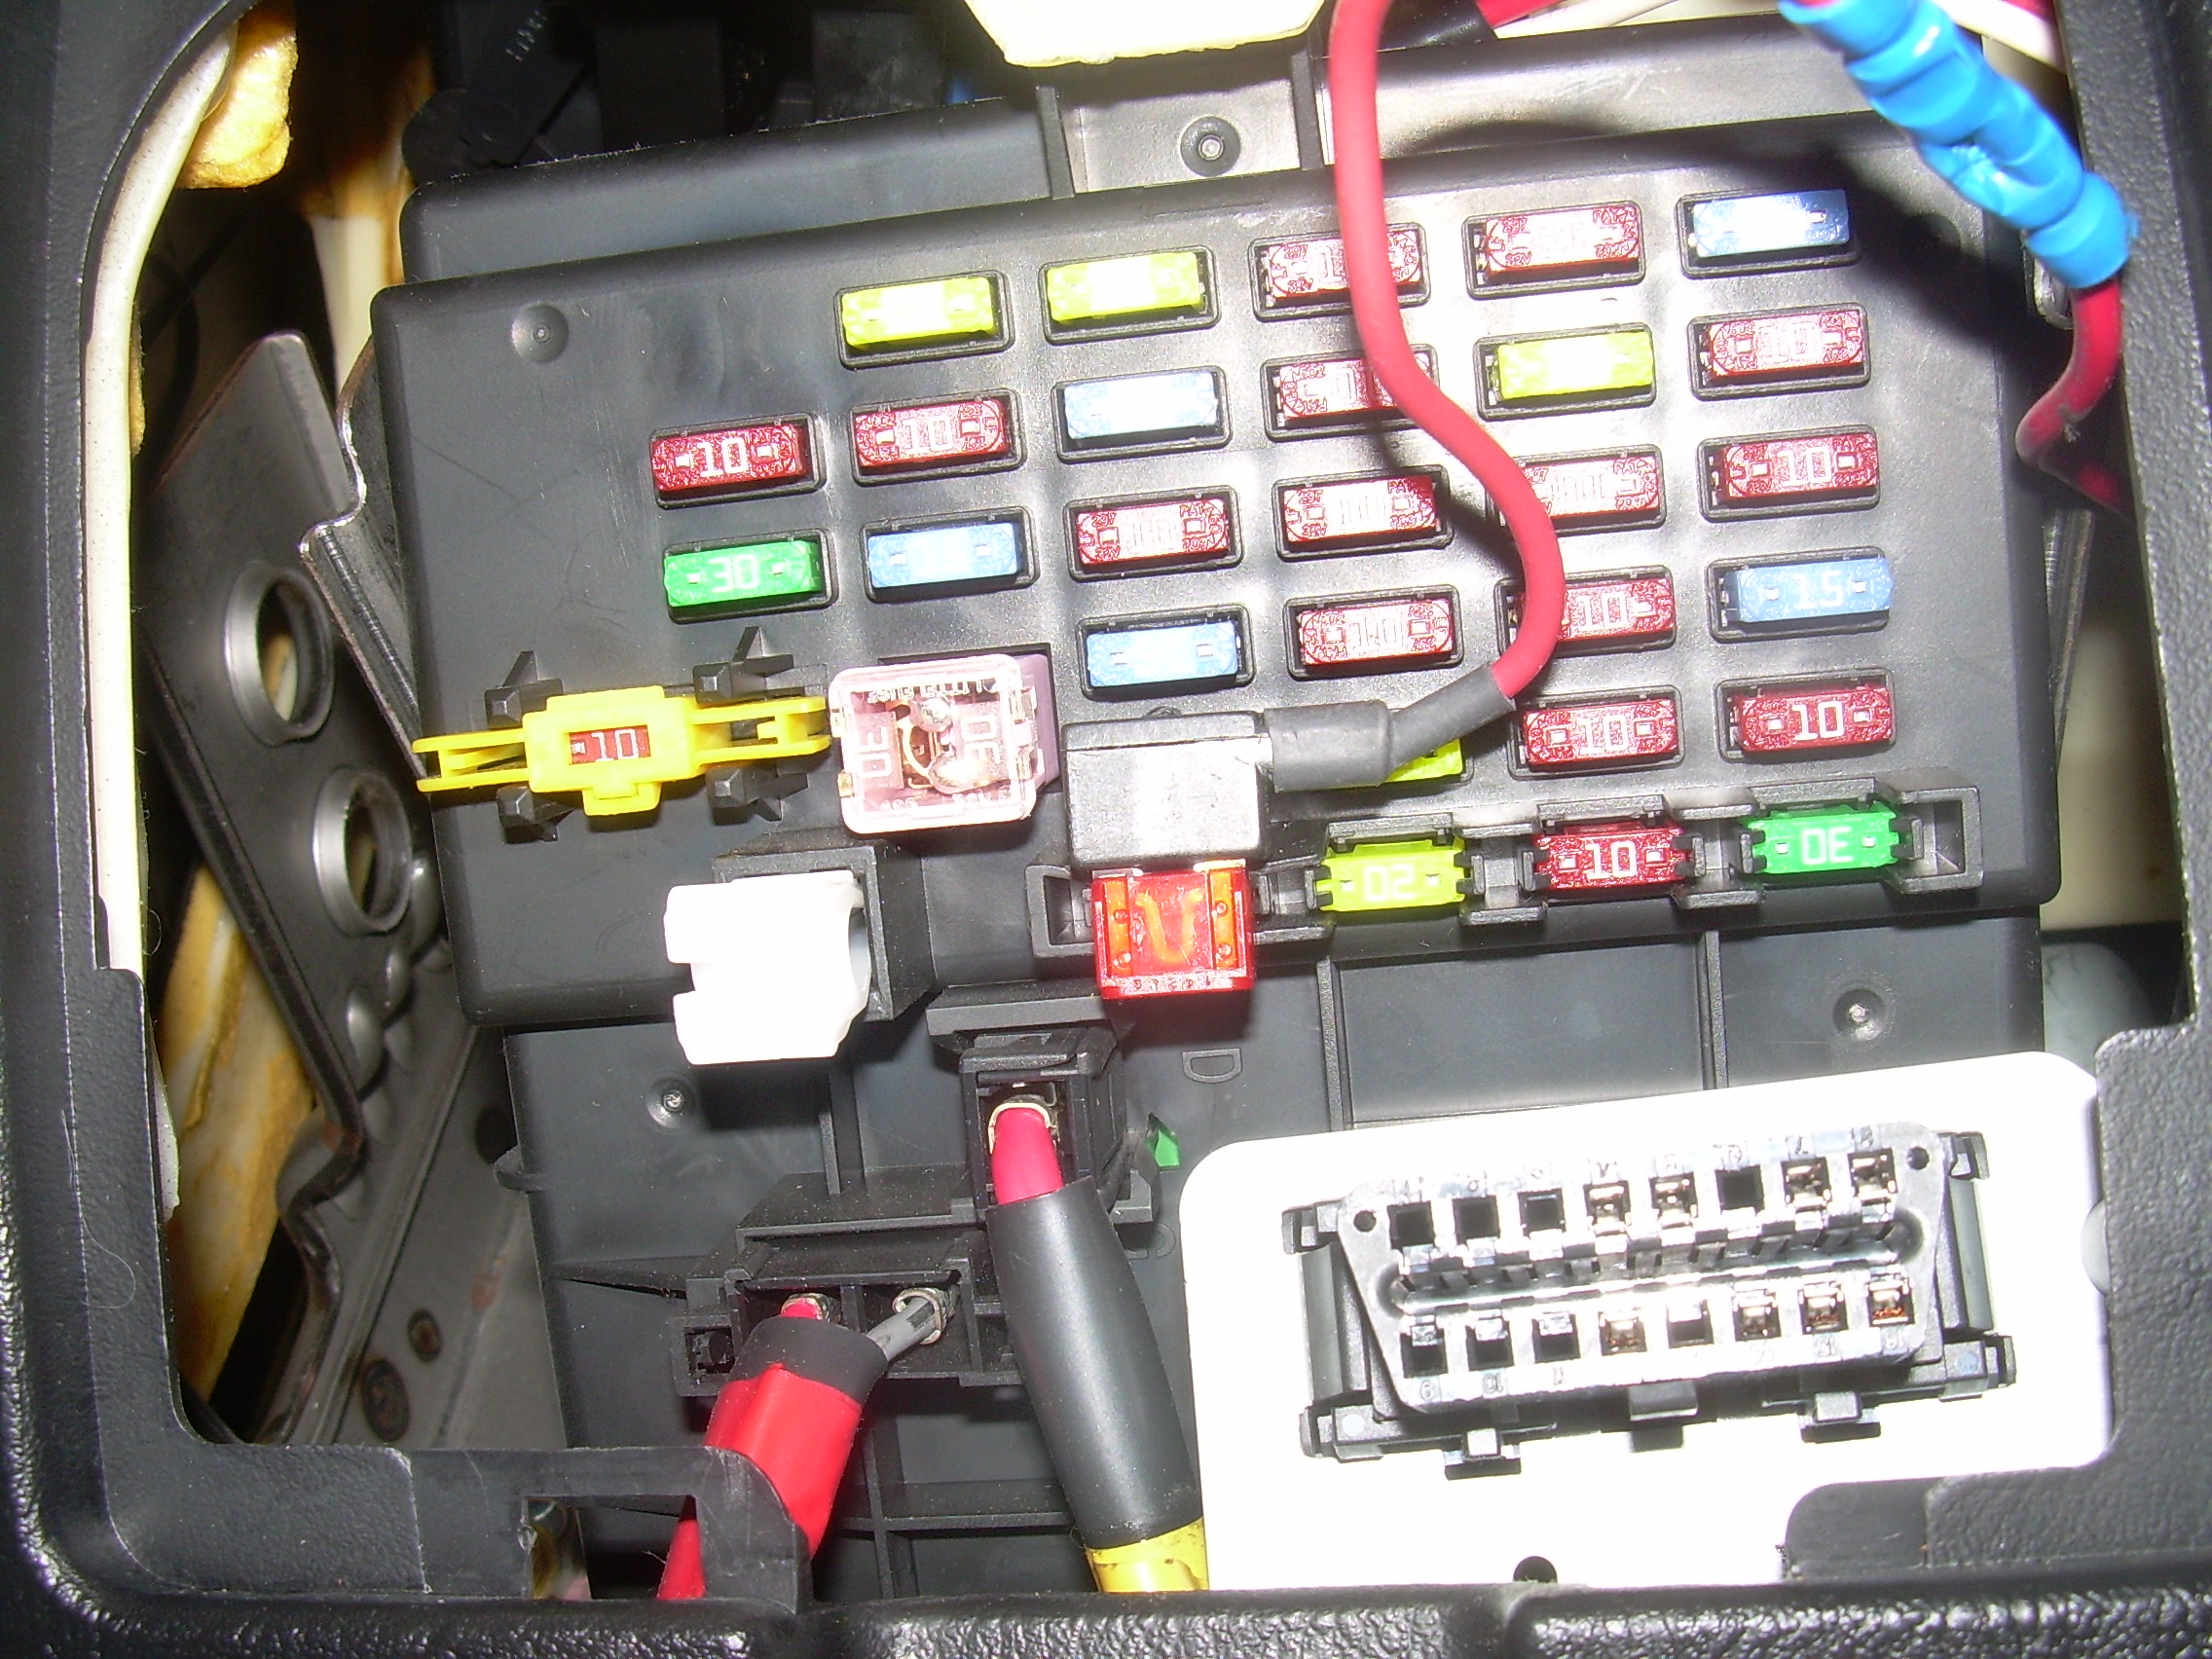
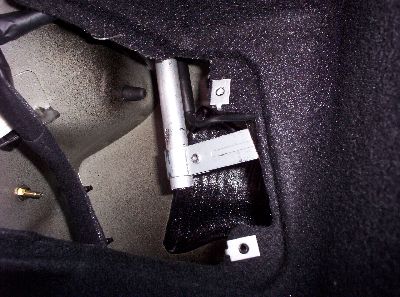
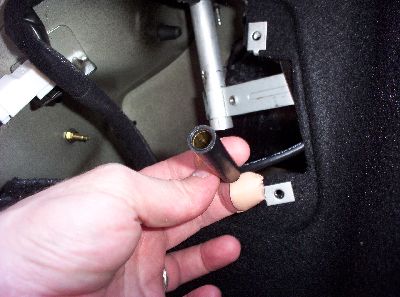
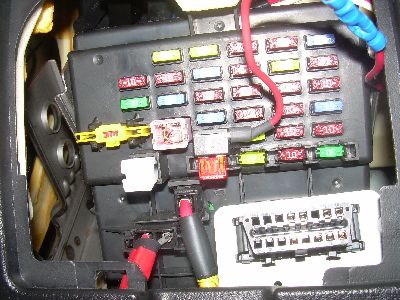
The power antenna has two hot leads: one to a “switched” source (usually the “antenna” power lead from your stereo, if it has one; otherwise, a lead on your fuse block that turns off when the key is removed from the ignition, like your cigarette lighter), and one “unswitched” source (something that always stays on, like your hazard lights). You can figure out which is which by experimentation, or with an inexpensive multimeter from Amazon. I used the sunroof fuse, and connected to it using a fuse tap (an easy to find part at most auto parts places).
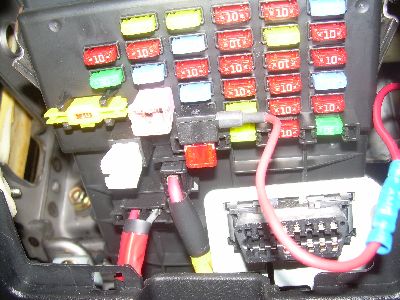
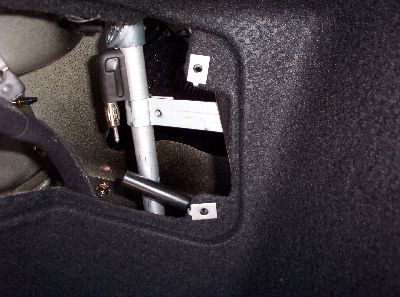
I pulled the wire with the wire tap out so you can see clearly which one it is. Normally, it is tucked in and just goes directly to the right, into the dashboard.
Now, before you start bolting things back in place in the trunk, test everything. Make sure the antenna goes up when the radio is on. Make sure it goes down when the radio is off. And so on.
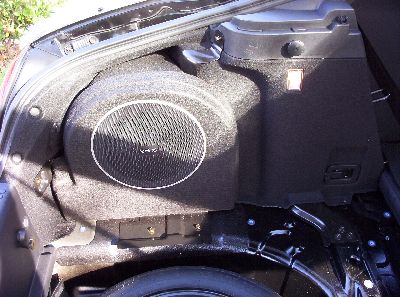
Is it all working? Great. Now we just put everything back together. The speaker enclosure…
… the cargo area floor…
… the spare tire cover…
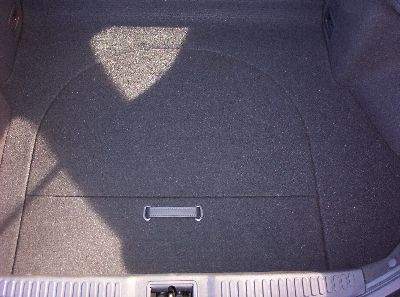
… and the cargo area cover.
All done! isn’t it pretty?

P.S. I actually went one step further.. I bought a TCS switch, which goes into one of the blanks next to the dashboard dimmer switch. I modified the TCS switch so that it’s a “holding” switch (meaning that it stays in when you push it in, until you push it again), by taking out the little “holding” wire from another set of Tiburon switches I bought (the switches for heated seats). Then I hooked the TCS switch up in series with the “switched source” antenna power lead (the one that goes to the antenna power lead on the stereo). That way, I can keep the antenna down when I am listening to my MP3 player, which is most of the time, and only put it up when I actually need it, which is almost never.
![[x]](/images/sigil_md.jpg) Blackmoor Vituperative
Blackmoor Vituperative